If you have ever been to Italy you know how a sauce with fresh tomatoes tastes. Creamy, sweet, tangy, fresh, natural, just delicious!! My family and I, we go to Italy every year, at least twice and eating some kind of pasta, gnocchi or risotto with fresh tomatoes is a staple there! I can’t spend time in Italy without eating the delicious Italian tomatoes.
Well, now I am back from holidays, back from Italy and only dreaming about those incredibly delicious tomatoes (not sure if you already know, but I am a tomato addict!! Favourite food of all time), and if I buy a tomato sauce at the store it is far from what you´d get in Italy. I’m not saying that they are not tasty but just not comparable with what you would get in an Italian restaurant. But as I was really craving a tomatoey dish with all the flavor I decided to start experimenting and finally created this super delicious 3-tomato gnocchi.
I was able to find some local, big, austrian tomatoes in different colors and shapes, at the farmers market, which I really liked (the more local the better!!), and all were organic from farmers around and did not contain any chemicals or anything else they didn’t need. I honestly loved the variety of color and really liked the different shapes, which made every single tomato unique. I definitely prefer them having different shapes and sizes without any artificial stuff in them than having 10 tomatoes with exactly the same color, the same shape, and the same taste, which 1) is boring & 2) not natural! I also found some small honey tomatoes which are my favourite! (Best snack ever!) They are sweet, have a great texture and just every bite is treat. The third kind of tomato I used was tomato paste, to intensify the flavor, and I would definitely not leave out when making this because it does make a difference!!!
I also used fresh basil from our garden, white wine from the vineyard next to our house, and some sour cream from Austrian farmers (if you want to make a vegan version of this sauce, either leave out the sour cream at all or substitute it with coconut cream or another vegan cream cheese substitute)! The prawns that I used were from Italy and I bought them frozen so that they are really fresh. For this dish I used parted tiger prawns because I do not like to have small prawns where there only is one bite. I’d recommend peeling them before grilling or frying them since I believe that it is easier do this before than after cooking but if you prefer peeling it after to give it a look then that works too!
When it comes to gnocchi I would always recommend using fresh ones. I personally do not like the packaged ones a lot since most of them only tend to become more and more the longer you chew them. You can either make them yourself or if you have a gourmet food store or an Italian store close to where you live, Idaho recommend buying fresh gnocchis there because the quality of fresh ones is just better. I used frozen ones I made over a year ago, which was not the best decision because they were in the freezer for pretty long, so they turned very mushy as soon as I cooked them. It didn’t make a difference in taste but in the looks. So if you can, use as fresh ones as you can get. Of course, if you do not like gnocchi, the sauce also tastes really really good with some pasta or even with rice!
I always make this dish when I start to miss Italy, and it is especially delicious in summer when the tomatoes are fresh, seasonal, and so flavorful. It also is a really healthy and balanced dish. You get some good carbs and vitamins out of the potatoes in the gnocchi, a lot of vitamins and antioxidants from the tomatoes, healthy fats from the olive oil, and some protein from the prawns. It is such a delicious and simple dish that will please the entire family and satisfy all your needs. I hope that you will like this dish and if you have any questions just leave them in the comments, I will answer you! If you are recreating it, just leave the hashtag #unepetitcuisiniere and I will see them!
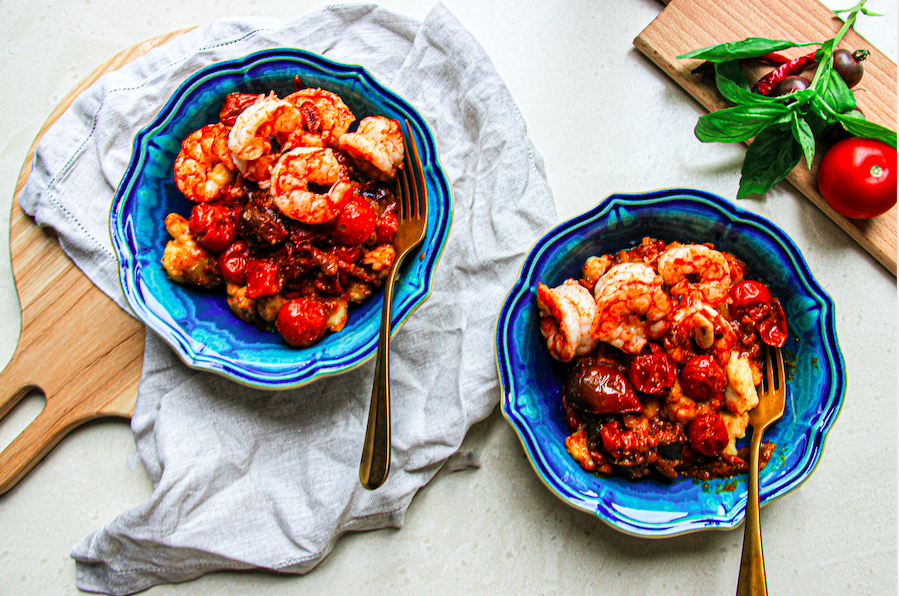
3 Tomato Gnocchi with Garlicky Prawns
A delicious & quick weeknight dinner
What you will need
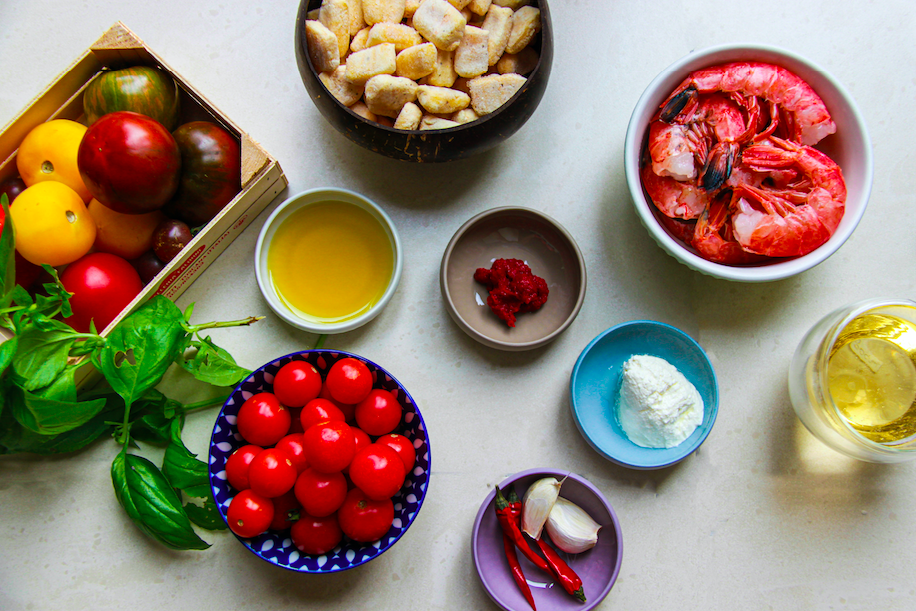
Thats what you will need:
- 500 g Tomatoes lrge, and best different colours
- 200 g Cherry tomatoes
- 20 ml Olive Oil
- 1 tbsp Tomato Paste
- 1 Chili
- 1 tbsp Sour Cream
- 125 ml White Wine
- 3 Garlic Cloves
- 300 g Tiger Prawns
- 300 g Gnocchi
- 1 handful Basil
How to
Thats how it works:
-
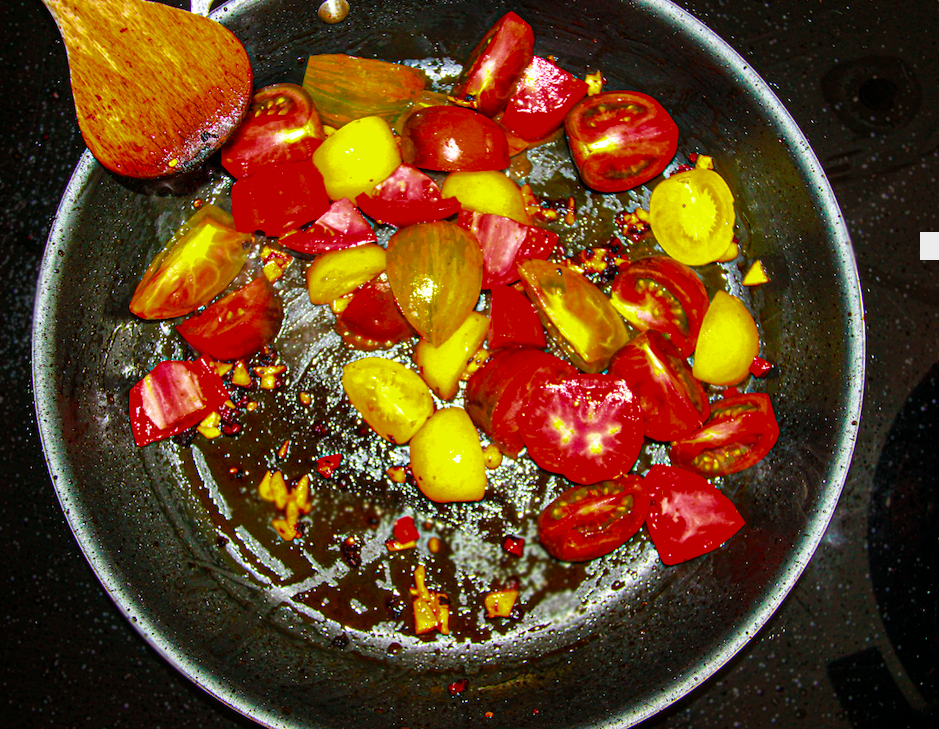
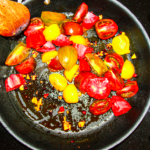
Cut the large tomatoes into 2cm cubes. Half the cherry tomatoes. Peel and finely slice one garlic clove and chili. In a big pan heat up half of the olive oil. In a smaller pot start bringing some water to a boil. When hot add the tomato paste to the oil and stir well until everything is well combined. Then add garlic and chili into the Oil and saute until it starts to turn golden-brown. Add the tomatoes into the pan and saute them for about 3 minutes. Pour the white wine over the tomatoes and add the sour cream and let it all simmer for 10 to 12 minutes. Generously salt and a little pepper. If it gets too thick, add some more wine, if it is too thin add some more sour cream or let it simmer for a little longer.
-
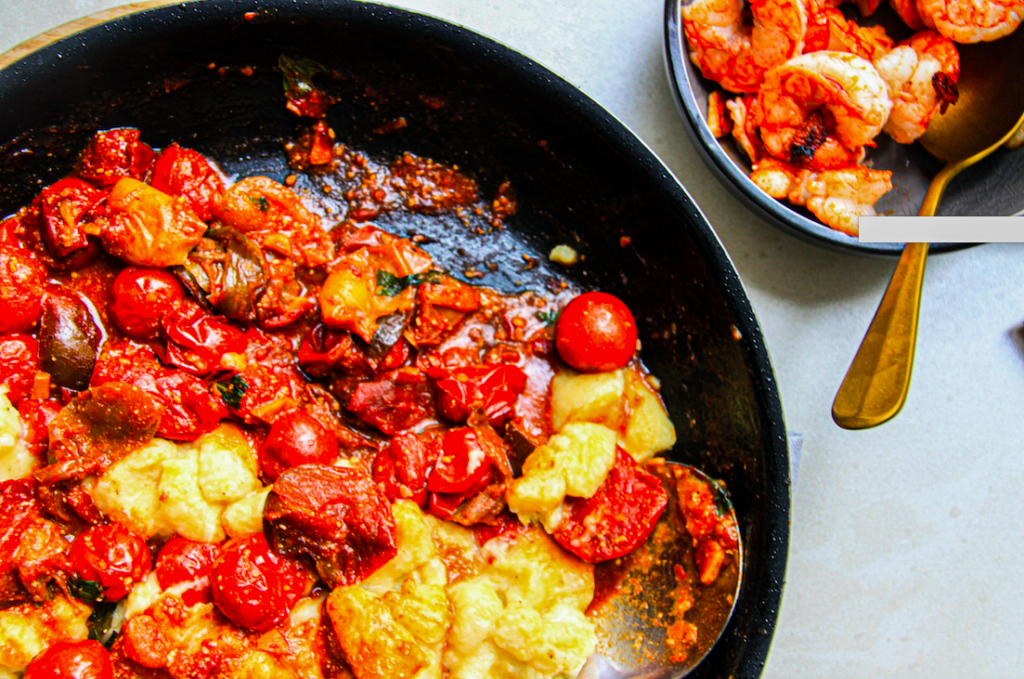
Meanwhile peal the prawns, slice the other 2 garlic cloves, and add the remaining olive oil into a pan and heat it up. Cook the Gnocchi in the boiling water for about 3 minutes (depending on the Gnocchi you have), until soft. Fry the prawns with the garlick in the oil for about 2 minztes on each side.
Cut the basil into thin strips and add into the sauce. Keep a few leaves for the garnish.
-
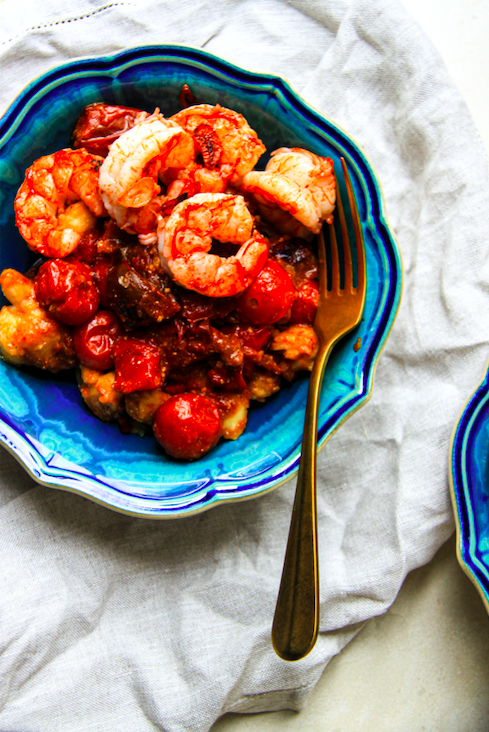
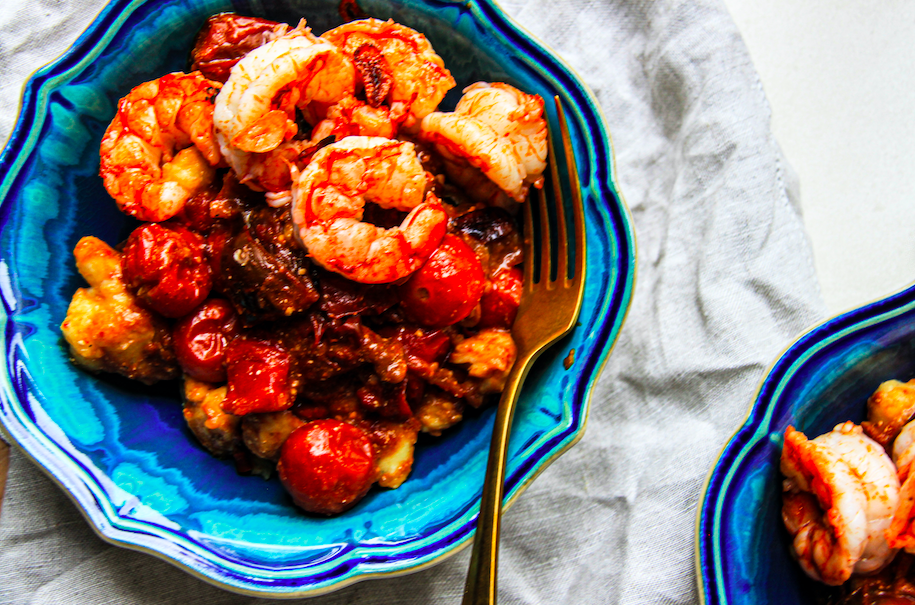
Drain the Gnocchi and add to the tomato sauce. Divide it onto 2 plates, add the prawns and garnish with basil.
Serve & enjoy!