• Zur Hauptnavigation springen
  • Skip to main content
  • Zur Fußzeile springen

feel food club

  • Home
  • About me
  • My Recipes
  • Blog
  • Navigation Menu: Social Icons

    • Instagram

honey

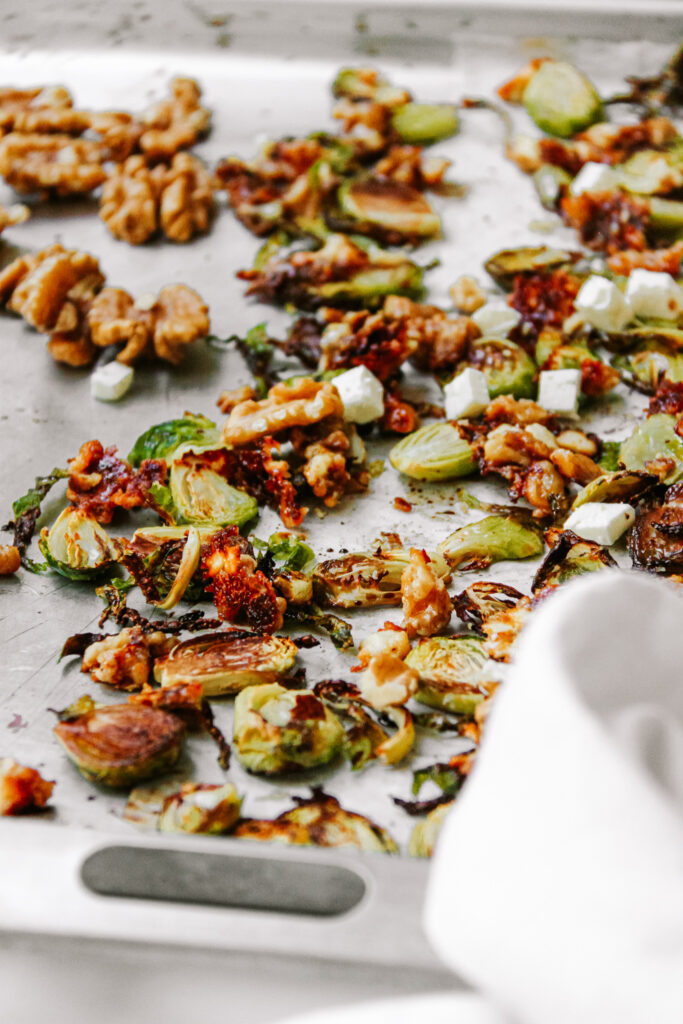
Crispy Balsamic Brussel Sprouts with Honey Feta Caramelised Walnuts

Oktober 28, 2020 by katharina.kuehr Kommentar verfassen

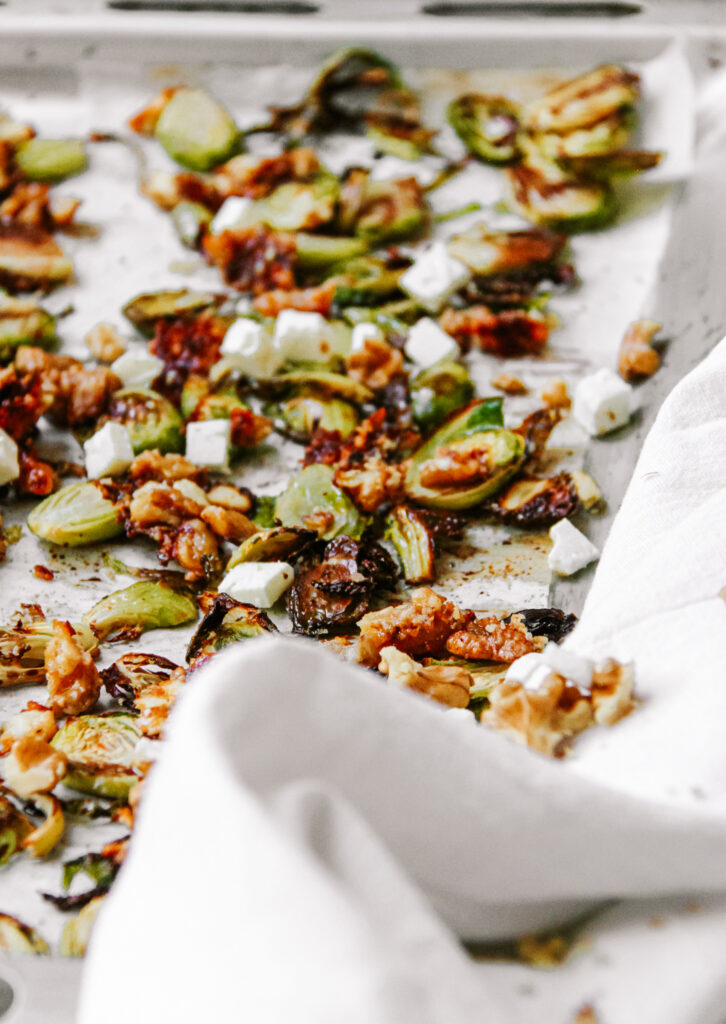
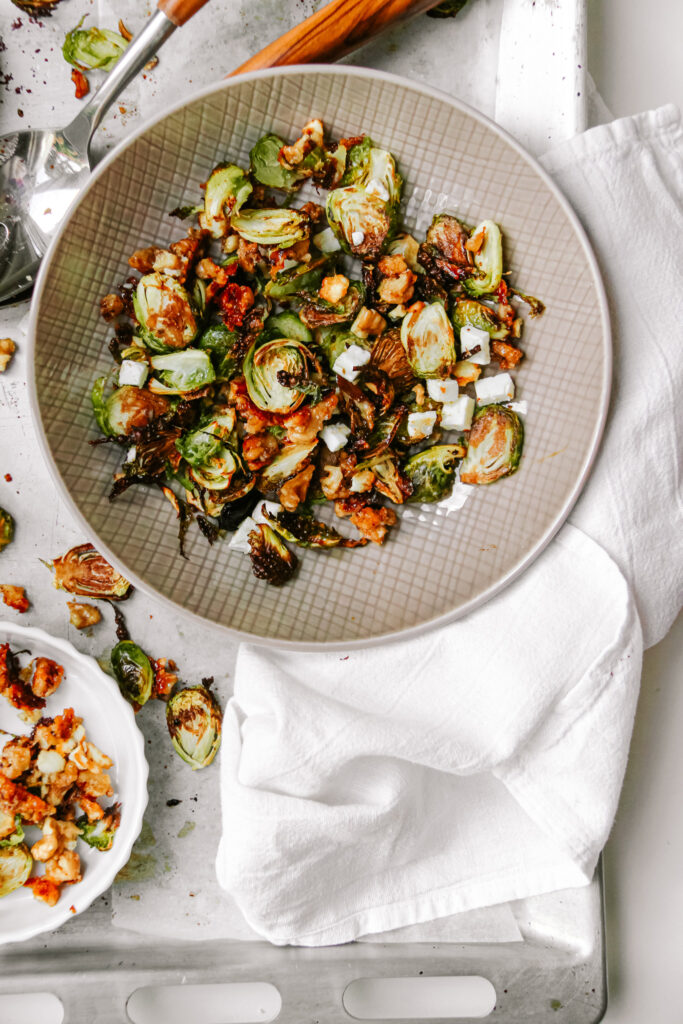
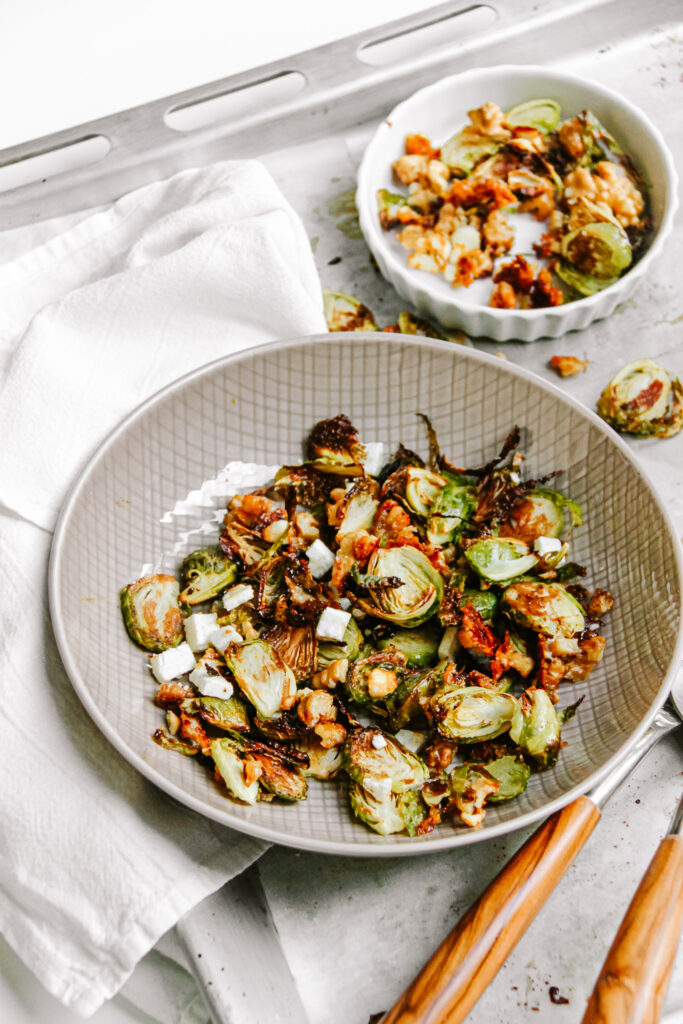
Let’s just agree on one thing; veggie side dishes are underrated. It is true, very true actually that all side dishes are underrated! To be honest, I do not need the main part of the meal, just the sides if I was asked. Imagine this: super crispy balsamic vinegar glazed Brussel sprouts baked in the oven and topped with warm walnuts that are coated with honey and molten Feta. Sounds good, right? If you tried this, you would agree that sides are underrated!
What is special about this dish?

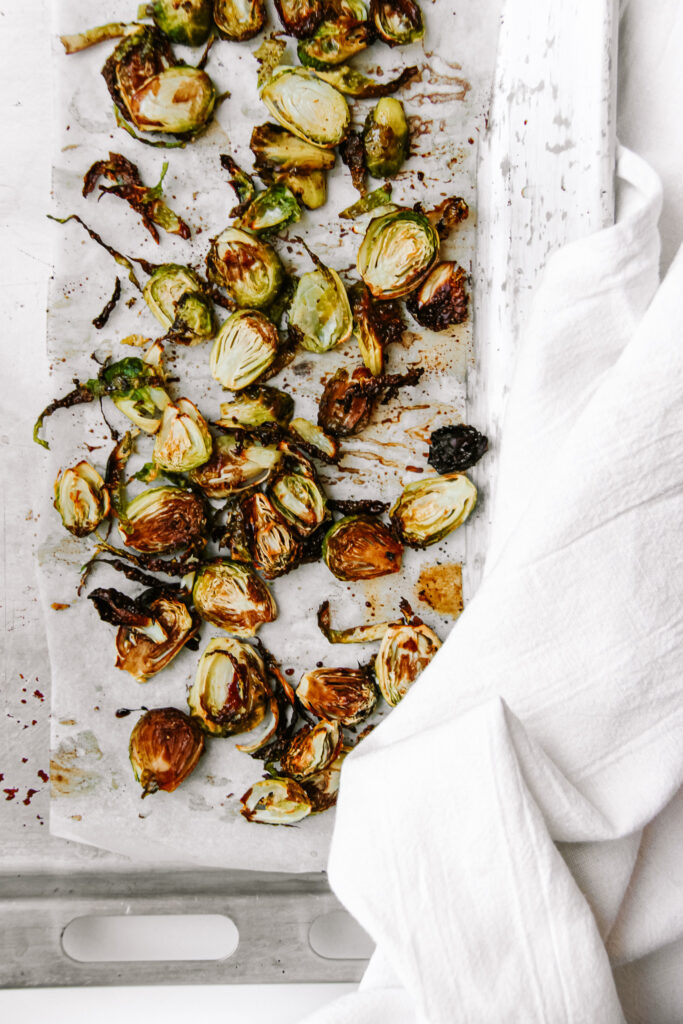
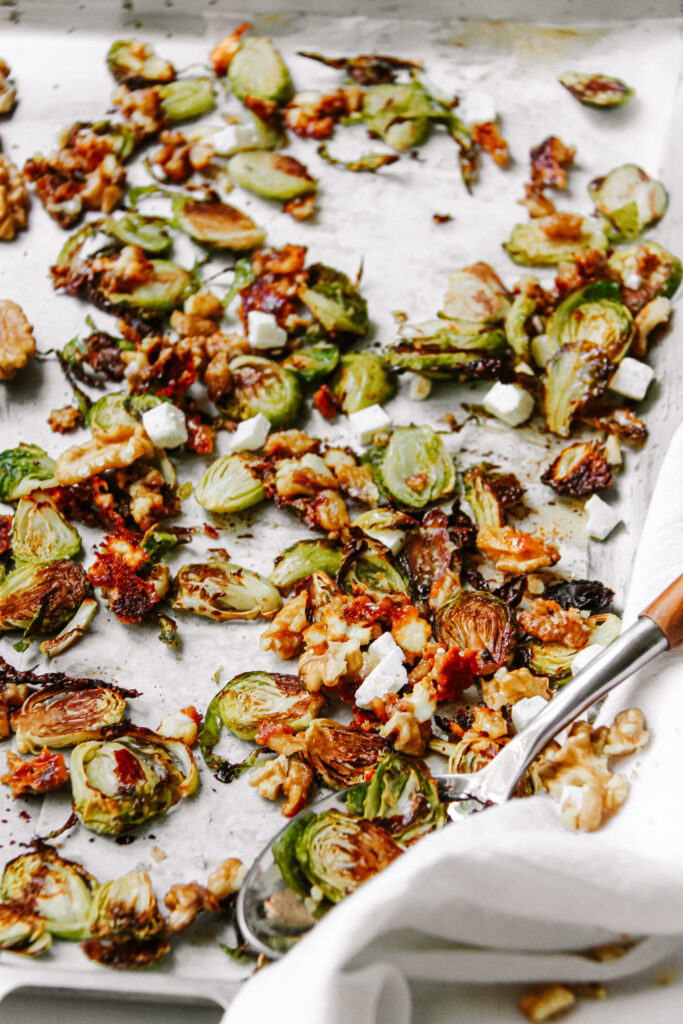
The walnuts are prepared in a very special way, which I have never seen before. They are coated with a slightly sweet molten feta. I promise you, this is good (really, you could only eat this)! The Brussel sprouts are more „traditionally“ prepared but still equally as good! The balsamic vinegar adds very much taste and the oil and sea salt make them really crispy.
Is this dish healthy?

Yes and yes! Brussel sprouts = super healthy. Loaded with Vitamins, fibre and nutrients. They actually have been the food of the month October, you can read more about them here. The walnuts are incredibly high in healthy fats and they have many other health benefits. My uncle always said, eat them while studying because they improve your brain (it actually is proven that they improve brain function) – so yep, also these are healthy. And feta? It is pretty high in protein and way healthier than most other cheeses. So all in all, very very good.
How to make them?

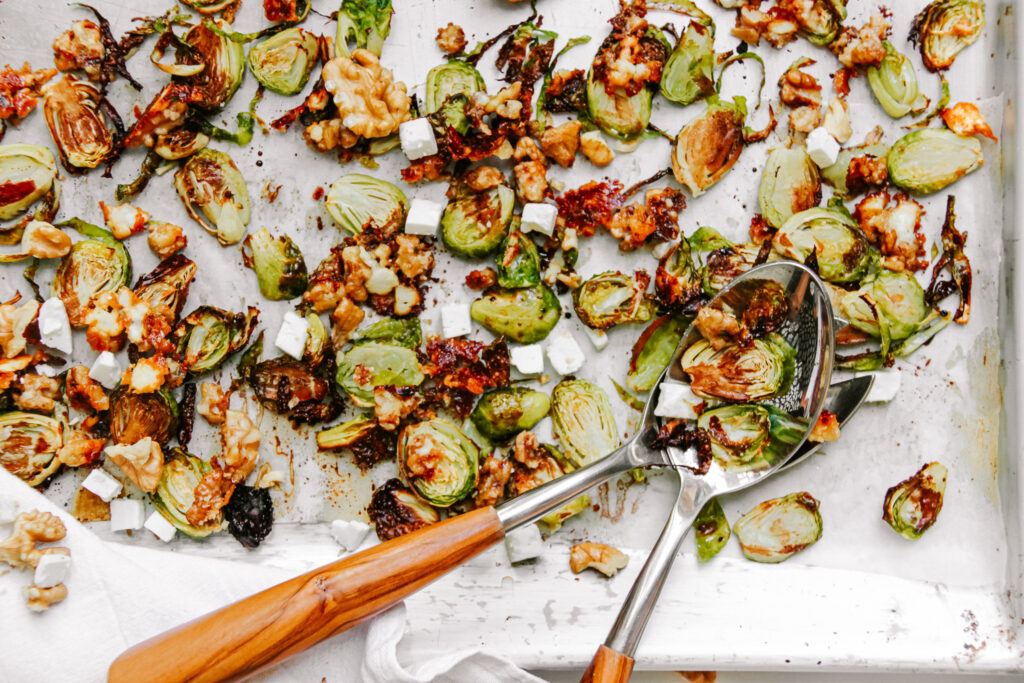
This is incredibly easy. First you need to finely slice the Brussel sprouts and roast them in them in the oven. No mess in the kitchen but lots of flavour. Then, you need to prepare the nuts. This means, roughly chop the nuts and add them to a pan. When roasting nuts, you do not need any oil (when using a non-stick pan). Then you add the crumbled (or finely chopped) feta along with the honey and a pinch of sea salt. The heat of the nuts will melt down the feta and make it goey and creamy. This then combines with the honey and it is incredible. When you let it cool just a little bit, it will all crispen up, and then its perfect. When the Brussel sprouts are golden and crispy, take them out and to with the nuts. That’s all.
When and how to best have them:

I love this as a side dish for anything. Not only as a side but also as a topping. For example with a roasted meat, especially now in fall, it is amazing. But also on top of buddha bowls, rice bowls or even on top of pasta it would be amazing. There are no limits, it truly upgrades any dish. Plus, it is pretty family friendly because you get your nutrients through the veggies and it still tastes amazing because of the slightly sweet nuts. It kind of is like comfort food but still healthy.
Substitutes

Brussel sprouts – other veggies like pumpkin, sweet potato or broccoli would also work very well, just notice these would take longer to roast
Walnuts – almonds, pecans, hazelnuts
Honey – maple syrup, agave, other liquid sweeteners
Feta – I would not recommend substituting that (if there really is no way around, maybe with another soft cheese)
I hope that you will love this recipe and that you will enjoy it all throughout fall. Goes well with everything anytime. A must try – especially because it is so easy!

Print

Crispy Balsamic Brussel Sprouts with Honey Feta Caramelised Walnuts

Crispy and golden brussel sprouts topped with sweet and goey walnuts coated in molten feta. A perfect, comfortiung and still healthy side dish!

Course Appetizer, Side Dish
Prep Time 5 Minuten
Cook Time 25 Minuten
Total Time 30 Minuten
Servings 4 side servings
Calories 245 kcal

What you will need

  • 600 g brussel sprouts
  • 1 tbsp olive oil
  • 1 tbsp balsamic vinegar
  • 1 tsp sea salt
  • 60 g walnuts
  • 60 g feta
  • 2 tbsp honey

How to

  1. Preheat the oven to 200°C. Wash the brussel sprouts and pat them dry. Slice them into about 3-4 mm thick slices. Toss the in the oil and salt and lay them out on a baking tray, leaving space inbetween them. Drizzle with the balsamic vinegar and roast for 15-20 minutes until golden brown and crispy.

  2. Roughly chop the walnuts and crumble the feta into small pieces. Add the nuts to a non-stick pan and turn onto high heat. Roast them for about 2-3 minutes. Add the feta and honey. Let the feta melt down and the gently stir through until the walnits are coated with the feta cheese. Turn down to low heat.

  3. When the brussel sprouts are done roasting, top them with the caramelized nuts and serve! Enjoy!

Happy cooking,
Enjoy,
Katie // Une Petite Cuisinière
Kategorie: Diet-Specific, Fall, Season, Side, Vegetarian Stichworte: 30 minute, brussel sprouts, caramel, easy side, fall food, family friendly, feta, healthy side, honey, nut, quick, side sit, vegetarian, walnuts

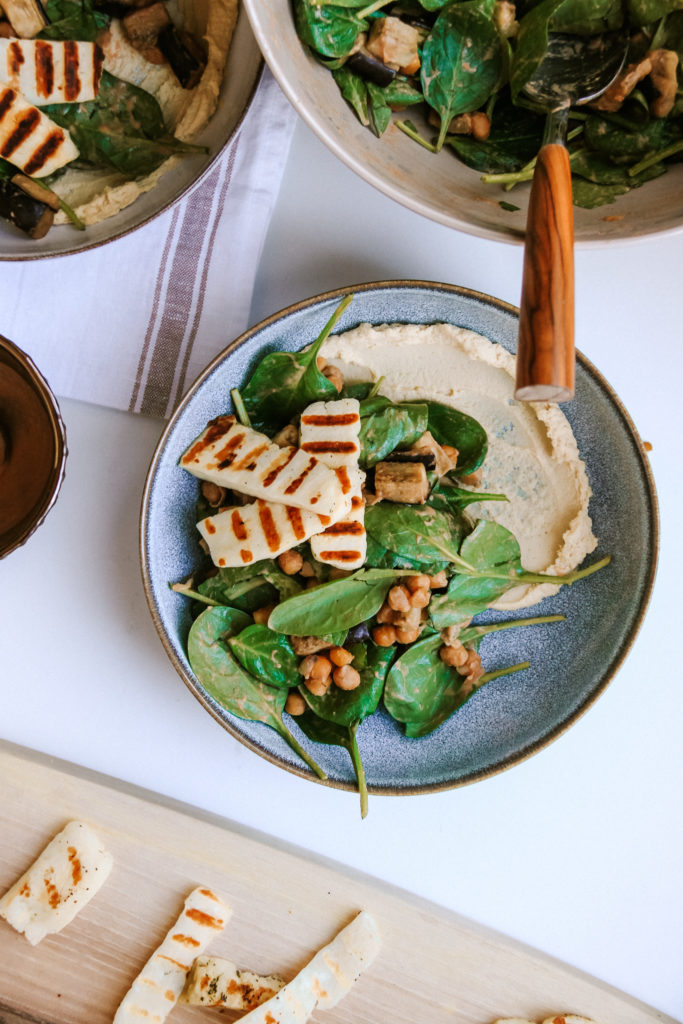
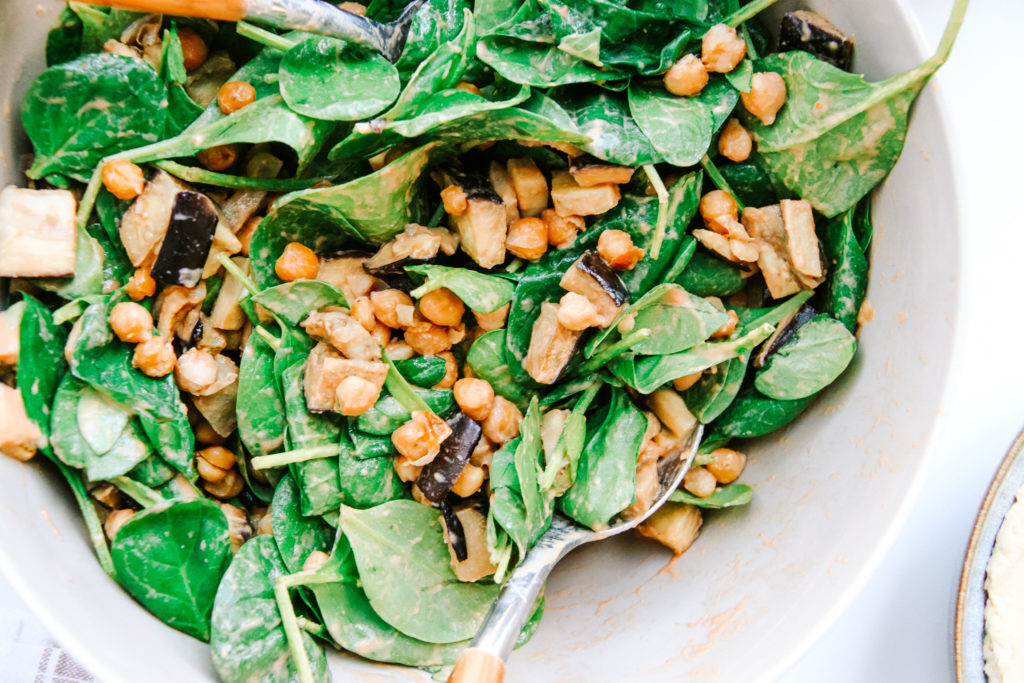
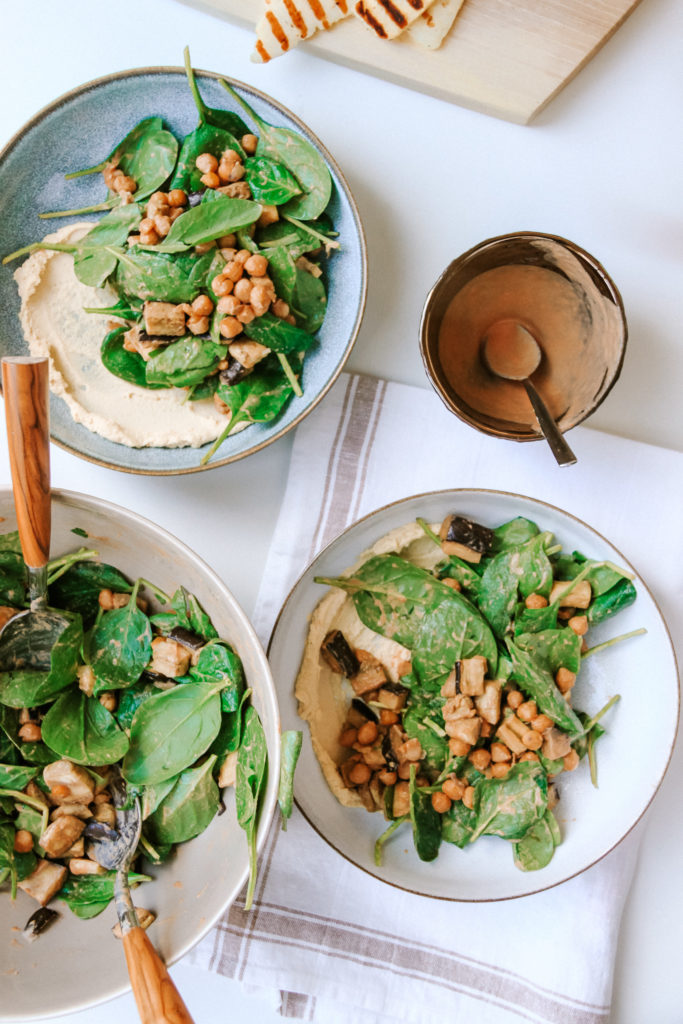
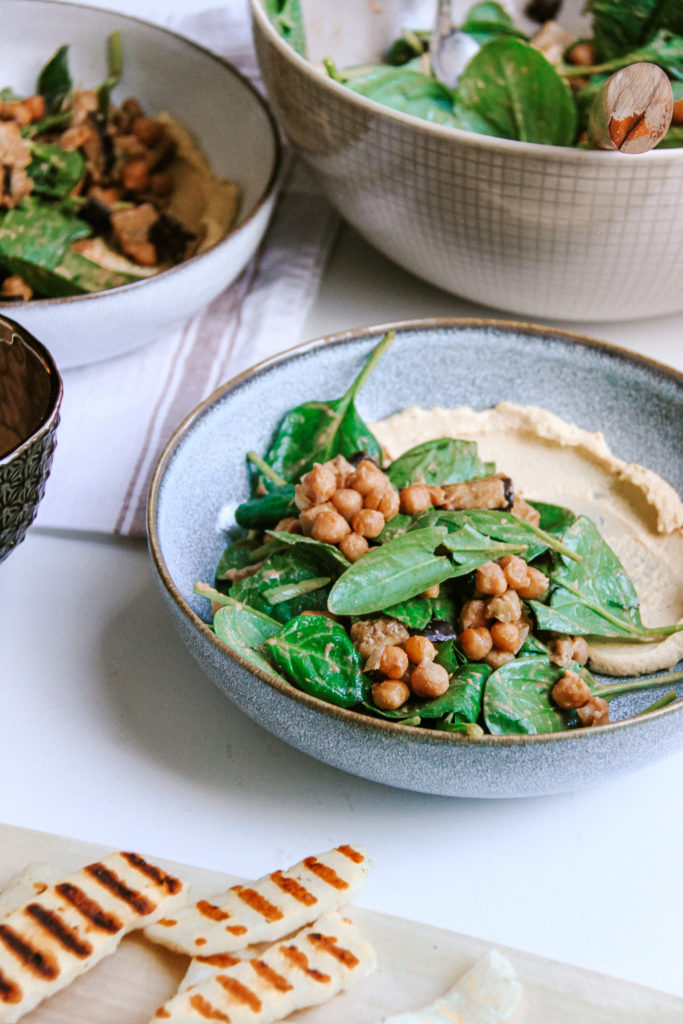
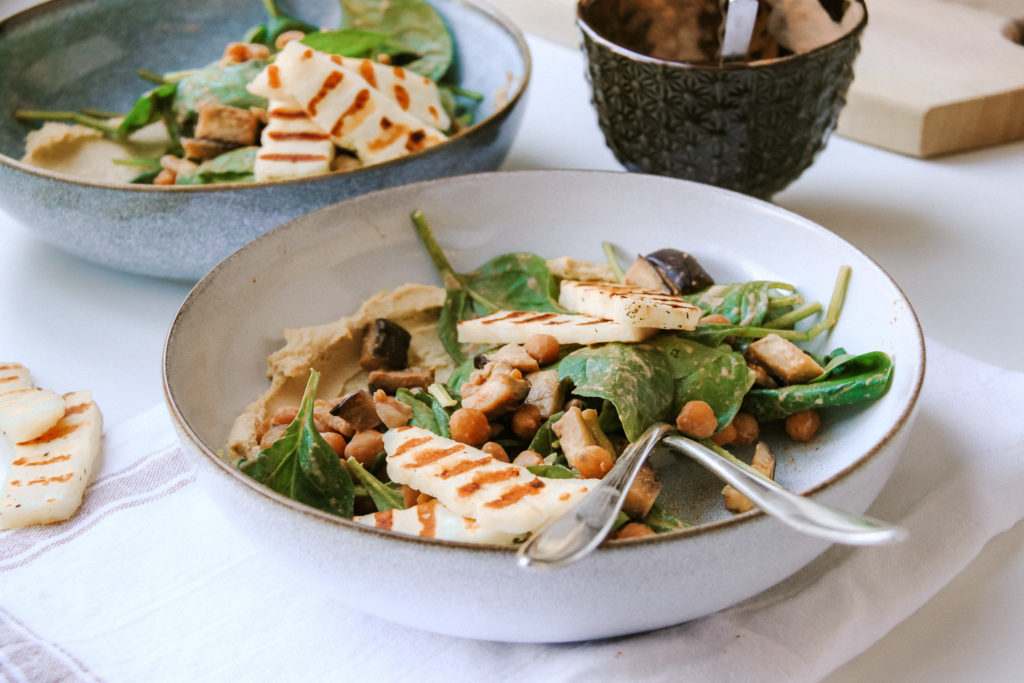
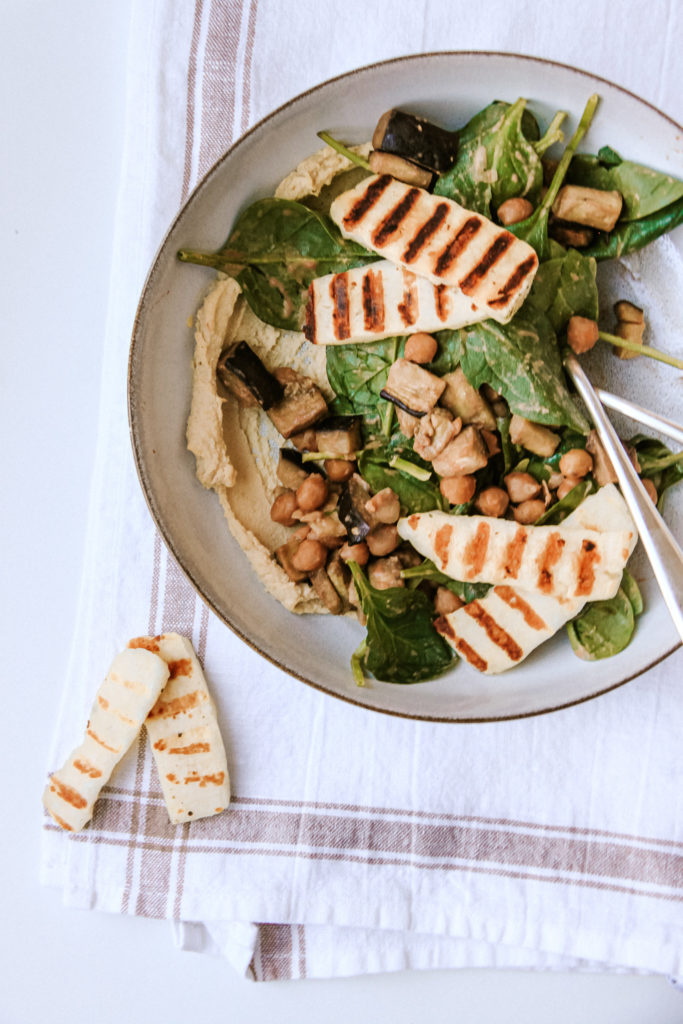
Honey Eggplant and chickpea salad with grilled halloumi

April 18, 2020 by katharina.kuehr Kommentar verfassen

Sounds like a lot and it is. So many flavors, so much goodness but still so simple and quick. Leave the boring salads behind and start making those next level ones. Salads have never tasted that good! 

Sunmer ist getting closer and closer, which means many people try to live and eat healthier. And whats the stereotype thing to do in order to eat healthiet? Salads! But contrary to commin believes, the plain ones only containing leaves and a dressing, maybe a piece of chicken, are bot the healthiest ones! 

Why are conventional salads not necessarily healthy?

Because they will fill you up for an hour maximum and wont leave you satisfied! Whats the problem with that? If you are not filled and satisfied for long, you will start to get hungry again very soon and snack or binge eat on unhealthy things as you will develop cravings for that. In order to bot develop these, it is important to have a filling, nutritious and delicious meal. And I know that this can be difficult with salads but believe me, this one is everything else than boring. 

Whats in it?

You bake the chickpeas and eggplant in the oven, with a slight olive oil and honey drizzle to get them crispy and a bit sweet. Honestly, life changing! If you habe never done chickpeas or eggplant with honey, I‘d say you should head straight to the kitchen and get started! And its so simple! You place the main components of the salad in the oven for 20 minutes and you are already half way there. 

The most extra dressing

The remaining base of the salad is some basic spinach. Bot a lot, just to add some color and vitamins! But whats a salad without a dressing? My brother would say rabbit food! And he is right. It is boring and plain. I do not get those people who skip on salad dressings because they literally are the easiest thing ever and add a ton of flavor. Honestly, don‘t skip on that. In here we have a super extra, still super simple dressing. 3 ingredients (!!) so much flavor! The ingredients are purred tomatoes (the ones from the can or box), Tahini and lemon juice. I do not know why I have never thought of making dressing with tomato sauce before but it is good. I wouldn‘t do it with a green side salad but on top of buddha bowls or italian inspired ones or ones that are pretty extra, as this one, this is so good! Highly recommended!

The star of the show

Last but definitely not least, the grilled halloumni. I have never had halloumni up till a few months ago and from then on it is a must in my diet! So addictingly good. On salads, on bowls, on pasta, on everything. It really adds this last pinch of salt to anything. Like here. It adds the extra wow, the saltiness and satisfying touch. We essentially only need to grill it for a few minutes on each side and thats it! Assemble! You can serve it with some bread, although I believe that this is not necessary because it is amazing and filling as is! 

You can meal prep it, just leave the dressing extra and keep in mind that the halloumni won’t be as melty and good but it still tastes pretty solid. My recommendation: make it fresh, it is better.

I hope that you will like this recipe and that it will change up your regular salad routine a little! 

Enjoy,

Print

Honey Eggplant and Chickpea Salad with grilled Halloumi

Next level salad. Has nothing to do with the boring image of salads you have in your head. Sweet and tangy eggplant & chickpeas, combined with salty fried halloumi and the most extra dressing. Enjoy now & Thank me later!

Course Appetizer, bowl, lunch, Salad
Prep Time 5 Minuten
Cook Time 20 Minuten
Total Time 25 Minuten
Servings 4 servings
Calories 366 kcal

What you will need

  • 2 large handful spinach
  • 160 g chickpeas from the can, rinsed, drained, and pat dry
  • 1 eggplant
  • 2 tbsp olive oil
  • 1 tbsp honey
  • some salt & pepper
  • 200 g halloumi
  • 1/2 lemon juiced

For the dressing:

  • 2 tbsp Olive Oil (just pured tomatoes from the can/ boy without anything)
  • 1 tbsp Tahini
  • 1 lemon juiced

How to

That is how it works:

  1. Slice the eggplant into about 2 cm sized cubes. Drain, rinse and pat the chickpeas dry. Place both in a bowl. In a seperate bowl combie the olive oil, lemon juice and honey. Generously salt and pepper the eggplant and chickpeas and then toss in the dressing. Bake for abou 20 minutes at 180°C.

  2. Meanwhile combine all the ingredients for the dressing.

    Heat up a grilling pan to high heat. Slice up the halloumi in about 0.5 cm thick slices. Just before the chickpeas are done baking, fry the halloumi on it for about 2-3 minutes on each side until it gets some grilling marks and melts nicely.

  3. When the tray is done baking, combine the ingredients with the spinach and the dressing. Seperate on bowls and top with the grilled halloumi!

    Serve and enjoy!

Katie // Une Petite Cuisinière
Kategorie: Diet-Specific, Lunch/ Dinner, Salad, Season, spring, Vegetarian, Vegetarian Stichworte: best salad, cheese, chickpeas, extra dressing, extra salad, filling salad, halloumi, healthy, healthy salad, honey, plants, salad, salad dressing, salad season, spring, summer, vegetarian, vegetarian salad

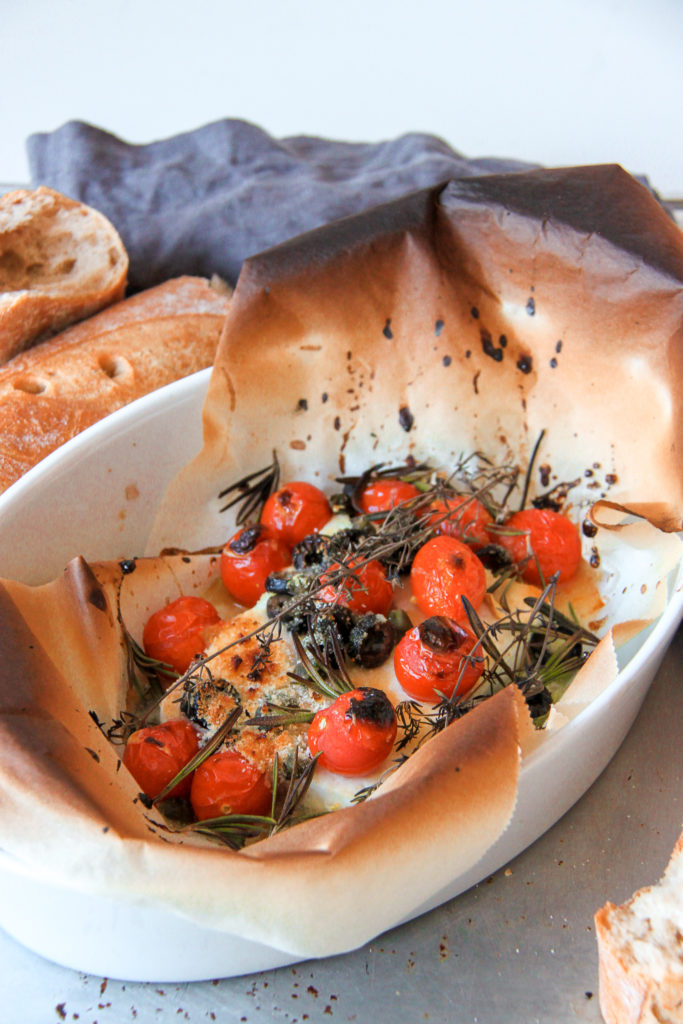
Oven Baked Lemon Honey Feta

Februar 17, 2020 by katharina.kuehr Kommentar verfassen

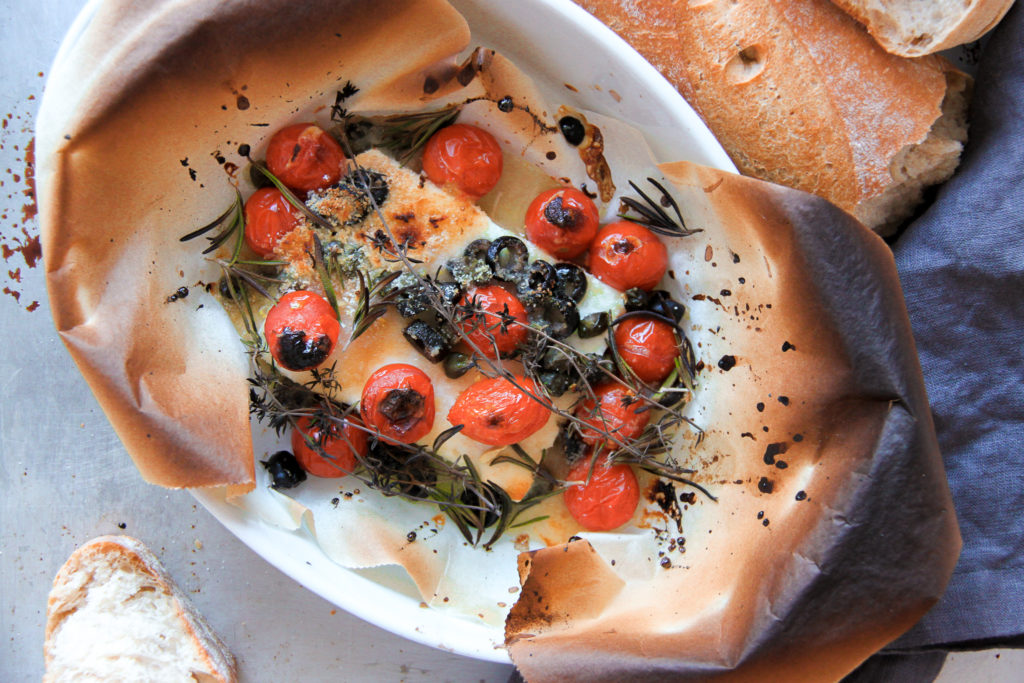
Crispy and creamy cheese, lemony twist, honey tomatoes and tangy capers. Maybe with some baguette to dip everything up? Sounds pretty good – at least to me! 20 minutes, perfect for anyone, vegetarian, and pretty healthy too! This makes a perfect light lunch or a decent and quick weeknight dinner.  

I am a huge fan of feta cheese. I think it is a great addition to so many things such as pasta, eggs, on top of salads or bowl, or whatever. It just adds the finishing touch and takes everything next level. Especially in summer it is such an amazing food because it is a little fresh so it adds a summer twist to every dish. 

What is it like?

In summer when my uncle goes to Greece every year he always brings me a giant block of feta and it is like a dream. Then we´ll have Greek salads pretty much every day. They are just so simple in summer and take literally 10 minutes to make. This dish is pretty similar. Think Greek salad but baked. And without cucumber. It has very similar ingredients, tomatoes, feta, olives, herbs, olive oil. It is just a little different as it does not contain cucumbers (because baked cucumbers? I don’t know) and some lemon zest, which is like the best thing ever here. Plus some honey ad breadcrumbs to make it crispy and tangy. 

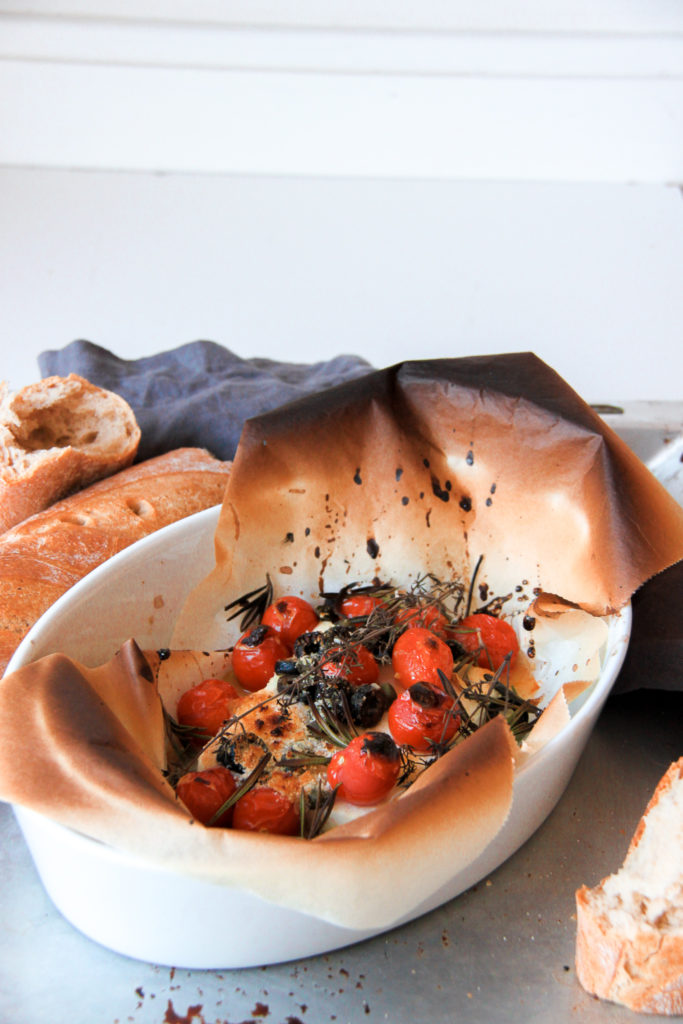
When you bake it and soak up the remaining sauce after with a baguette it just tastes sooo good! It is fresh, sweet, just super good. But my fvorite part of this dish is that the feta is turned into a creamy cheese but with a crispy crumble top and you just put a piece of it on some bread and have that creaminess and sweetness and crispyness all together in your mouth. 

But how do you actually make it?

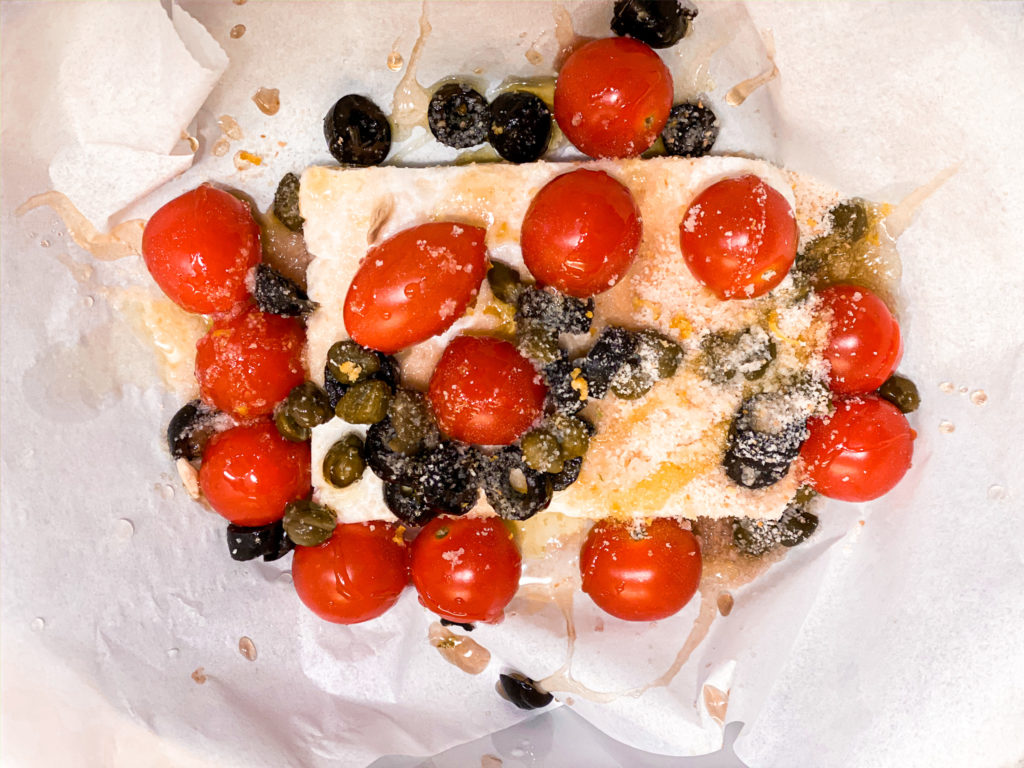
Really easy – you take the feta cheese and place it in a baking dish. Throw some cherry tomatoes, olives and capers in and some grated lemon zest. You sprinkle some breadcrumbs on top and drizzle honey, olive oil and lemon juice. Place in the oven for 10 minutes and voila – there you go, done! This is how simple it is. That is so great! That simple but so flavorful! Honestly so good. 

When and for who?

This dish also is great for people with intolerances because you can use gluten free breadcrumbs if you can´t have gluten and feta cheese is not made out of cow´s milk but out of sheep’s milk, which means even people with intolerances can enjoy that. I would not recommend it for meal prep because then you loose the creaminess and crisp but I do not believe that this is necessary because it only takes 15 minutes!

I hope that you will make and enjoy this dish whenever you want! It is as good in winter as it is in summer so it really is up to you when you make it!

Happy cooking!

Katie // Une Petite Cuisinière
5 von 1 Bewertung
Print

Oven Baked Lemon Honey Feta

15 minute, tangy, sweet and fresh baked feta with a crispy crust and sweet tomatoes. Ideal dish for a light lunch or a quick dinner.

Course dinner, lunch, Main Course
Cuisine greek, Italian
Prep Time 5 Minuten
Cook Time 10 Minuten
Total Time 15 Minuten
Servings 2 servings
Calories 325 kcal

What you will need

That is what you will need:

  • 1 block Feta Cheese (150g)
  • 1 handful cherry tomatoes
  • 1 tbsp olives
  • 1 tbsp capers
  • zest of half lemon
  • juice of half lemon
  • 1-2 tbsp breadcrumbs
  • 1 tbsp olive oil
  • 1 tbsp honey
  • some thyme
  • some rosemary
  • some sea salt
  • some baguette and salad to serve with

How to

That is how it works:

  1. Preheat the oven to 240C or Grill.

  2. Place the feta on a baking tray or into a baking dish. Add the cherry tomatoes, capers and olives. Sprinkle the breadcrumbs, lemon zest and some sea salt on top.

  3. Drizzle to olive oil, honey and lemon juice and place the herbs on top.

  4. Put in the oven and bake for 10 minutes.

  5. Serve with some fresh beguette and some salad.

    Enjoy!

Kategorie: Appetizers, Greek, Lunch/ Dinner, Salad, Vegetarian, Vegetarian Stichworte: 15 minute, 20 minute, baked, baked feta, dinner, feta, feta cheese, fresh, greek, healthy, healthy lunch, honey, lemon, light lunch, oven baked feta, oven baked lemon feta#, quick, quick dinner, simple, tangy feta, tomato, unchaining, weeknight dinner

Bircher Muesli with Honey Poached Apple

November 24, 2019 by katharina.kuehr 1 Kommentar

This Swiss style overnight oats is going to bring your breakfast to the next level! It is a great meal if you don’t have too much time in the morning because it littleraly takes 5 minutes when you have prepared it the night before. 

What even is Bircher muesli?

Bircher Müsli has actually been invented around 1900 by a Swiss doctor called Maximilian Bircher Brenner who served it his patients in the hospital as a medicine. The original recipe calls for rolled oats, water, cream, lemon juice, Apple and honey. In my recipe I have used almost the same ingredients but even made it a bit healthier.

Overnight oats vs Bircher muesli

Overnight oats are traditionally made either only rolled oats and milk soaked overnight. Bircher muesli also is made with oats being soaked in milk overnight but most of the time. To make it « Bircher » usually there are some nuts, seeds, dried fruits and yoghurt added overnight. When making “normal” overnight oats, you would only top them with fresh fruit, granola, nut butter and yogurt (usually but really depending on the preference) while for Bircher rules like the recipe calls for a freshly grated apple that you add to the yoghurt base. It then is topped with berries, bananas or apple, so just fruit. 

What do I need for this?

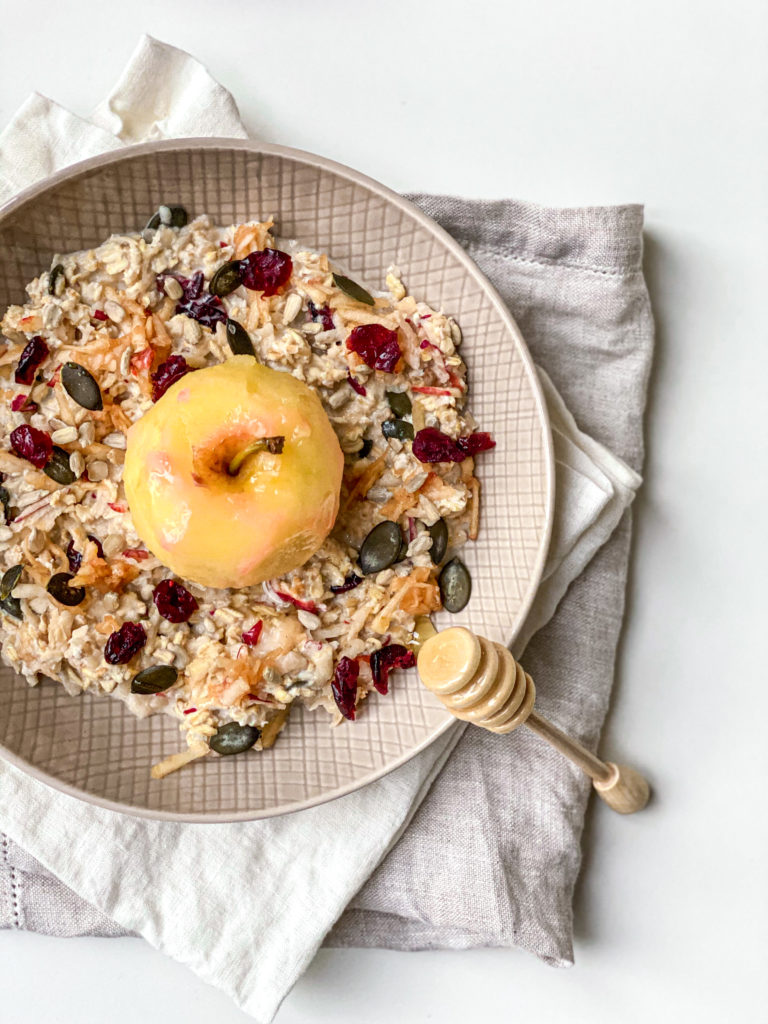
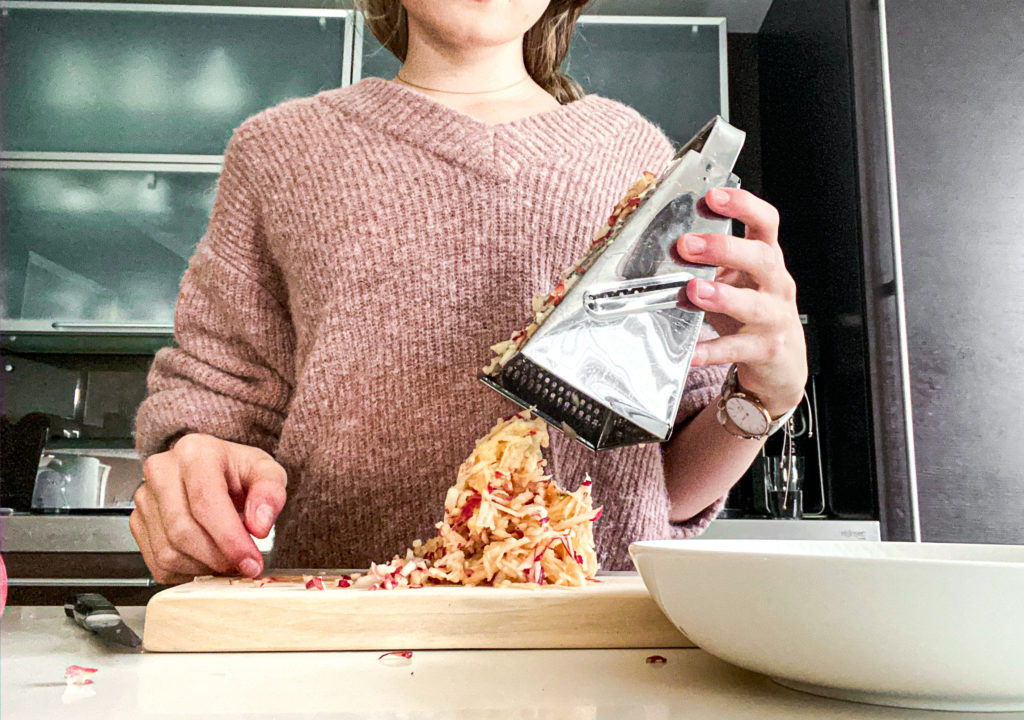
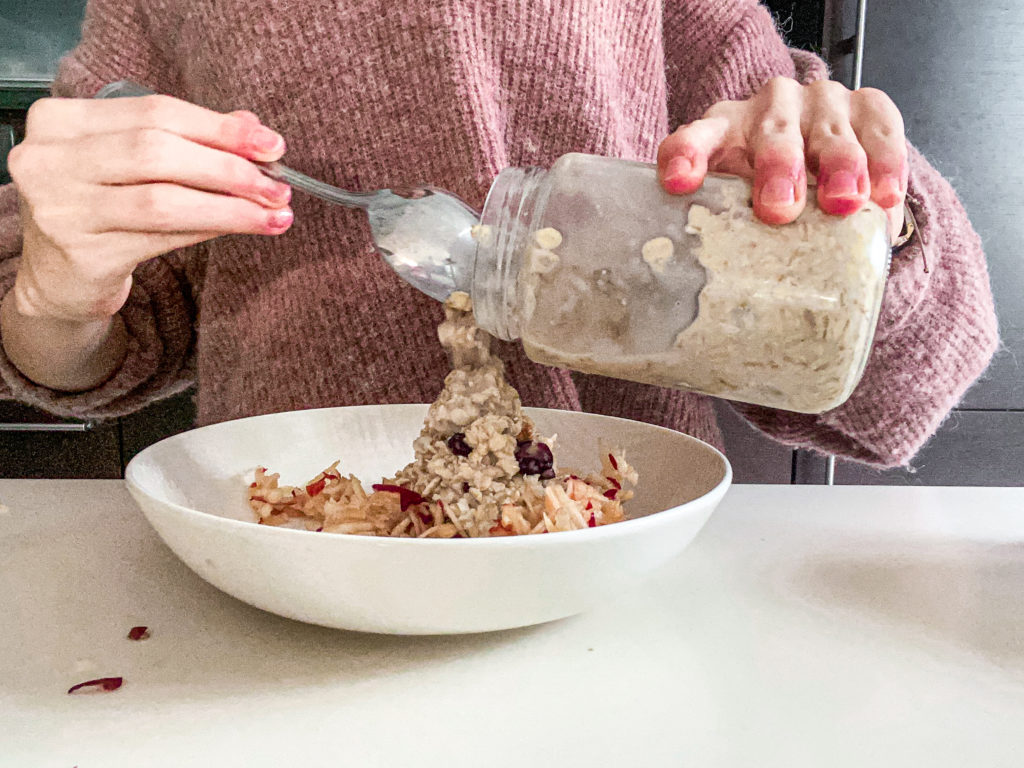
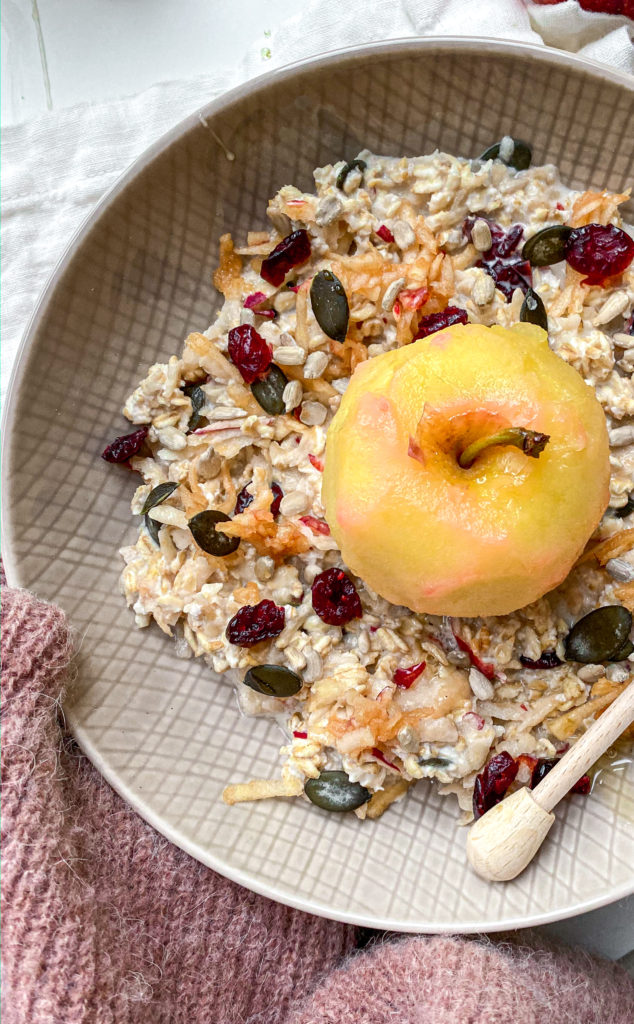
My basic recipe is really simple. You just have to add almond milk, yoghurt, rolled oats, seeds and/ or nuts, and some dried fruit to a jar and let them soak overnight! In the Morning all you have to do is take it out of the hat, mix under some grated apple and more yoghurt and serve! Honestly it already is incredibly delicious like that!! I love to eat it that way! 

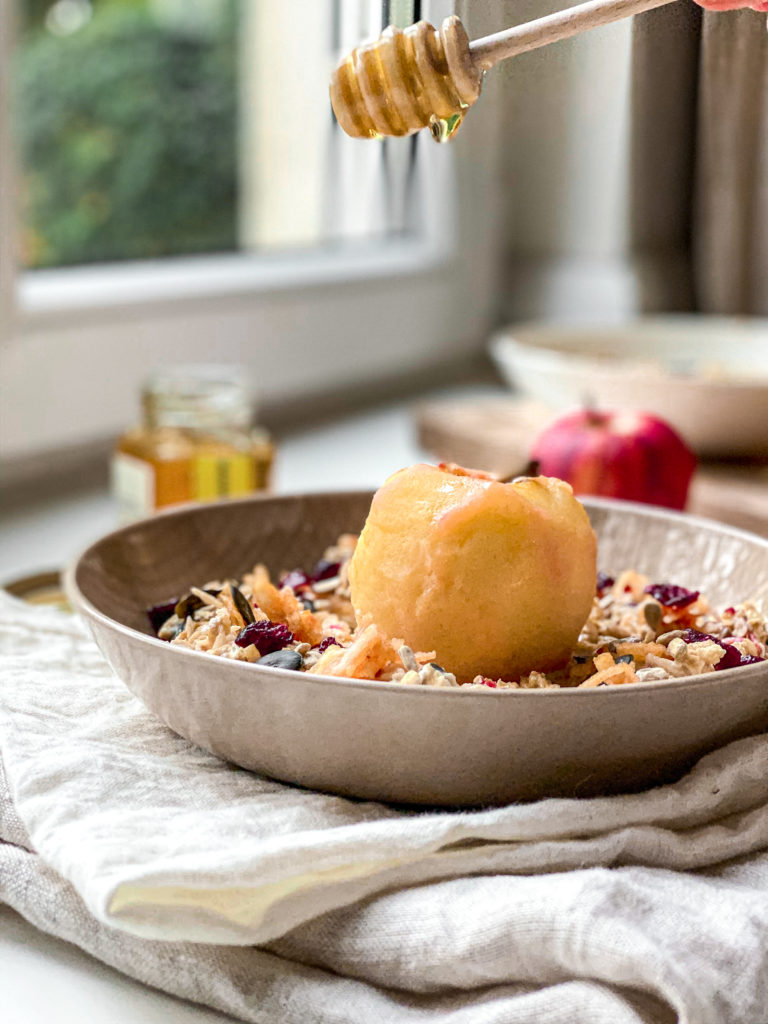
But in case you want to go next level, you can add the poached apple on top. This is not difficult either but takes some time. You can make this by adding an Apple into some simmering water with honey and apple sauce and let it simmer for about 20 minutes. Then you take it out, peel it if you want but it’s not necessary, drizzle some more honey and add it to the muesli! This takes it next level and is super good

My favourite honey utensil!

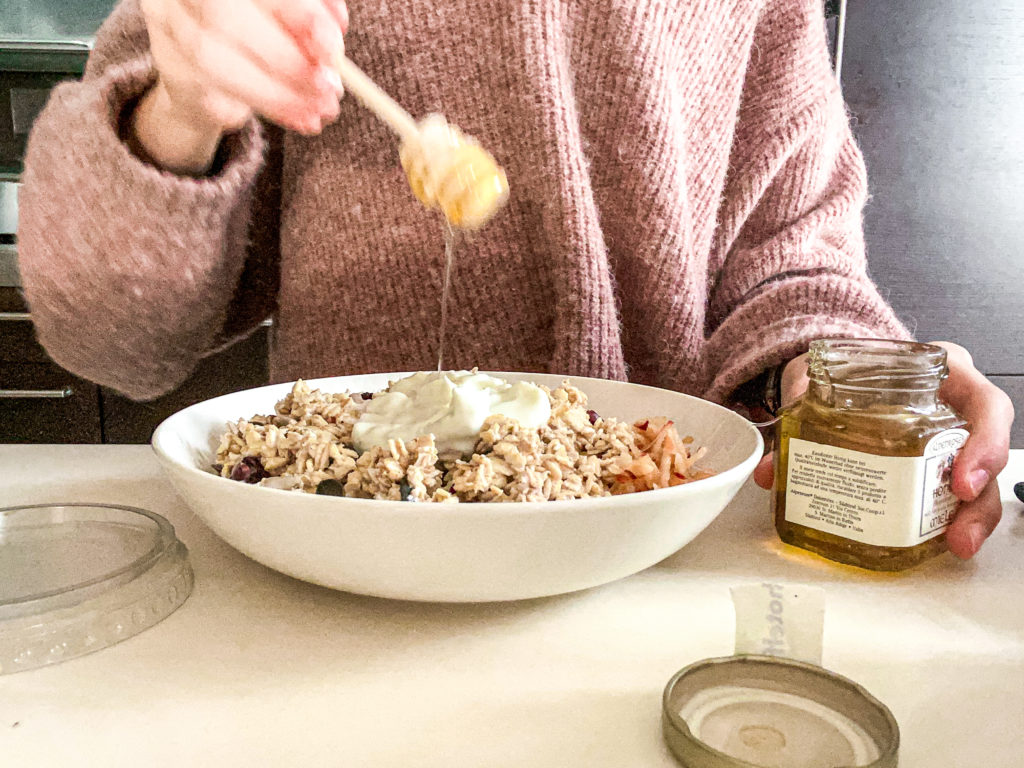
I think if you have been following me along on the blog, you probably know that I am in love with honey. The only thing is that it always is some plastic whenever you finish a packaging when squeezing it out. Because of this reason I have ordered the honey spoons from Tuuli kitchen ( http://www.tuuli-kitchen.com )! They are made out of natural wood and such a great utensil for honey! This way I can always buy and use honey from glasses and produce less waste. Plus they look super cute when serving! 

Is this Healthy?

Also the Bircher muesli is really healthy and nutritious. The oats provide you with good carbs, essential fiber, a good amount of protein and a lot of vitamins. The ains milk also adds some vitamins and liquids while the Greek yoghurt is packed with protein. The nuts and seeds give you the healthy fats you need and the dried fruit add some natural sweetness. The Apple also provides you a lot of vitamins and deliciousness. 

I hope that you will really enjoy this recipe! I honestly do and think that you will do so too! If you decide to recreate it be sure to tag me with @uneptcuisiniere or #unepetitecuisiniere! If you have time it would mean a lot to me if you would leave a comment and rating here on the blog too! 

Enjoy! 

Katie 

Print

Bircher Muesli

A delicious swiss breakfast recipe. It is similar to overnight oats, packed with nutrients and incredibly delicious! Enjoy!

Course bowl, Breakfast, brunch
Cuisine swiss
Prep Time 10 Minuten
Total Time 10 Minuten
Servings 3 servings
Calories 250 kcal

What you will need

The night before:

  • 100 g rolled oats
  • 200 ml almond milk
  • 1 heaped tbsp greek yoghurt can be substituted for a thick plant based yoghurt if making it vegan
  • 1 tbsp sunflower seeds
  • 1 tbsp pumpkin seeds
  • 1 tbsp dried cranberries or raisins
  • 1 tsp honey

The morning of:

  • 1 large apple
  • 3 tbsp yoghurt preferably thick such as greek yoghurt or skyr
  • a few nuts
  • some fresh berries for serving

How to

That is how it works:

  1. In a large jar or bowl add all the ingredients for "the night before" and stir until all mixed up. Place it in the fridge for at least 6 hours to overnight.

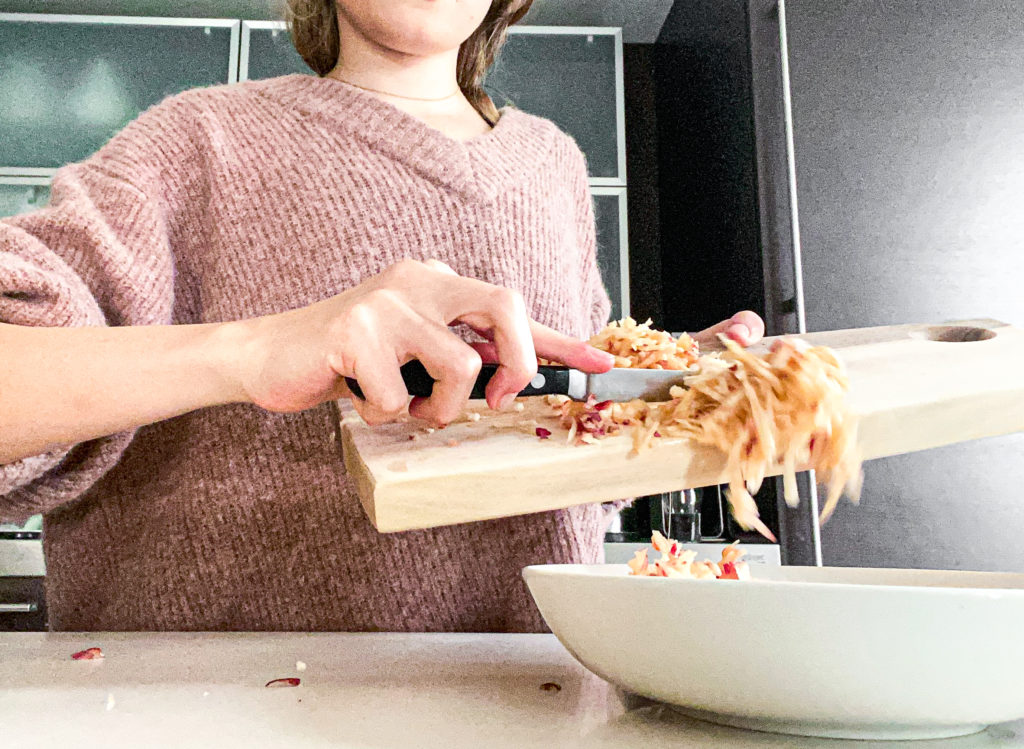
  2. In the morning take the jar out of the fridge and transfer it into a bowl. Grate an apple and add it to the soaked oats along with the yoghurt. Gently mix until evrything is combined. Sprinkle some more nuts or seeds and top with some fresh fruit or honey poached apple (see recipe below). serve and enjoy!

Print

Honey Poached Apple

This is a great way to prepare apples to use as a topping for bircher muesli, overnight oats, yoghurt or anything you like!

Course Breakfast, brunch, Dessert, Snack
Prep Time 5 Minuten
Cook Time 20 Minuten
Total Time 25 Minuten
Servings 1 apple
Calories 171 kcal

What you will need

  • 1 Apple
  • 2 tbsp apple Sauce
  • 1 tbsp honey

How to

This is how it works:

  1. Bring a pot with water to a boil. Add the apple sauce and honey and reduce to a simmer. Add in the Apple and let it simmer for 20 minutes.

    Once done take the apple out. You can peel the apple if you want, but it is not necessary. Drizzle some more honey and enjoy!

Kategorie: Breakfast, Desserts, Diet-Specific, Fall, Snack, Sugar Free, Swiss, Vegan, Vegetarian, Vegetarian Stichworte: Apple, appleseason, breakfast, breaky, brunch, fall, fallbreakfast, fallfood, healthy, healthy fall, honey, nut, nuts, plantbased, vegan, veganfall

Footer

What has been happening on my Instagram

Copyright © 2024 Une Petite Cuisinière on the Foodie Pro Theme