• Zur Hauptnavigation springen
  • Skip to main content
  • Zur Fußzeile springen

feel food club

  • Home
  • About me
  • My Recipes
  • Blog
  • Navigation Menu: Social Icons

    • Instagram

healthy

Think pink smoothie

Februar 27, 2020 by katharina.kuehr Kommentar verfassen

Spring slowly is coming and all the different colors are starting to appear in nature. So all beautiful colors are starting to appear in our food again as well! The season with many fruits and veggies in season is tarting and I am more than ready to head into it!

I thought, let’s not do a green smoothie because 1) I do a lot of recipes with greens and 2) many people are scared off by seeing green (not only in their drinks) as it often tastes too healthy! But the are so many ways to eat and drink healthy without needing to add spinach or broccoli. Just eat the rainbow, a little if everything and you will feel amazing! 

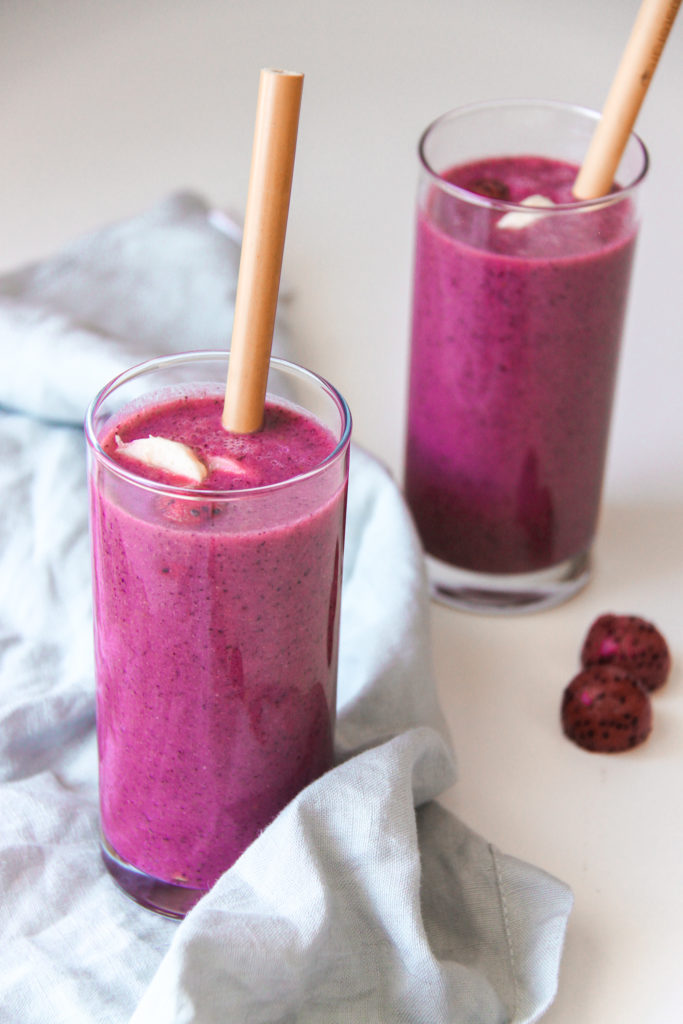
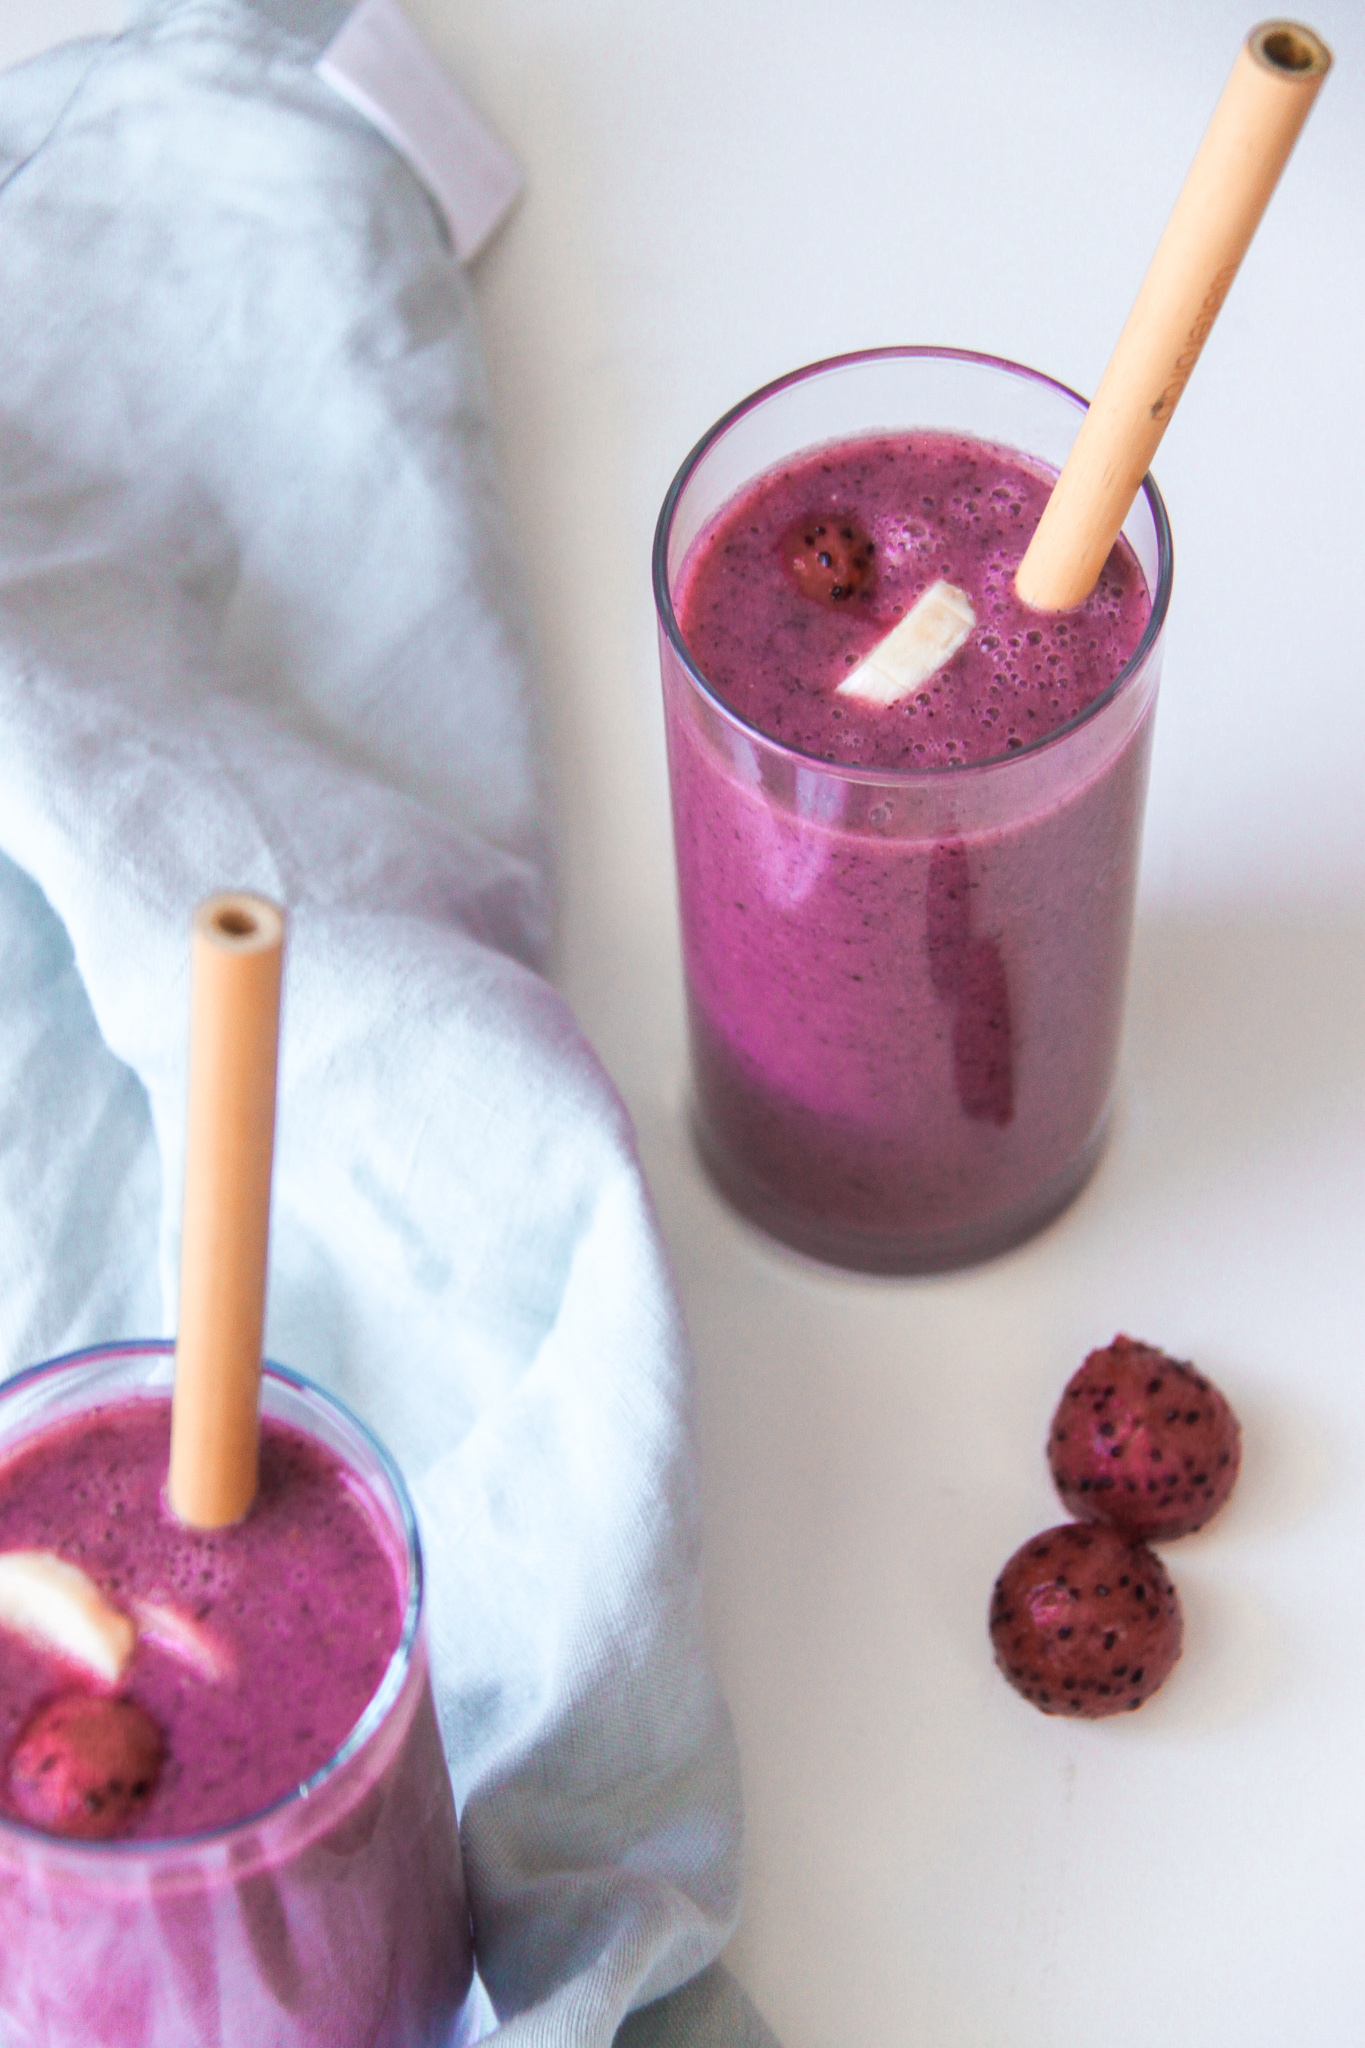
Today I am sharing a recipe with you, which is one of the prettiest (if not the prettiest) color of the rainbow, pink. What’s not fancy about pink? Right, nothing! This smoothie is so good and not only because of the color. It is super creamy because wir the banana, sweet from the date and super tasty because of the fresh fruits in it! 

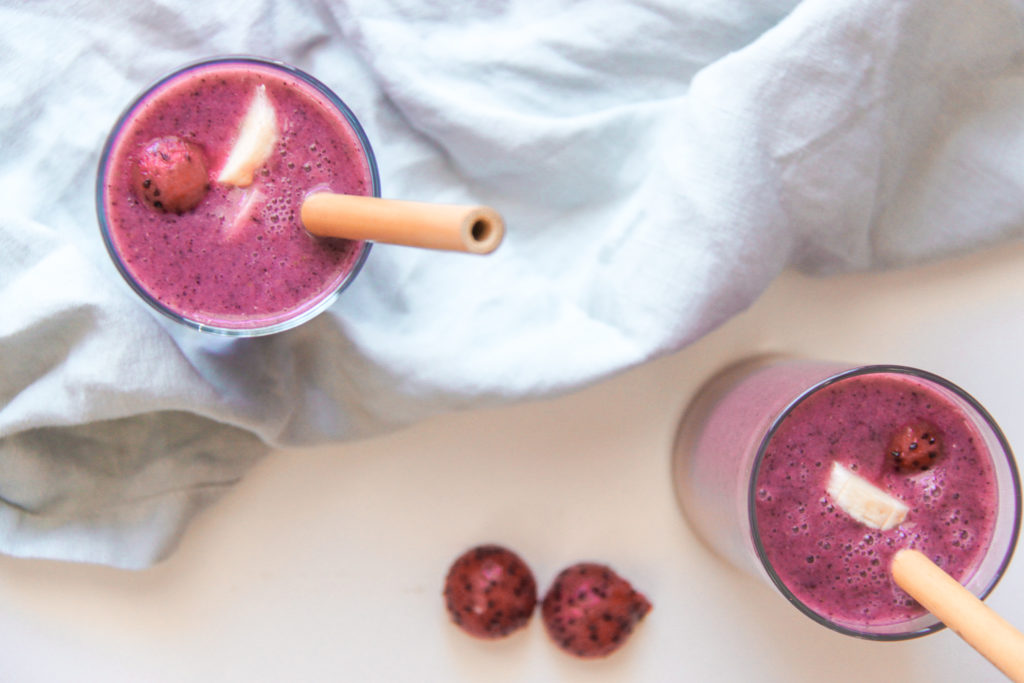
Besides banana as a base, you’ll need raspberries, blueberries and if you find it somewhere near you, pink dragonfruit. This is totally optional because dragonfruit itself does not have a lot of flavor but it adds a super nice color. You can just switch it out for more berries. All of the berries you are using can be fresh or frozen, it really only changes the consistency of the smoothie. When frozen, it will become more thick and creamy so that is up to you! 

Besides the fruits we are using some zucchini in the smoothie too. Don’t be scared, I promise you, you won’t taste anything! If you do have time you can steam it before then there will not be any chunks but if you do not have time that is not a problem either! Just make sure you peel it so it doesn’t make the color go gross. Other than that, just some dates for fiber and sweetness and oat milk as well as soy Joghurt for creaminess. That’s it. If you what to make it more filling you can add some almond or any other but butter and some oats or if you just want it as a snack, leave it as is.

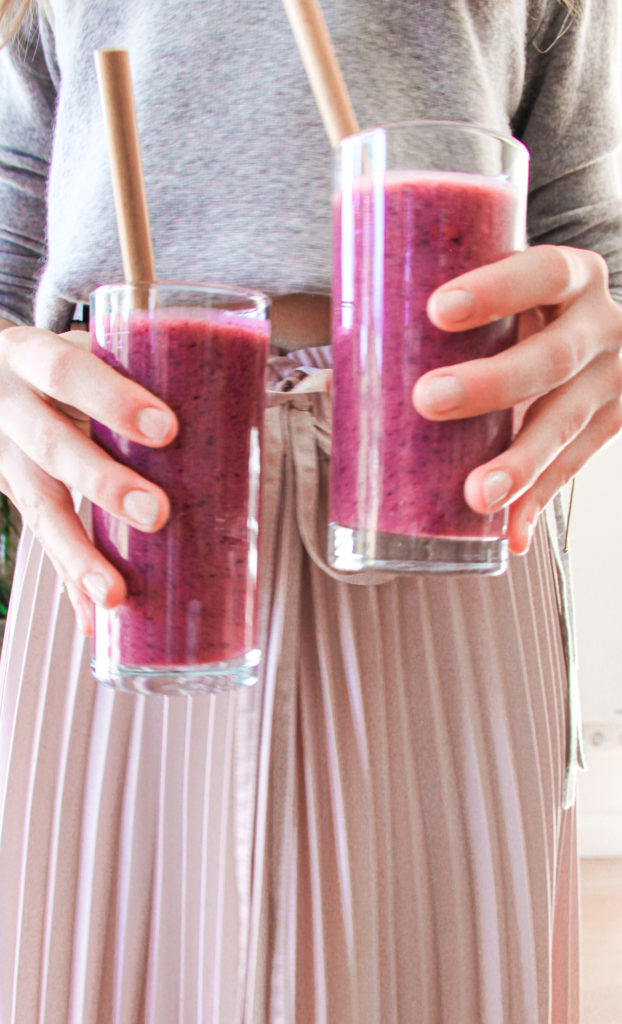
This smoothie makes a perfect breakfast in the go if you are in a hurry or you can also pour it into a bowl and add toppings such as granola, but butter and fresh fruits to enjoy it as a smoothie bowl! Either way it tastes really good and is super quick, which also makes it a ideal snack! 

I hope that you will love this recipe and it brings you into a summer feeling! 
Happy cooking! 
Katie / Une Petite Cuisinière

Print

Think Pink Smoothie

A super pretty and tasty smoothie for some serious summer feelings.

Course Breakfast, Drinks, Snack
Prep Time 5 Minuten
Cook Time 5 Minuten
Total Time 10 Minuten
Servings 2 smaller or 1 large
Calories 158 kcal

What you will need

  • 1 banana
  • 1 zucchini
  • 150 g raspberries if you have you can substitute out half of the raspberries for pink dragon fruit or blueberries for even more color
  • 50 g blueberries
  • 1 date
  • 50 ml oat milk
  • 50 ml water
  • 2 tbsp soy yoghurt

How to

That is how it works:

  1. Peel the zucchini and cut it into chunks. Do the same with the banana and the dragonfruit if using it. Add the berries, milk, water and yoghurt aswell and blend until smooth.

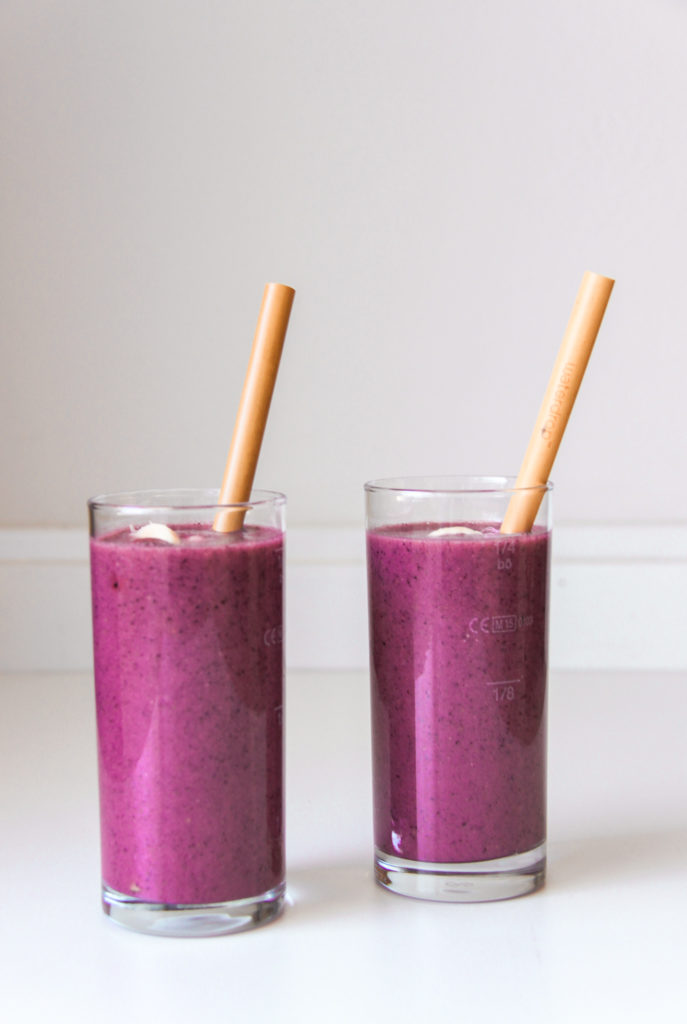
  2. Serve in glasses with straws or as a smoothie bowl with all the delicious toppings! Enjoy!

Kategorie: Breakfast, Drinks, Snack, Vegan, Vegetarian Stichworte: breakfast, breaky, brunch, drinks, fruit, fruits, healthy, healthy breakfast, pink, pink smoothie, smoothie, smoothie bowl, summer, summer food

Oven Baked Lemon Honey Feta

Februar 17, 2020 by katharina.kuehr Kommentar verfassen

Crispy and creamy cheese, lemony twist, honey tomatoes and tangy capers. Maybe with some baguette to dip everything up? Sounds pretty good – at least to me! 20 minutes, perfect for anyone, vegetarian, and pretty healthy too! This makes a perfect light lunch or a decent and quick weeknight dinner.  

I am a huge fan of feta cheese. I think it is a great addition to so many things such as pasta, eggs, on top of salads or bowl, or whatever. It just adds the finishing touch and takes everything next level. Especially in summer it is such an amazing food because it is a little fresh so it adds a summer twist to every dish. 

What is it like?

In summer when my uncle goes to Greece every year he always brings me a giant block of feta and it is like a dream. Then we´ll have Greek salads pretty much every day. They are just so simple in summer and take literally 10 minutes to make. This dish is pretty similar. Think Greek salad but baked. And without cucumber. It has very similar ingredients, tomatoes, feta, olives, herbs, olive oil. It is just a little different as it does not contain cucumbers (because baked cucumbers? I don’t know) and some lemon zest, which is like the best thing ever here. Plus some honey ad breadcrumbs to make it crispy and tangy. 

When you bake it and soak up the remaining sauce after with a baguette it just tastes sooo good! It is fresh, sweet, just super good. But my fvorite part of this dish is that the feta is turned into a creamy cheese but with a crispy crumble top and you just put a piece of it on some bread and have that creaminess and sweetness and crispyness all together in your mouth. 

But how do you actually make it?

Really easy – you take the feta cheese and place it in a baking dish. Throw some cherry tomatoes, olives and capers in and some grated lemon zest. You sprinkle some breadcrumbs on top and drizzle honey, olive oil and lemon juice. Place in the oven for 10 minutes and voila – there you go, done! This is how simple it is. That is so great! That simple but so flavorful! Honestly so good. 

When and for who?

This dish also is great for people with intolerances because you can use gluten free breadcrumbs if you can´t have gluten and feta cheese is not made out of cow´s milk but out of sheep’s milk, which means even people with intolerances can enjoy that. I would not recommend it for meal prep because then you loose the creaminess and crisp but I do not believe that this is necessary because it only takes 15 minutes!

I hope that you will make and enjoy this dish whenever you want! It is as good in winter as it is in summer so it really is up to you when you make it!

Happy cooking!

Katie // Une Petite Cuisinière

5 von 1 Bewertung
Print

Oven Baked Lemon Honey Feta

15 minute, tangy, sweet and fresh baked feta with a crispy crust and sweet tomatoes. Ideal dish for a light lunch or a quick dinner.

Course dinner, lunch, Main Course
Cuisine greek, Italian
Prep Time 5 Minuten
Cook Time 10 Minuten
Total Time 15 Minuten
Servings 2 servings
Calories 325 kcal

What you will need

That is what you will need:

  • 1 block Feta Cheese (150g)
  • 1 handful cherry tomatoes
  • 1 tbsp olives
  • 1 tbsp capers
  • zest of half lemon
  • juice of half lemon
  • 1-2 tbsp breadcrumbs
  • 1 tbsp olive oil
  • 1 tbsp honey
  • some thyme
  • some rosemary
  • some sea salt
  • some baguette and salad to serve with

How to

That is how it works:

  1. Preheat the oven to 240C or Grill.

  2. Place the feta on a baking tray or into a baking dish. Add the cherry tomatoes, capers and olives. Sprinkle the breadcrumbs, lemon zest and some sea salt on top.

  3. Drizzle to olive oil, honey and lemon juice and place the herbs on top.

  4. Put in the oven and bake for 10 minutes.

  5. Serve with some fresh beguette and some salad.

    Enjoy!

Kategorie: Appetizers, Greek, Lunch/ Dinner, Salad, Vegetarian, Vegetarian Stichworte: 15 minute, 20 minute, baked, baked feta, dinner, feta, feta cheese, fresh, greek, healthy, healthy lunch, honey, lemon, light lunch, oven baked feta, oven baked lemon feta#, quick, quick dinner, simple, tangy feta, tomato, unchaining, weeknight dinner

Oey-Goey Salted Caramel Chocolate Bars

Februar 13, 2020 by katharina.kuehr Kommentar verfassen

I think we all need a good treat from time to time. But eating something delicious and sweet does not necessarily have to unhealthy. I can tell you these are so fricking addicting and so incredibly good. Crunchy oat base, oey-goey creamy date coconut salt caramel layer, which is the best thing ever and you will want to top everything with it, and last but not least some crunchy chocolate on the top to give it the finishing touch. The combo = holy moly good.

So I love having some treats or sweets from time to time. Either as an afternoon pick me up or as a dessert after dinner or just somewhen in-between. If I do not have something healthy prepared I just long for cookies or chocolate or anything other sugar loaded. I think we all do that because most of the times we are craving something sweet we do not want to get in the kitchen and make something healthy that takes like 15 minutes when we can just grab some chocolate in 5 seconds. Thats why these bars are for making ahead and can be stored in the fridge and enjoyed anytime.

They may sound pretty fancy, and they are but they are super simple to make. 6 ingredients, 1 blender, 20 minutes (max). You can grab one with your coffee or pack it for work or school. When I make those, it is sooo hard for me not to eat them all at once. Always when I make them I have a few before I can even store them in the fridge because they are just too good. Portion control is just impossible with those, sorry not sorry. It is IMPOSSIBLE to just have a single one.

Those bars are, although they taste bombbb, pretty healthy. The layer at the very bottom is made out of oats, dates, and coconut oil. Oats are a great food because they are packed with vitamins, protein and fibre. They are not only great in your oatmeal but also in granola and bars. The coconut oil helps to bind it all together and the dates do so as well. This layer is full of crunch and tastes a bit fresh do to the coconut oil. It gives the base to a super good bar.

The next layer is the best of them all I think. It tastes like salted caramel, just better and it is much healthier. instead of cream, butter and sugar, we are only using dates and coconut milk. May sound a little bit off but it really is not! We blend the dates until they have a smooth and creamy consistency and are sticky. At this point the ´caramel´ is pretty thick, but we want it oey-goey (ok, I don’t know if this is a word but I´ll still use it) and smooth. Thats why we add it to a pot and add some coconut milk. I like to use light coconut milk because if using normal one, I believe the coconut flavour overpowers the caramel one. We bring it to a boil, add some sea salt and let it simmer and thicken a bit. It still is a bit runny, and we will add it on top of the oat base. so good.

Dates actually are a super healthy food. They contain big amounts of anti oxidants, no matter if fresh or dry. fresh dates actually are super good but it is really hard to find them, especially in Europe. Yes, dates do contain sugar but the fiber in the fruit helps to control the blood sugar levels, so you do not get that high peak and then feel really crapy after a while. Plus, dates can even help you to reduce your blood pressure because of their high magnesium content and help you with your memory because of their B vitamin content. As already said, they are pretty high in fiber with 10g per 100g, which is pretty much, and helps with digestion. All in all, they are a super food.

On top of the date caramel only goes some good molten chocolate. I like to use a healthy one here, preferably a dark one with a high cacao percentage or one from HuKitchen, because they just have the best chocolate ever! The chocolate on the top adds an extra crisp.

I honestly hope for you that you will make those because this is the best treat you could ever make. They (theoretically) last about 2-3 weeks in the fridge (but they’re gonna be gone in like 2 days, no joke). Enjoy them a lot!

Katie // Une Petite Cusiniere

Print

Oey-Goey Salted Caramel Chocolate Bar

THE BEST treat you could ever make. Easy, crazily addicting, super delicious and healthy! Simple ingredients, just the best!

Course Dessert, Snack
Prep Time 15 Minuten
Cooling Time 30 Minuten
Total Time 45 Minuten
Servings 9 bars
Calories 168 kcal

What you will need

That is what you will need:

  • 100 g oats
  • 1 tbsp coconut oil
  • 1 tbsp maple
  • 150 g dates
  • a pinch of sea salt
  • 100 ml low fat coconut milk
  • 80 g dark chocolate the draker, the healthier

How to

That is how it works:

  1. Place the oats in a blender and blend until super fine, flour like consistency.

  2. Remove the oats from the blender and blend them until smooth and thick. Transfer them into a pot and add the coconut milk and sea salt. Bring it to a boil then reduce to a simmer for about 5 minutes until thickend.

  3. Take one tablespoon from the date mixture and add them to the finely grounded oats along with the coconut oil and maple sirup. Mix until sticky, if it still is crumbly add more of one of the three.

  4. Line a square form with parchment paper. Add the oat mixture to it and press it flat. Add the date caramel on the top and place in the freezer while melting the chocolate in either the microwave or in a water bath. Once molten pour it as a final layer on top of the date caramel and keep in the freezer for at least half an hour.

  5. Then take it out and cut it into 9 pieces. Store in the fridge or enjoy right away.

Kategorie: Desserts, Diet-Specific, Snack, Sugar Free, Vegan, Vegetarian Stichworte: caramel, chocolate, date, dates, dessert, healthy, Healthy Dessert, healthy snack, healthy treat, plant based, salted caramel, snack time, sugar free, treat, vegan, vegan dessert, whole foods

Creamy Lentil Dhal

Februar 8, 2020 by katharina.kuehr Kommentar verfassen

This is honestly one of the best things I‘ve ever made. I really really enjoy that on chilly winter days when you want a hot bowl of something but also on warmer days because it also tastes great when it is enjoyed cold and it actually enhances the flavor when kept in the fridge overnight or for several days. This makes it super meal prep friendly. You can just store it and take it to work, school, or Uni whenever you need it. It is like that with every curry or heavily spiced dish, it only gains flavor when left for a day or a few.


So what is dhal?
Dhal is an Indian term that refers to split pulses, such as beans, peas and lentils. These legumes, how you call them in English, are staple foods in Indian cuisine. But dhak is also used to name several dishes, mostly soups. Traditionally there are tomatoes and onions as well as several other spices added. In Asia it usually is eaten with some flatbread or rice. 

Is it good for me?
I love curries. So much. But sometimes you just feel like having something heartier with more substance. Like this lentil dhal. Lentils are packed with protein and fiber but also lots of other vitamins. Plus there’s a good amount of spices in here which makes everything super flavorful. The veggies and potatoes add some more taste and the toppings take it next level. 


What is in this recipe?
So, I am not a traditional Indian, surprise, surprise, so I took a traditional dhal and added a few things.The star of the dish are red lentils. If you really do not like those, I would recommend using split peas. Besides that we have some onion, garlic, ginger, graham masala, curry powder, turmeric, cumin, paprika powder, bell pepper, carrot as a base. We sautée everything and then add vegetable stock. We add in some potatoes that are peeled and cut. I do not think that it is very traditional to add potatoes but I believe that they add an incredible comforting feeling to it and make everything more filling. Plus they add some nice texture. You could also opt for sweet potatoes instead if you prefer but yellow potatoes work a bit better. 

Next come the lentils. I do not pre soak mine or pre cook them because red lentils cook pretty fast. So we add them in after a while and let everything simmer. Once the lentils are soft, in goes some coconut milk. The coconut milk is essential. I would use full fat one since we have a lot of broth and with low fat ones, you won´t be able to achieve that creaminess. While everything simmers for a little, the flavors of the spices will get deeper into the curry and the lentils become a little bit mushy, which tastes so great. 

So that basically is the dhal, but what would it be without toppings? Let´s be honest, toppings take everything next level. We are cutting up a lime, of which we will squeeze the juice on the dhal after serving, garnish the dish with a little (plant based) yoghurt or more coconut milk, some fresh cilantro, sliced up spring onions and if wanted (but really good) some cashews or peanuts for extra crunch and extra tastiness. 

I would recommend to serve it over some rice or with naan bread. With either one you can soak up the liquid and it tastes super delicious!

Is it family friendly?

Yes! It definitely is! Not only that it is very versatile, as you can add in some ground chicken when stir frying the veggies or some grilled prawns on top, when including some animal products but it also it can be made more or less spicy, depending on who eats it. Moreover, it can be kept in the fridge for several days, so every member of the family can take it to school or work. 

I hope that you will enjoy making and eating this dish, and that you will love it as much as I do! It is such a great dish to enjoy all throughout the year, is super healthy and packed with tons of flavors!

Enjoy, 

Katie // Une Petite Cuisinière

Print

Creamy Lentil Dhal

A super flavorful and warming dinner, that is super easy to make and incredibly delicious and healthy!

Course bowl, dinner, lunch, Main Course
Cuisine Indian
Prep Time 15 Minuten
Cook Time 30 Minuten
Total Time 45 Minuten
Servings 4 servings
Calories 434 kcal

What you will need

Thats what you will need:

For the base:

  • 2 tbsp oil
  • 1 yellow onion
  • 4 cm ginger
  • 2 garlic cloves
  • 1 tbsp graham massala
  • 2 tsp curry powder
  • 1 tsp turmeric
  • 1 tsp paprika powder
  • 1/2 tsp cumin
  • 1 red bell pepper
  • 1 carrot

The rest:

  • 500 g potatoes
  • 200 g lentils
  • 500 ml vegetable broth
  • 200 ml coconut milk

For servings:

  • some rice
  • some cilantro
  • cut up spring onions
  • yoghurt (plant based)
  • some nuts

How to

That is how it works:

  1. Finely dice uo the onion, garlic and ginger. In a pan heat up the oil. Once hot add the cut up veggies in. Sautee them for 2 minutes and then add the spices and sautee for another 2 minutes.

  2. Peel the carrot. Finely dine it and the bell pepper aswell. Add them to the pot and sautee for 2 minutes. Add the vegetable broth.

  3. Peel the potatoes and cout them into about 2 cm chunks. Once the broth boild, add the potatoes in and let everything cook for 10 minutes. Then add in the lentils and let everything boil for another 10 minutes.

  4. Next pour in the coconut milk and let everything simmer for another 5 minutes.

  5. Once ready, put it into bowls. Garnish with some yoghurt, cilantro, spring onions and cilantro.

  6. Serve and enjoy!

Kategorie: Cuisine, Diet-Specific, Indian, Lunch/ Dinner, Soups, Vegan, Vegetarian Stichworte: bowl, coconut, coconut milk, curry, dhal, dinner, family, family food, healthy, healthy vegan, India, Indian food, lentil, lentils, plant based, red lentils, Soup, vegan, vegan curry, warming

« Vorherige Seite
Nächste Seite »

Footer

What has been happening on my Instagram

Copyright © 2024 Une Petite Cuisinière on the Foodie Pro Theme