Kind of like overnight oats, just better and a bit different. Creamy, sweet and fresh and so incredibly easy to make. One of those breakfasts that don’t even take 5 minutes in the morning, yet are super nutritious and super flavourful!
I actually ate this 4 (!!) years ago when I was in Mauritius. They served it one day at the breakfast buffet and I absolutely loved it. Unfortunately I never had it again and never found it anywhere anymore. So, I always wanted to recreate it. Took me a while to actually do so and the result is pretty amazing. A pity that I have missed out on this for such a long time!
What is special about this dish?
Overnight quinoa not really is a thing. Overnight oats is really popular (& delish!) but overnight quinoa, to be honest, is at least as good! So having quinoa for breakfast is kind of special and then having sweet quinoa is also not so normal. Although I do not understand why because it actually is soso good!
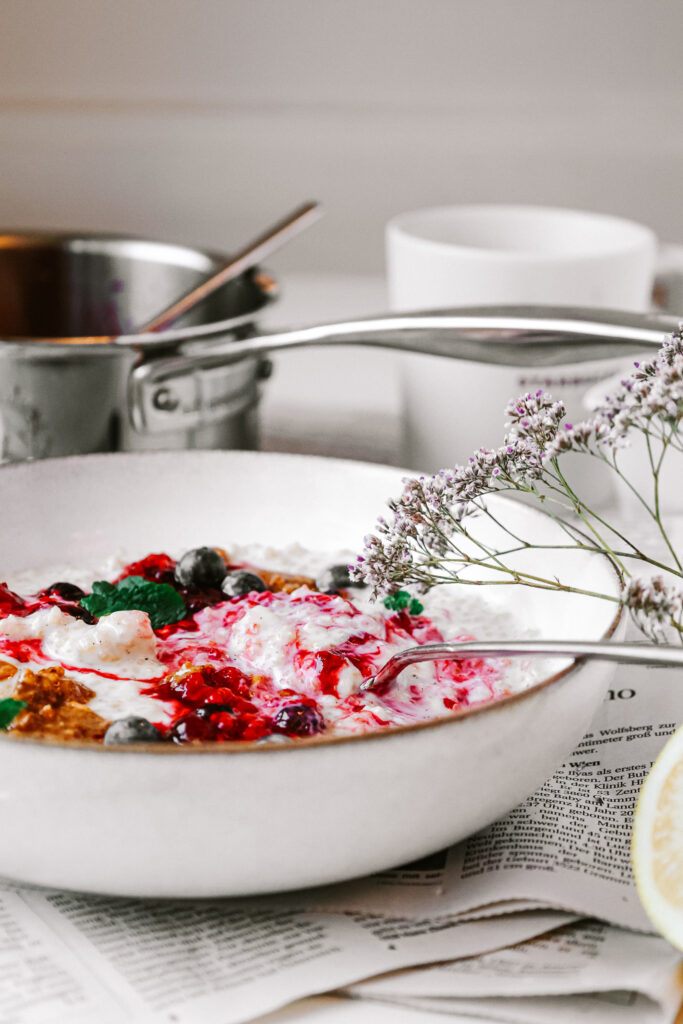
The combination of vanilla, yoghurt & Quinoa is really so great and all of these components work together in such great harmony. And the best thing is, in the morning you just take it out off the fridge and enjoy it. Really, the best.
Is this dish healthy?
Yes, it is! Quinoa is such a nutrient-dense food, which actually is great to be having in the morning. It is packed with carbs, fibre, protein and nutrients and will keep you full for a while. If you want to read more about Quinoa, you can check out my January Top 5!
Besides our main ingredient we also have Vanilla Bean, which also is great in here because it naturally has a slightly sweet flavour so we do not need to add any additional sweeteners. Then there also is (plant-based) yoghurt and milk, which contain several vitamins (depending on which one you choose) and probiotics.
How to make this:
Really, really easy. Either you start with pre-cooked quinoa, which you either meal prepped before or bought ready to eat, or you are making it freshly. Both work equally fine. When you are making it fresh, you have the advantage of cooking it until it is really soft, which will make it taste better.
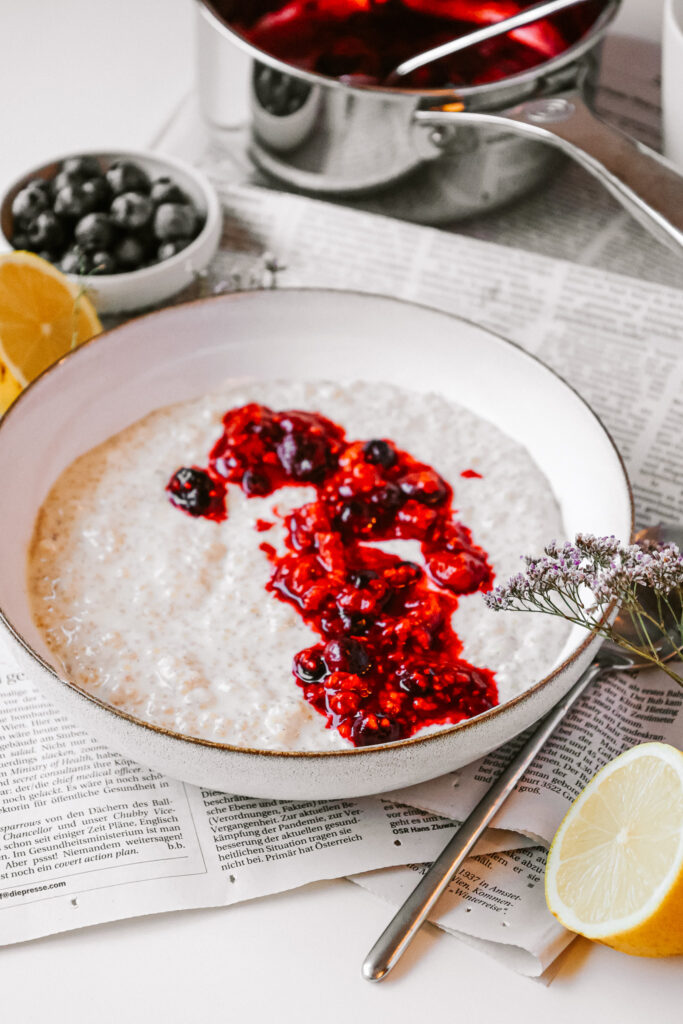
When you have the quinoa ready, we just combine it with some (plant-based) yoghurt & milk and a little sweetener of choice, I prefer honey. Then we need a fresh vanilla bean. Yes, it is possible to use vanilla paste, powder or syrup but fresh one has the most intense flavour. We’re also mixing that in. Then it goes into the fridge overnight.
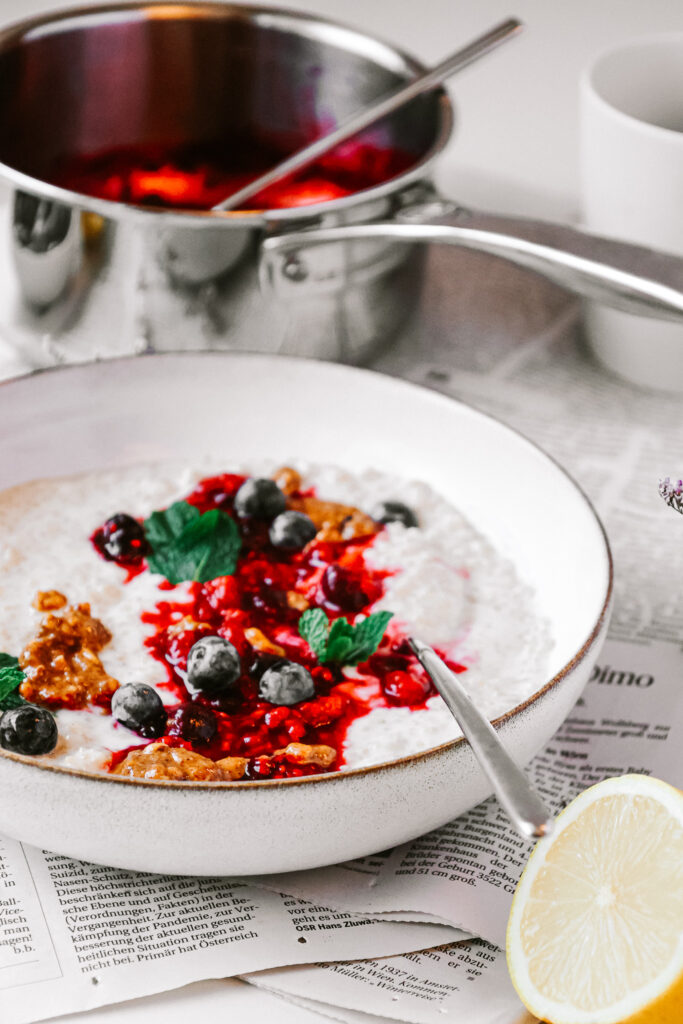
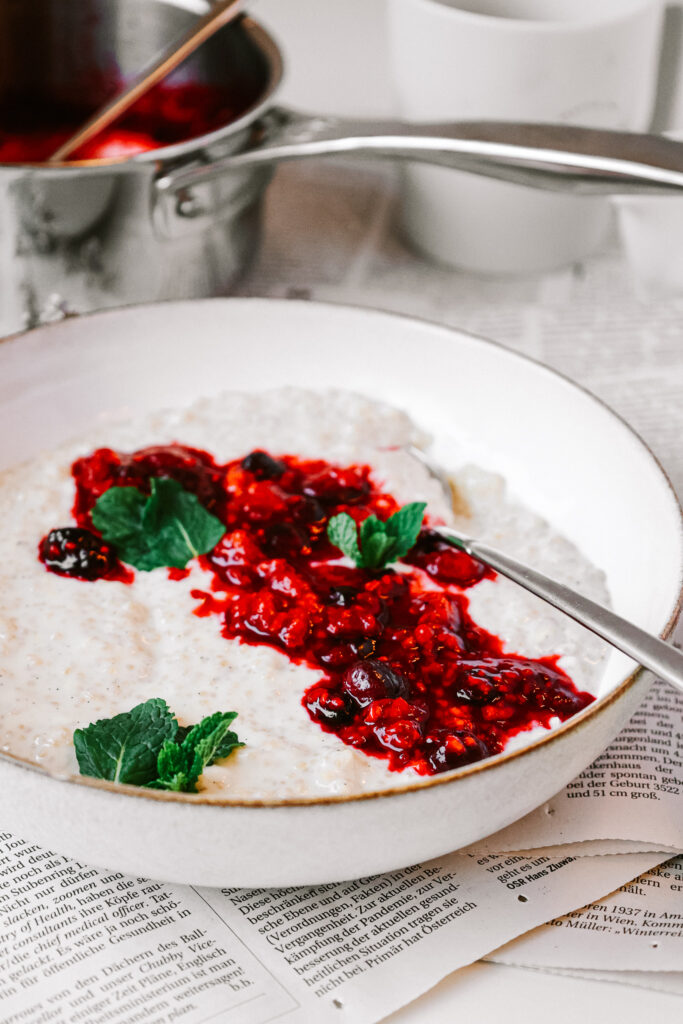
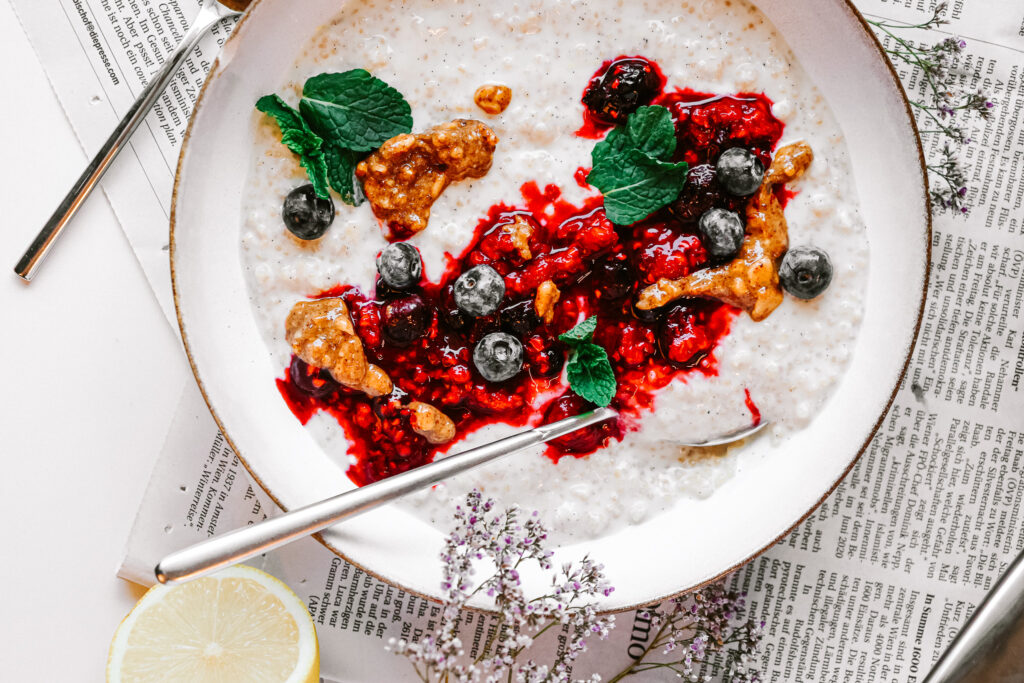
The next morning we take it out, and heat up the frozen berries either in a pot on the stove or in the microwave. You can add some lemon zest and/ or juice or just leave them natural. Now it just needs to be served. I love it best with some roasted almond butter and fresh berries but this is up to you!
Meal prep friendly?
Totally! Since we anyway need to store it in the fridge you can also leave it there for more days. The texture or flavour won’t really change and you have a breakfast ready for several days!
I do not know why it took me 4 years to recreate this but I finally did and it was worth it! I hope that you’ll enjoy this at least as much as I do and that you’ll have a fun time cooking!
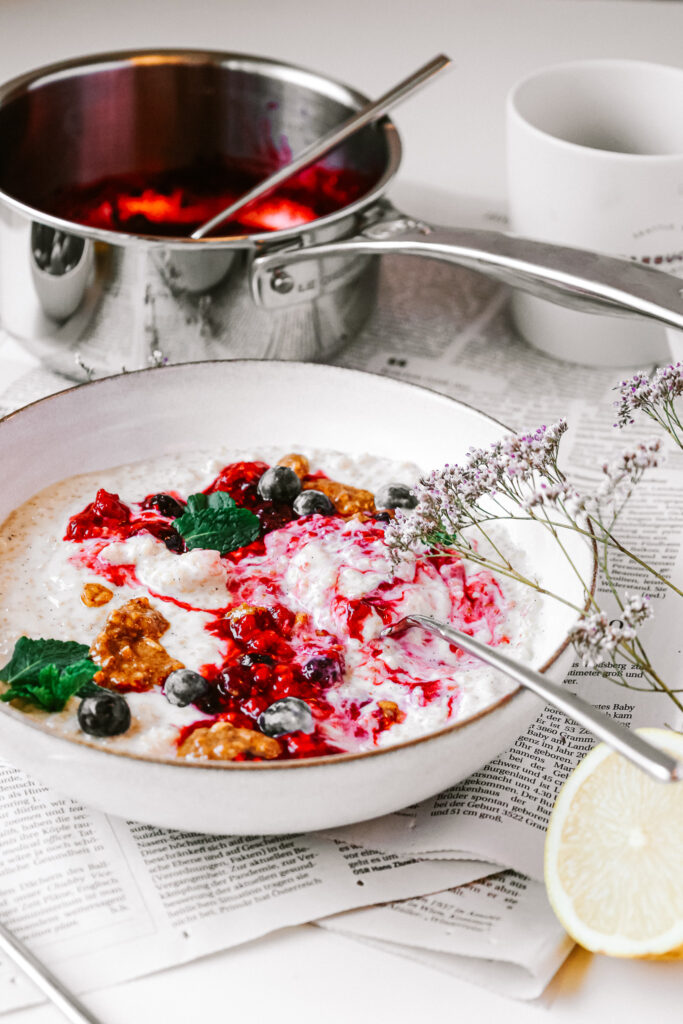

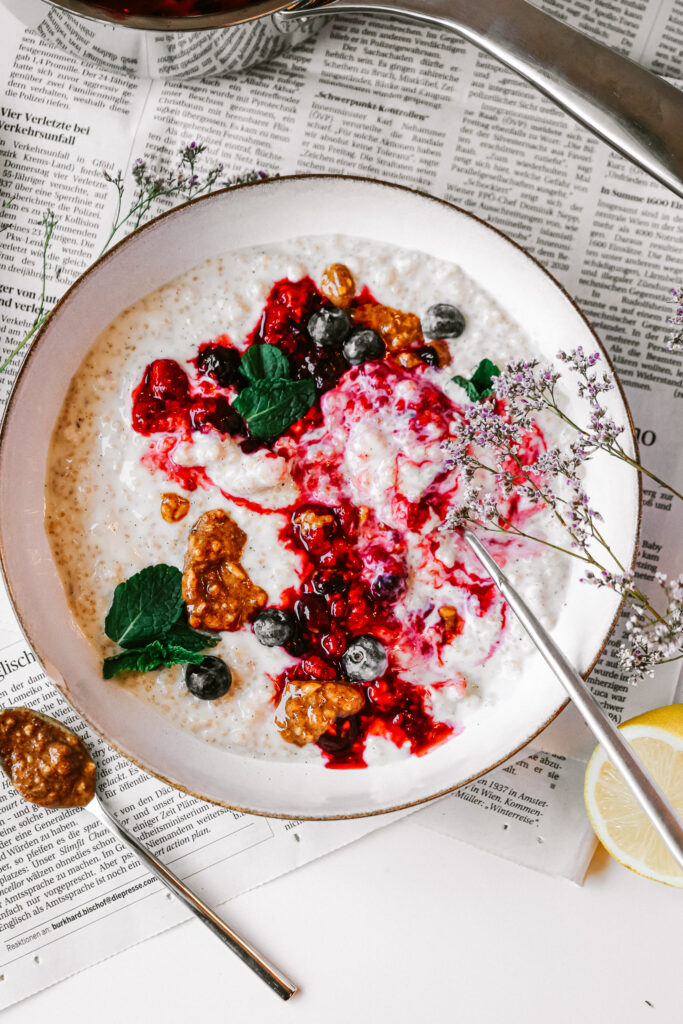
Lazy Overnight Vanilla Quinoa with Stewed Berries (vegan)
Like overnight oats – just better. Creamy, sweet vanilla quinoa with warm stewed berries on top. Ready to eat in 5 minutes!
What you will need
- 100 g Quinoa
- 300 g yoghurt (plant based)
- 100 ml milk (plant based)
- 2 tbsp honey or maple syrup
- 1 vanilla bean
- 300 g frozen Berries
- nuts or nut butterr
How to
-
The night before, add the quinoa to a pot along with 200ml water and a pinch of salt. Bring to a boil, reduce to a simmer and let simmer until all water is absorbed. Turn the heat to minimum and let it sit unil fluffy and everything is soaked up.
-
Add the cooked quinoa to a bowl along with the yoghutt, milk and honey or maple. Slice the vanilla bean in half lengthwise and scrape out the inner part. Also add it to the bowl and let it sit in the fridge overnight.
-
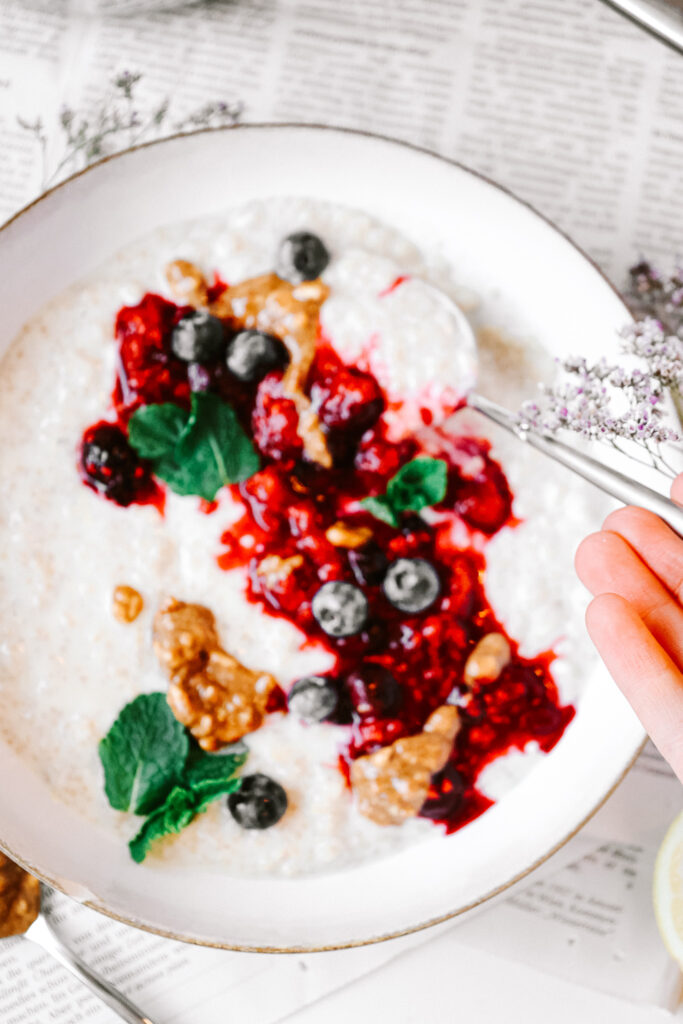
The next morning heat up the frozen berries in the microwave or on the stove and top the quinoa with them. Add some nuts and/or nut butter and enjoy!
Enjoy,
Love,
Katie