• Zur Hauptnavigation springen
  • Skip to main content
  • Zur Fußzeile springen

feel food club

  • Home
  • About me
  • My Recipes
  • Blog
  • Navigation Menu: Social Icons

    • Instagram

tofu

Super Easy 20-Minute Sticky Orange Tofu

März 18, 2021 by katharina.kuehr Kommentar verfassen

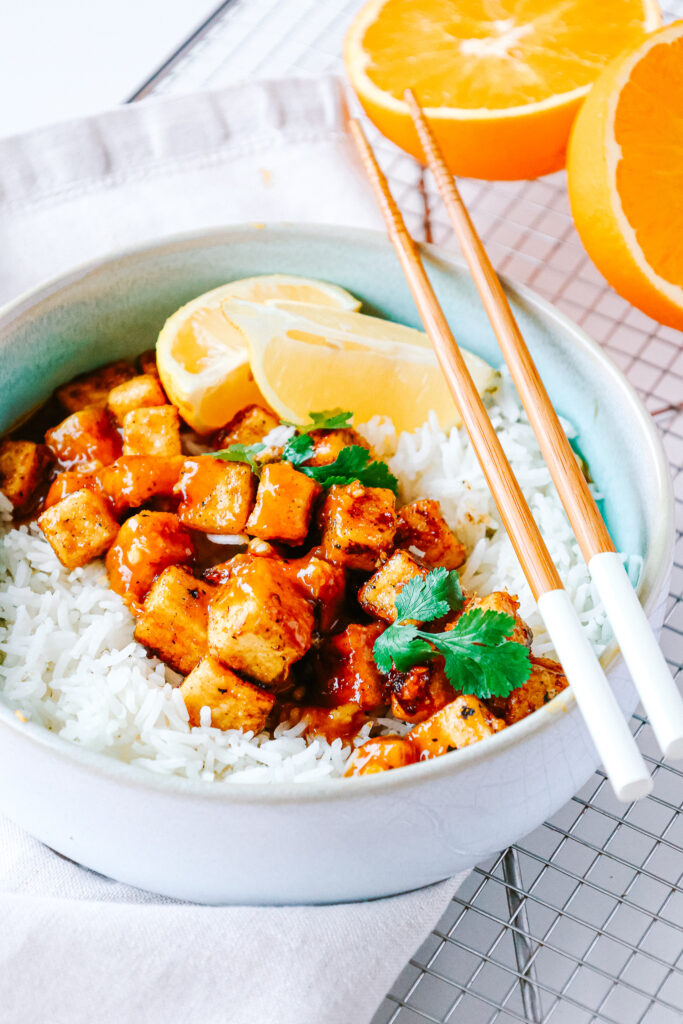
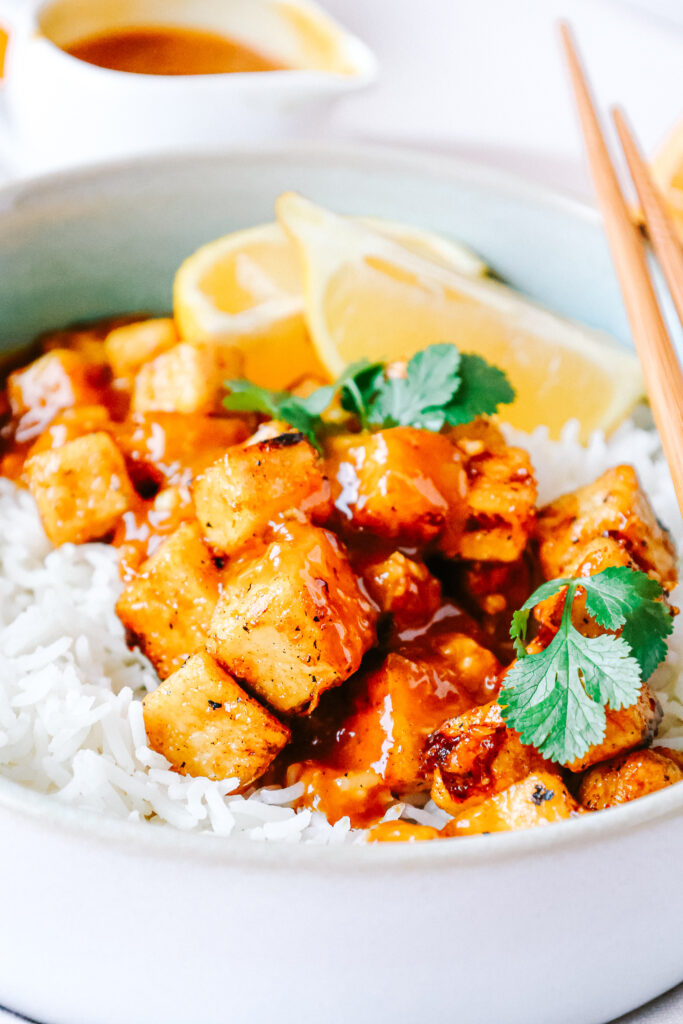
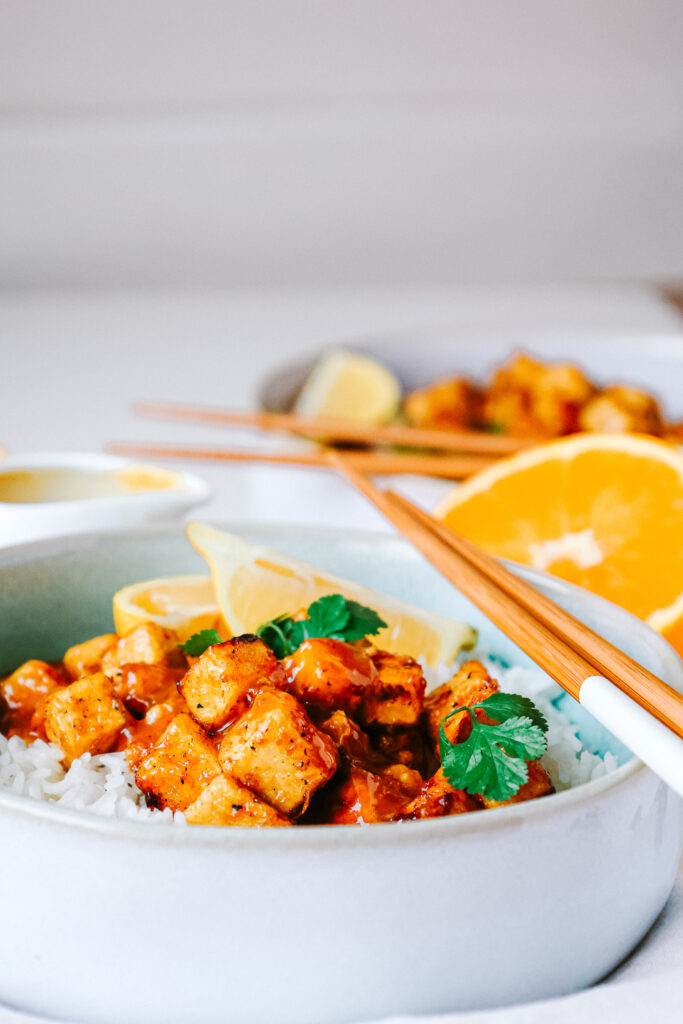
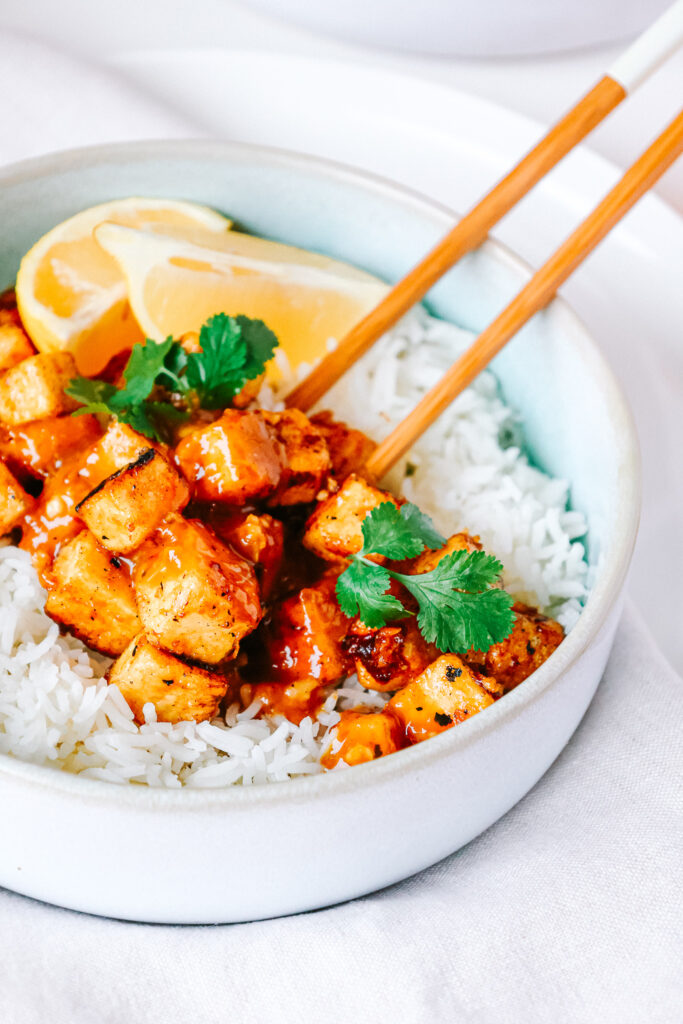
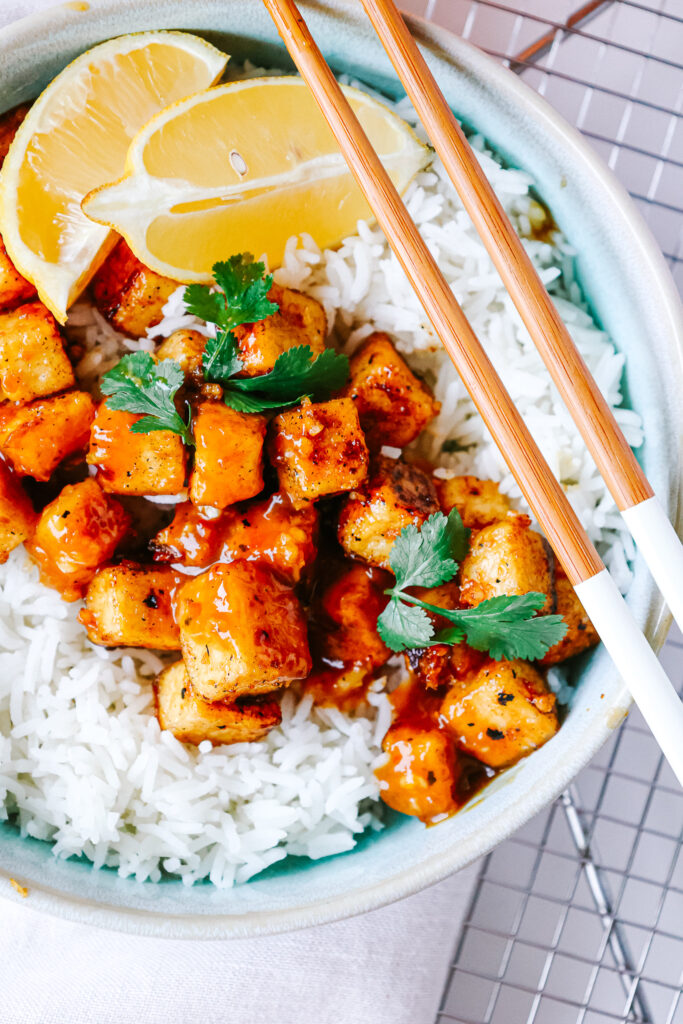
Put all our prejudices aside and make this recipe. If you used to think tofu is boring, you will be proven differently. We have got the sweet and slightly spicy flavours of orange and chilli combined in a sticky sauce that covers the tofu. Definitely not your average tofu.

Orange Tofu is a dish that originally is made with chicken instead of tofu and therefore also called orange chicken. Orange Chicken originated in China, where it is rarely found in traditional restaurants today. It got really popular in the US through Panda Express. There the chicken is battered, then fried and then tossed in a orange sauce, which thickens and caramelizes. 
What’s special about this dish?

It is a vegan version if the orange chicken and a mich healthier one too. It is not battered and deep fried and also not tossed in a sauce loaded with white refined sugar. It is a much healthier, easier and quicket version of the original and still tastes really intense and good! So you could say that it rather is a Chinese inspired dish and less the original one.

Is this dish healthy? 

Yep yep. What is it made of? Well our main ingredient is tofu. Tofu is really high in protein and also comes with some fiber. Then our main „ingredient“ is the orange sauce. This is mainly made from freshly squeezed orange juice, which is a vitamin C bomb. Then we have some soy sauce, vinegar, fresh ginger and garlic and some honey, plus some cornstarch in which the tofu is tossed and then fried in a little hot oil.

Contrary to regular orange chicken, we have rather little fat here because instead of deep frying it, it is simply stir fried in a pan. Also, we are using honey instead of white refined sugar. Honey still contains sugar but less per 100g in comparison to regular sugar and it actually comes with antioxidants. 
How to make this dish:

This is super simple. So, we start by pressing the tofu. To do so we just lay some kitchen paper beneath and on top of a block of tofu and them let something heavy press it down for a few minutes. This will make the liquid drain from the tofu so it gets crispier in the pan later on.

Next we just chop it up into about 1 cm sized cubes. These are then tossed in some cornstarch. The cornstarch binds the remaining liquid and kind of forms a crust when frying. After that, the tofu is fried in some hot oil from each side for about 1-2 minutes till crispy. 

In the meantime we combine the orange juice & zest, soy sauce, honey or maple, cornstarch, ginger, garlic and vinegar in a bowl and then pour it over the tofu and let it simmer on low heat for a few minutes. Because of the cornstarch the sauce will thicken and the honey makes it caramelise. That already pretty much is it, we now only have to divide it onto plates or bowls and garnish with some greens!
Meal prep friendly

You can easily make this dish in advance and reheat it. If you have a stove I would prepare everything in advance and store the tofu and sauce separately and heat it up together whenever you want to have it. If you do not have a stove when eating it, you can simply heat it up in the microwave all together. Maybe you’ll then need to add a little water.
Print

Super Easy 20-Minute Sticky Orange Tofu

Easy, delicious and healthy. A vegan and lighter version of the american-chinese classic and let me tell you, it at least is as delicious!

Course dinner, lunch, Main Course
Cuisine American, Chinese
Prep Time 10 Minuten
Cook Time 10 Minuten
Total Time 20 Minuten
Servings 2 servings

What you will need

  • 300 g tofu
  • 4 tbsp cornstarch
  • some rice or quinoa to serve with

For the sauce:

  • 1 orange zest & juice
  • 2 tbsp soy sauce
  • 1 garlic clove
  • 1 cm ginger
  • 1 tbsp cornstarch
  • 60 g honey or maple
  • 1 tbsp vinegar

How to

  1. Lay the tofu onto some kitchen paper and cover it iwth some more. Lay something heavy on top and let it press for abou 5-10 minutes, so as much liquid as possible goes out in order for the tofu to become crispy when frying. Then cut into 1 cm sized cubes and toss it in the cornstarch

  2. In the meantime grate the orange, then press it. Combine it with the remaining ingredients for the sauce.

  3. Heat up the oil in a pan and fry the tofu on each side for about 1-2 minutes until crispy and golden. Turn the heat down to medium heat and pour in the orange sauce. Give everything a good mix and let simmer for about 3-4 minutes until it has thickend a bit.

  4. Serve with some rice or quinoa and garnish with some cilantro! Serve and enjoy!

Honestly, this dish is so quick, so easy to make and so good! You’ll really, really love it and it is so so simple! I hope you’ll like it as much as we do and have a great time cooking it!

Enjoy!
Love,
Katie // Une Petite Cuisinière

Kategorie: American, Chinese, Cuisine, Diet-Specific, Lunch/ Dinner, My favorites, Vegan, Vegetarian Stichworte: 20 minutes, American, Chinese, easy tofu recipes, easy vegan, healthy lunch, healthy vegan, lunch, orange, plant based, quick, quick and easy, tofu, tofu recipes, vegan, vegan cooking, vegan lunch

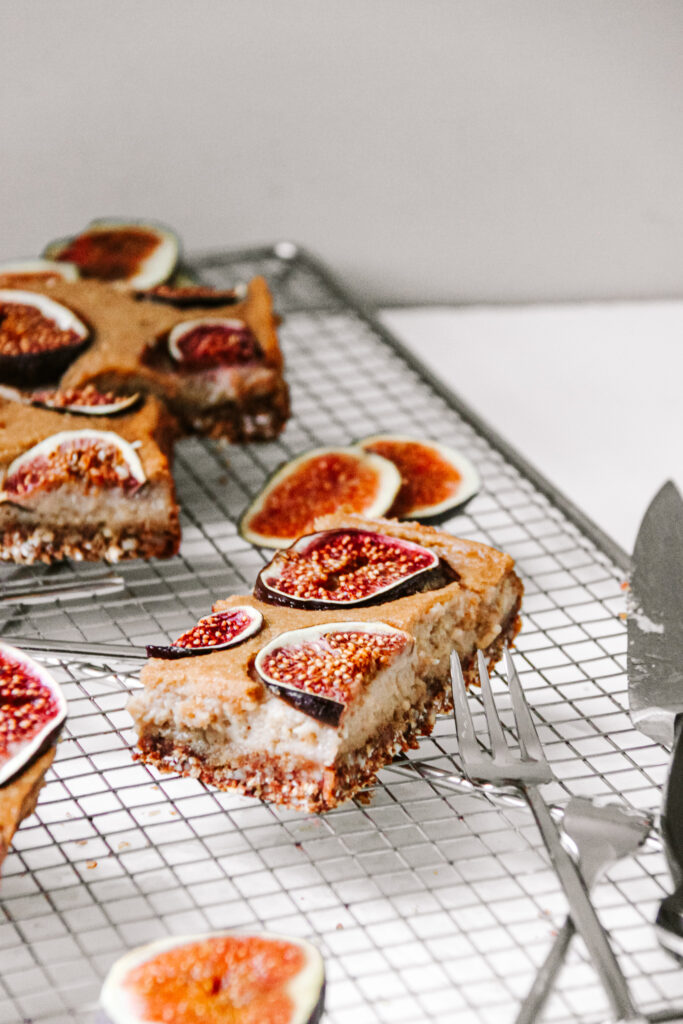
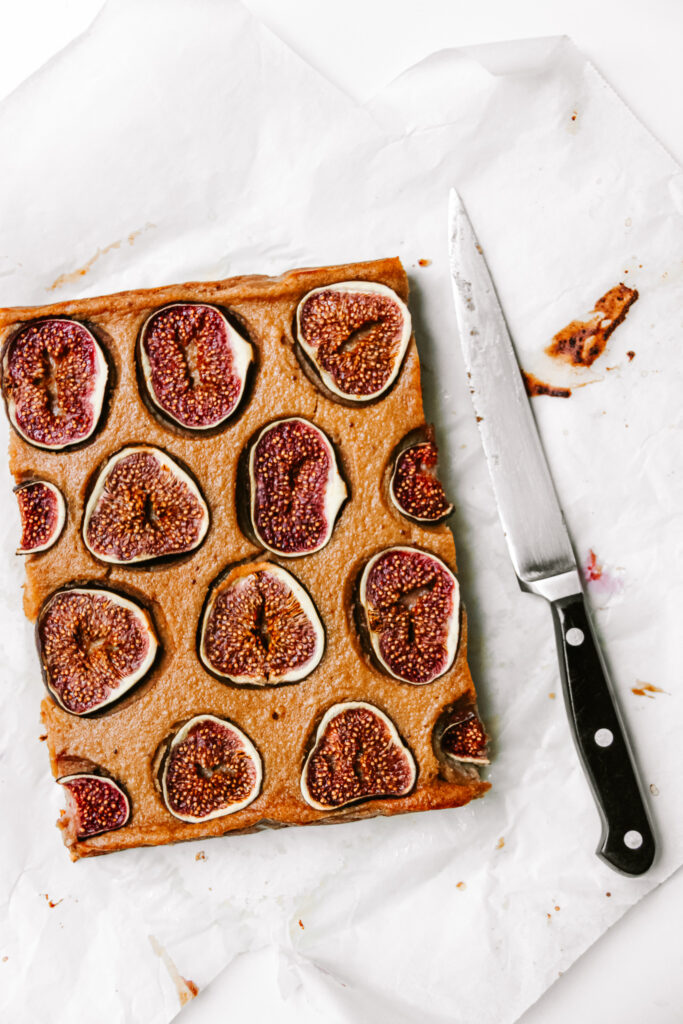
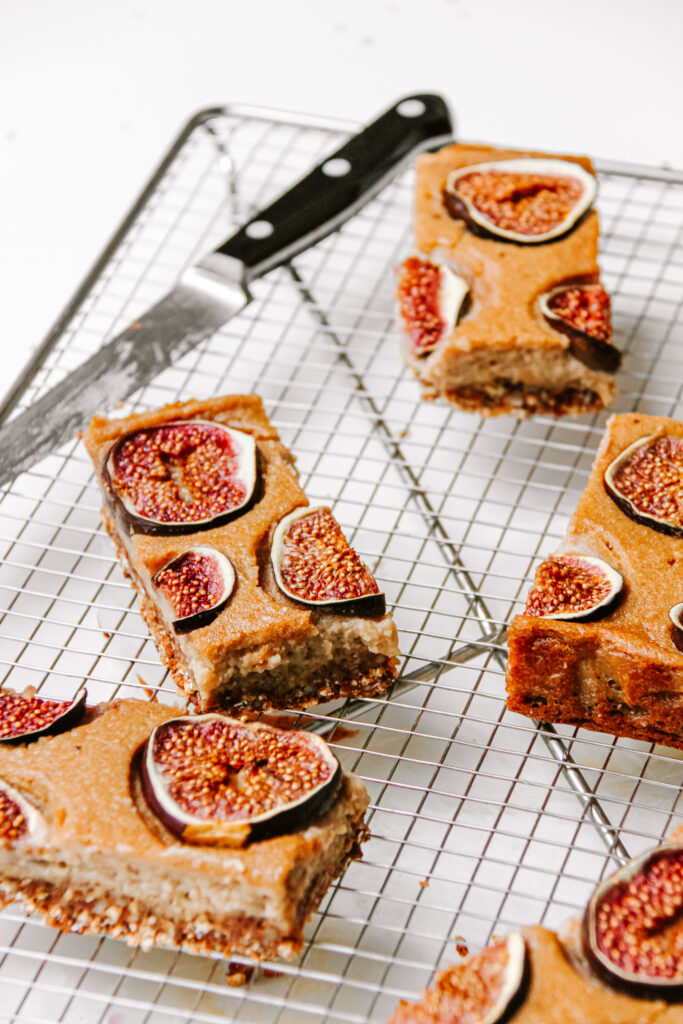
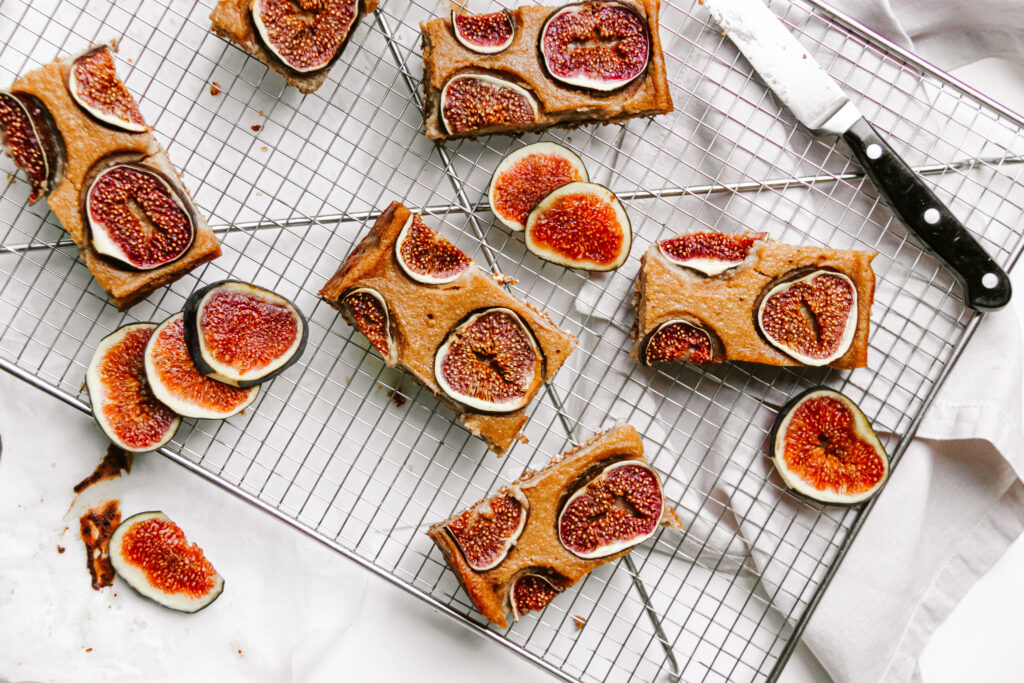
Unbelievably Good Vegan Half-baked Cheesecake with secret ingredient (healthy)

September 14, 2020 by katharina.kuehr Kommentar verfassen

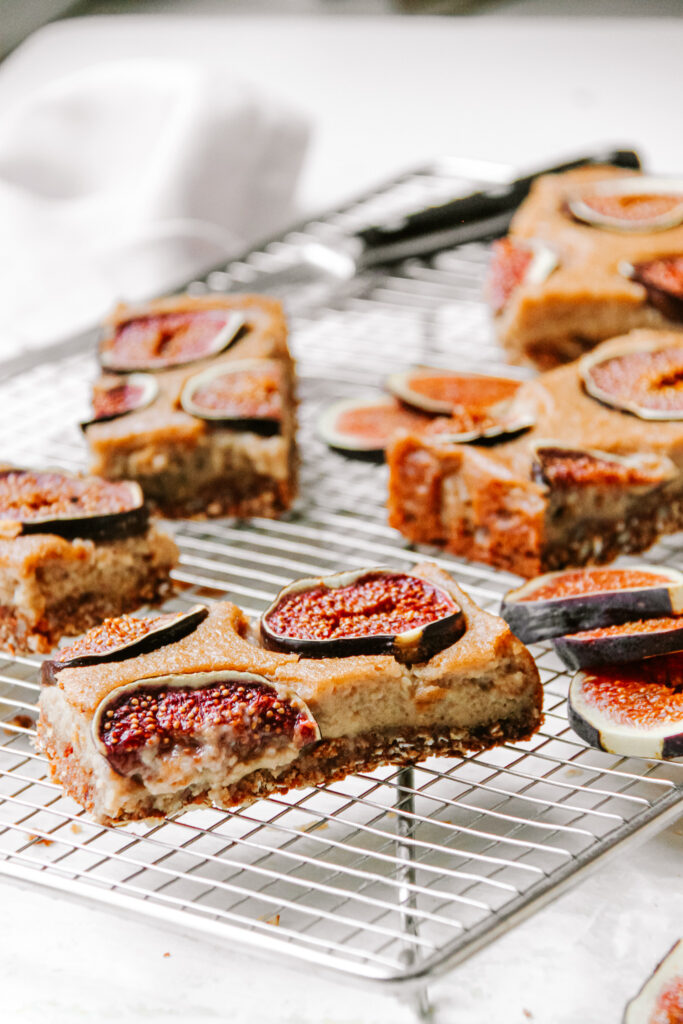
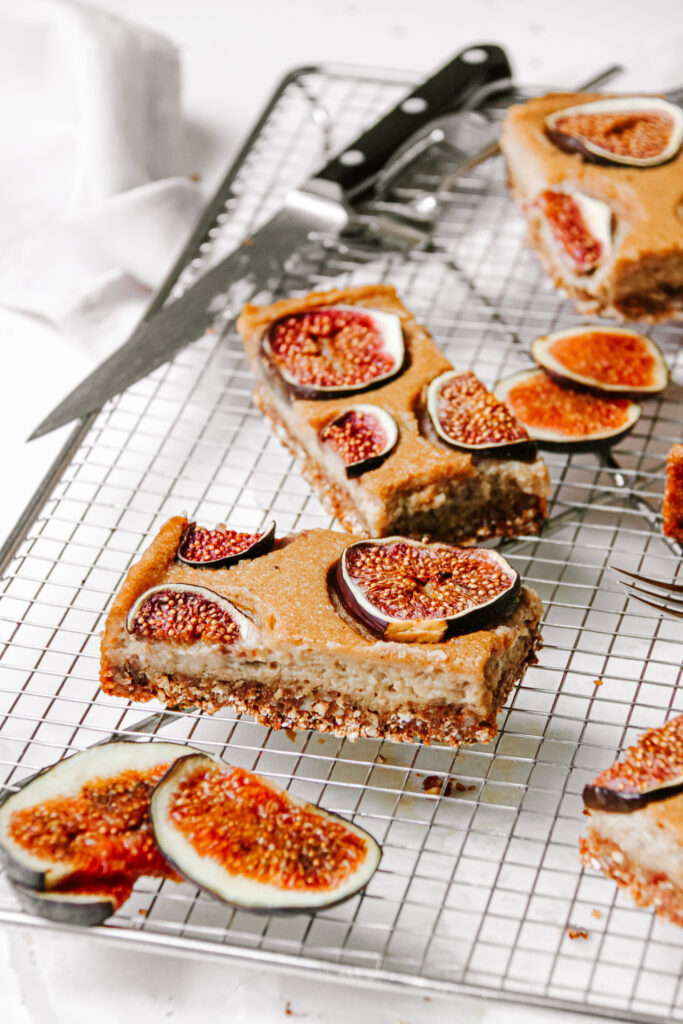
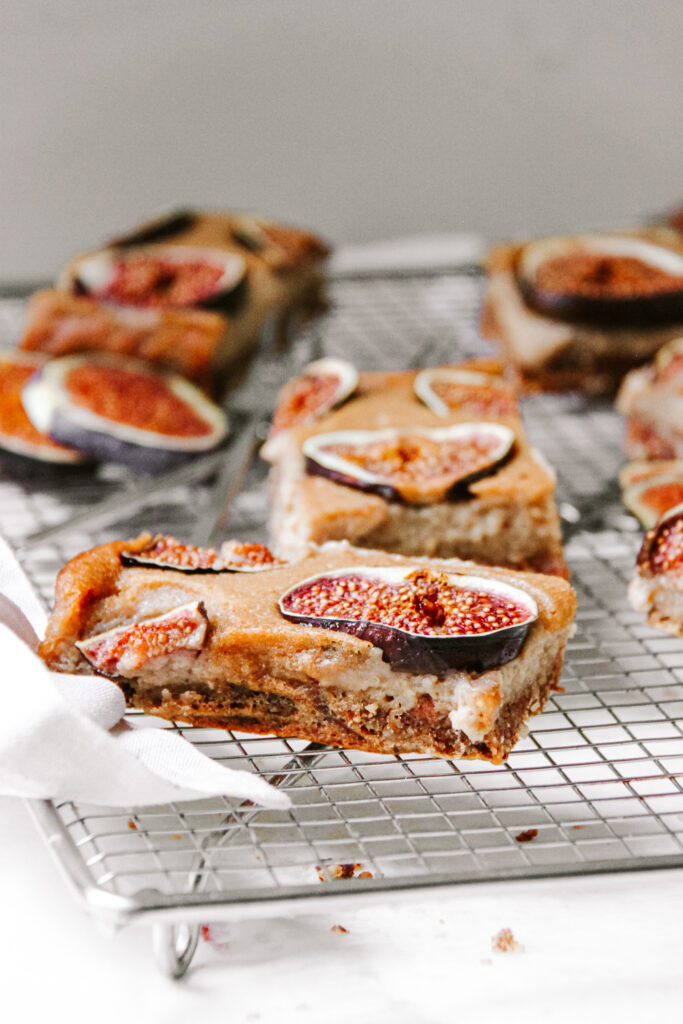
You‘ll be like .. cheesecake – vegan?? Seriously? Well, obviously it’s not cheese but really, it is at least as good! The consistency is absolutely amazing (identical to cheesecake) the ingredients are super nutritious, and the flavor is just 100% convincing! I promise!! 

Why vegan?

We probably all have a recipe for a delicious non-vegan cheesecake. So why not switching things up? And honestly, I love a nice challenge. Plus my bestie currently is vegan so I needed to get creative with coming up with a dessert recipe for her! (I already have 2 on my blog, bit we needed something new! Find the banana bread recipe here and the black bean brownies recipe here )

What is special about this dish? 

VEGAN CHEESECAKE! Isn’t that special itself? And then that the ingredients are really wholesome and nutrient dense too!! And of course our special ingredient: silken tofu!! No, it won’t taste like tofu in the end, and yes it works really well. 

Why using silken tofu in a dessert recipe?

Silken Tofu is a super soft tofu, almost a yoghurt consistency. This is great for creams, pudding or as here cheesecake but in vegan. It also has a very mild flavor and when blending it becomes really smooth. When baking, it helps to keep everything stick together while remaining that cheesecake consistency!  

How to make vegan cheesecake:

Here we have two different things to make because we have 2 different layers. The first layer is the crust. Here we do not do a regular cookie layer but more like a baked energy ball one and it‘s heaven. Basically it comes down to blending up oats, almonds and dates and that’s it! 

For the actual „cheesecake“ layer it is really not more difficult! You just need to add soaked cashews, silken tofu, maple syrup, oil, fig preserves and cornstarch to a blender and blend until it is creamy and smooth! If you have a high speed blender you do not essentially need to soak the cashews but if it doesn‘t have too much power, I would recommend soaking them!

When the first layer is done you need to press it into a cake pan and then pour over the blended „cheesecake“ filling. To finish off just top with sliced up figs and bake in the oven! That’s it!

A few notes on the recipe:

After taking it out of the oven, the consistency of the cake will be rather creamy. When you let it sit for a little while it will get firmer! Store in the fridge. About 20 minutes before eating take it out of the fridge. That way it will taste better! 

I hope you really like this recipe and that you‘ll love this little twist to your average cheesecake! 

Print

Healthy Vegan Half Baked Cheesecake with Silken Tofu

A delicious and healthy twsit onto your regular cheesecake. The silken tofu makes the consistency amazing and it tastes incredible too!

Course brunch, Dessert, Snack
Prep Time 15 Minuten
Cook Time 45 Minuten
Total Time 1 Stunde
Servings 8 slices
Calories 293 kcal

What you will need

For the base:

  • 100 g rolled oats
  • 30 g almonds
  • 200 g dates
  • a pinch of sea salt

For the "cheesecake" filling

  • 250 g silken tofu
  • 40 g cashews soaked overnight
  • 100 g coconut cream (just the firm part of the coconut milk! This is best seperated when putting the can in the fridge for about 2 hours)
  • 100 g maple syrup
  • 2 tbsp oil
  • 1 tbsp fig preserves
  • 2 tbsp cornstarch
  • 4-5 figs sliced up

How to

  1. Preheat the oven to 180°C.

    To a food processor add all of the ingredients for the base and blend until it forms a sticky paste. When too dry, add more dates or some oil, when too sticky, add more oats.

  2. Line a 20x20cm cake pan (or a springform pan) with parchment paper. Add the blended mixture and press to the bottom so it forms a flat layer.

  3. Into the food processor now add the ingredients for the "cheesecake" layer and blend until very creamy. Pour over the first layer.

  4. Top with the sliced figs and bake for about 45-55 minutes until the top gets golden brown.

  5. Take it out of the oven. The cake will get firmer the longer you let it sit. Store in the fridge and take out at least 20 minutes before eating for best flavor! Enjoy!

Happy cooking, 

Enjoy,

Katie

Kategorie: Desserts, Diet-Specific, My favorites, Snack, Vegan Stichworte: baked cheesecake. healthy snack, baked vegan, cheesecake, figs, healthy, healthy cheesecake, Healthy Dessert, plant based, plant power, silken tofu, tofu, vegan, vegan cheesecake, vegan dessert, vegan treat

Vegan Rice Noodle Salad with Best Crispy Tofu

November 13, 2019 by katharina.kuehr 1 Kommentar

I love noodles prepared in any way. No matter if pasta in Italy, Suppennudeln in Austria, Ramen in Japan, or Pad Thai in Thailand. And because I know that we are all starting to get a little sick of the fall vegetables I decided to share a more summery recipe to boost your mood with this weather.

To be honest, I am not a Pasta Salad lover, I definitely prefer warm pasta over cold one, which also is the reason that this is a “warm pasta salad”! Especially with Glass Noodles I find that they often happen to stick together which I am no fan of at all. This super delicious dish is made with whole bunch of different vegetables and a lot of nutrients! 

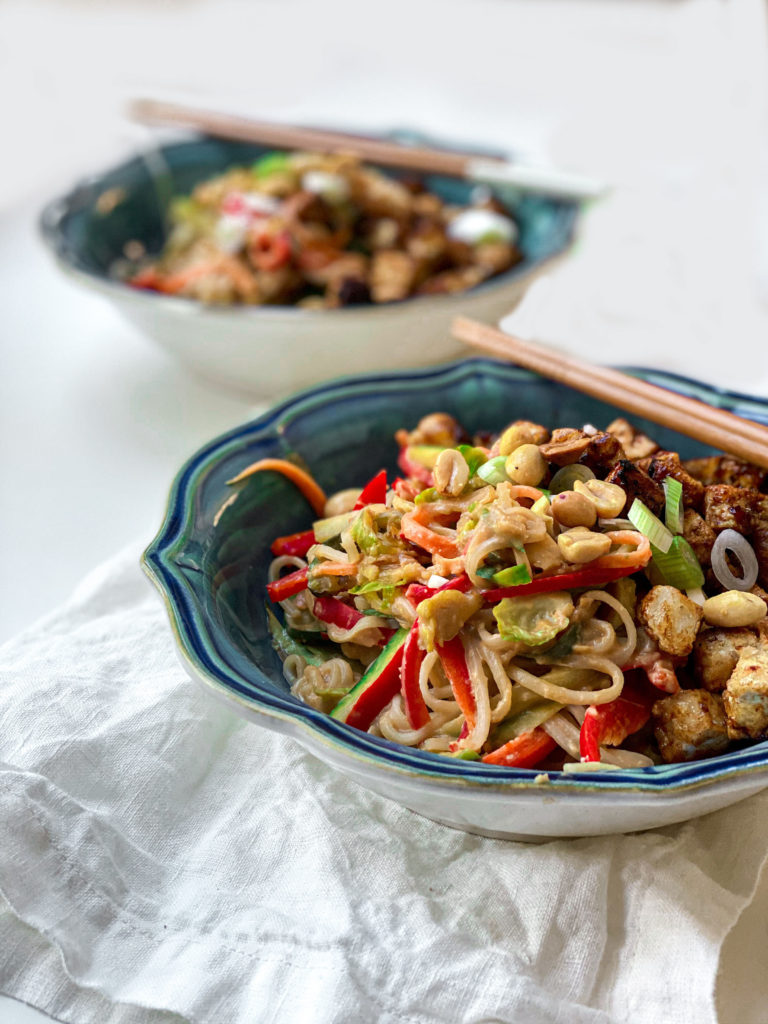
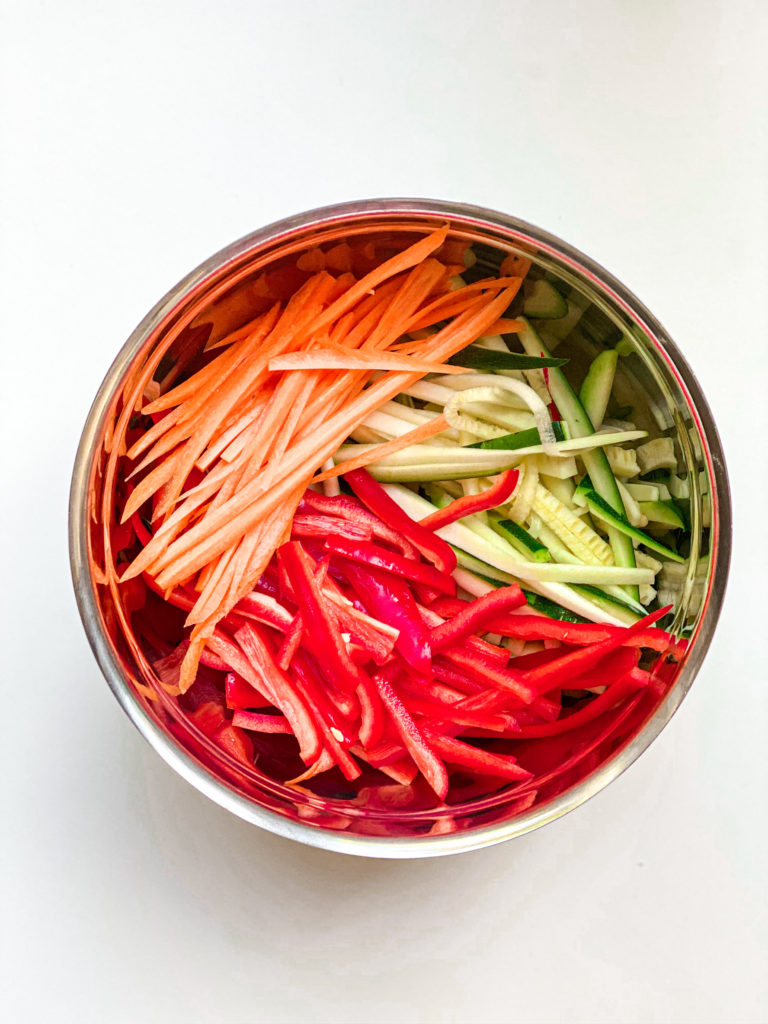
The pasta dish itself is made out of glass noodles, also called rice noodles, bell peppers, carrots, zucchini, and brussel sprouts. This is what I usually have in the fridge on a daily basis and what most people have too. I love using these ingredients because I can just cook this meal from scratch without having to go to the shop, whenever I want. If you happen to have different vegetables in the fridge constantly such as celery or bean sprouts or whatever, you can just use those. This is what I love about this, it is super versatile because it is not a “traditional pad Thai recipe”.

When it comes to the sauce, let me tell you, it is super addicting! I do not only use this for the Pad Thai but also for dips, as bowl or salad dressing, or to coat in stir-fries. It is so good and tangy and just pairs so well with the rice noodles because they soak it all up and take on the flavor. To make it you have to add a few ingredients to the food processor which are peanut butter, lime juice, soy sauce, (vegan) fish sauce, ginger, scallions, and honey. Simply blend it all up and its done! Pretty simple-what?

This sounds pretty mouthwatering so far, don´t you think? But, I promise, we haven’t reached the best part of the dish so far: the crispy tofu. I know, the non-vegans out there are probably going to think, “oh no, not another one who is trying to convince me that Tofu is good! It is just plain and tastes like nothing!”. Yes, I get what you are saying and I have had that before too, but I tell you, try out this recipe and you will be convinced opposite! This way to prepare tofu is so delicious and super easy and quick too! Literally 10 minutes!

To make this incredibly tasty Tofu you first need to buy firm or extra firm tofu. Once you decide to make it, take it out of the package and take a few pieces of kitchen roll and lay them out on a flat surface. Add the tofu on top and place a few pieces of kitchen above it. Take a heav weight, this can be a book, a cutting board or whatever you have on hand, and put it on top. If you let that stand for about 5 minutes, the water will go out of the tofu and you will be left with some firmer and less moist tofu. If you do have a tofu press at home, you can skip this step and use it!

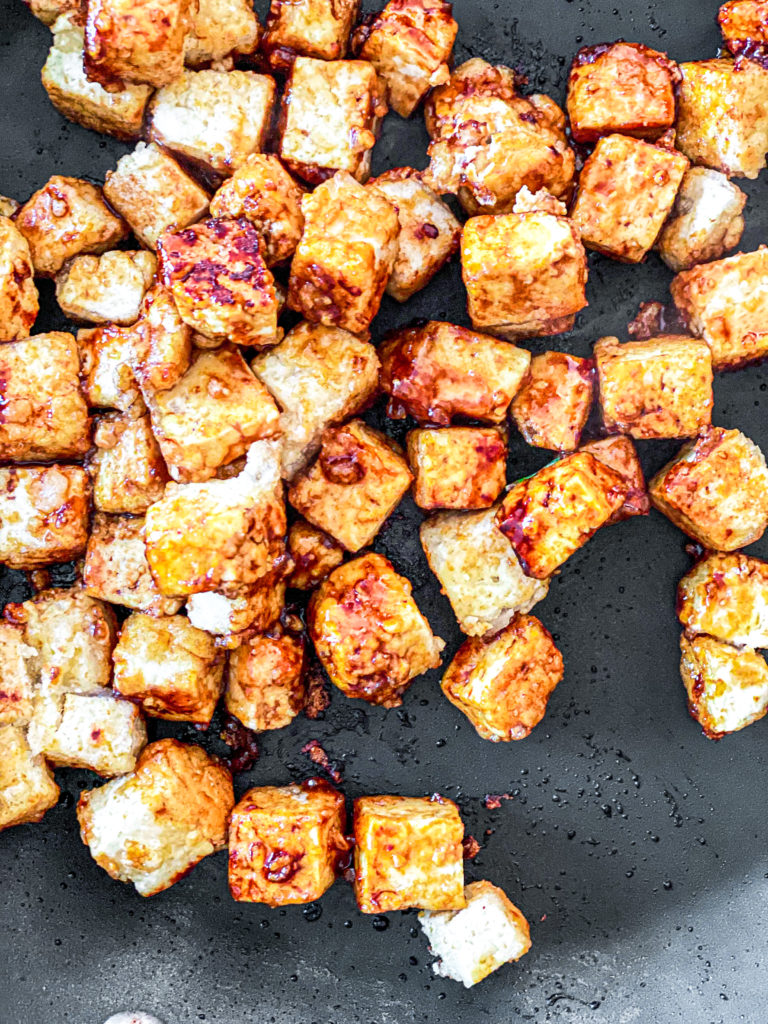
Next we need to cut it and coat it into small pieces, I like them to be like 1cm cubes but that is totally up to your preference. Coat them in some cornstarch. This will help the Tofu crisping up when in the pan. Now heat a tablespoon of oil in a pan. Sesame oil works best here because it has a really nice flavor which goes very well with this. Once hot, add in the tofu and you will be able to watch it get crispy on the outside. Stir it around and let it fry for about 2-3 minutes or until golden brown and really crispy. We are almost done, but now we have to add some flavor. This actually makes the tofu. While it is still in the hot pan, we add some sauce. I love to use a wok sauce but you can also go for soy sauce, stir-fry sauce, hoisin sauce or whatever you love. You can find these pre made sauces at any supermarket. Once added the sauce we let the tofu cook for another 2 minutes.

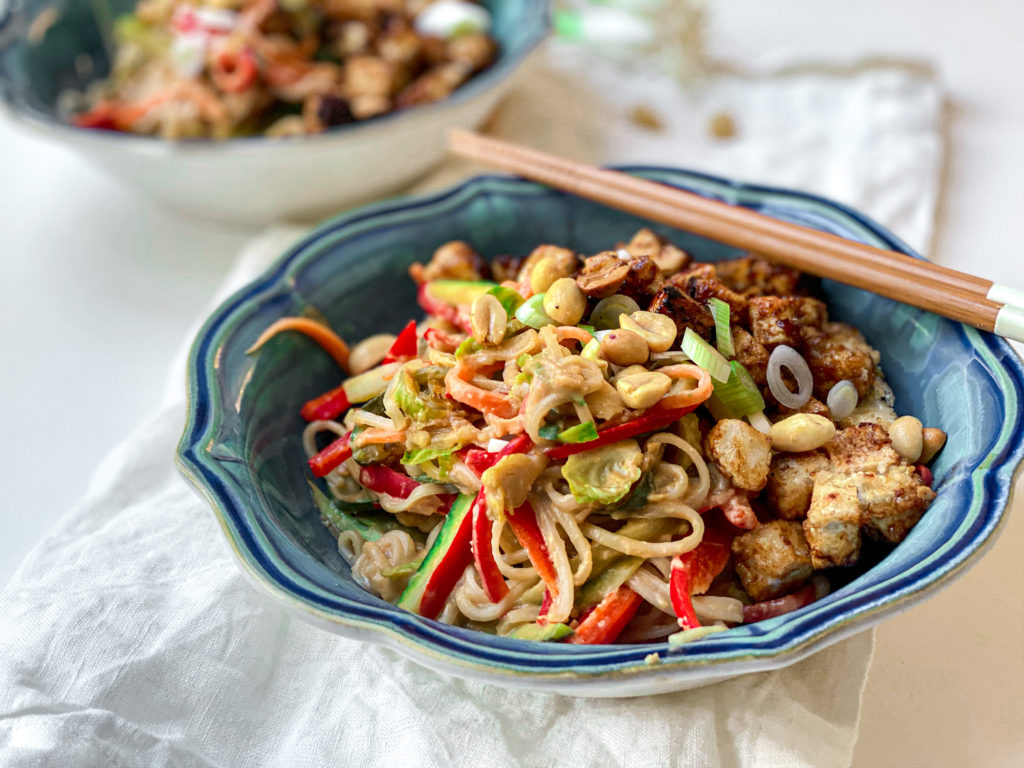
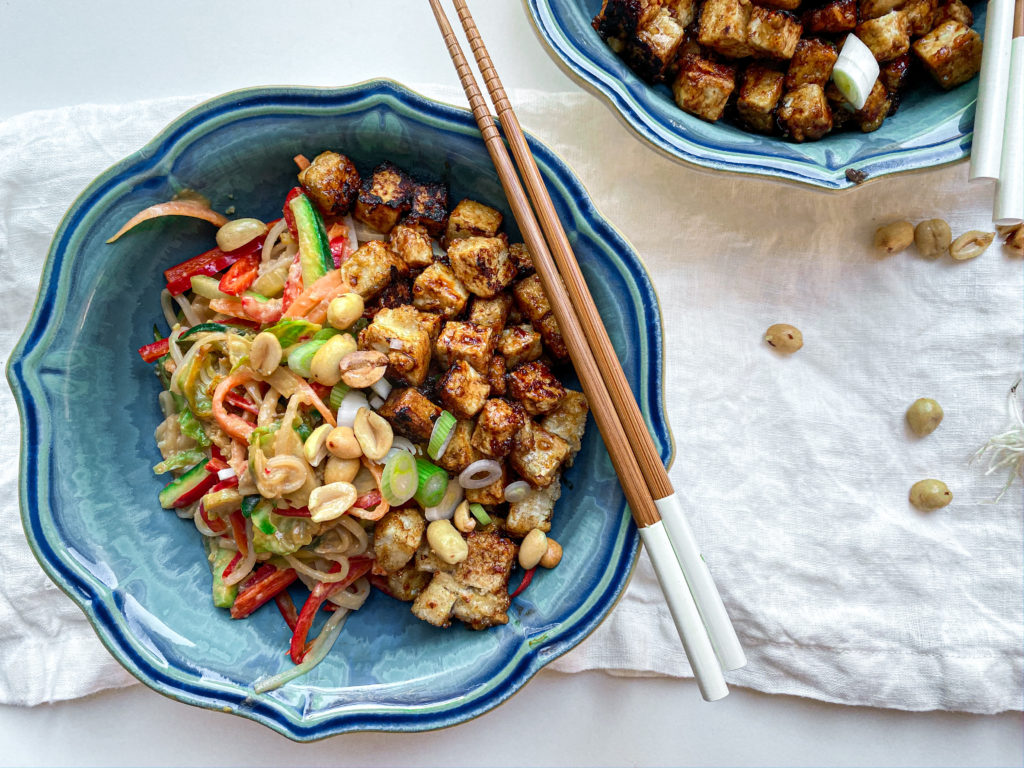
Now we can assemble the noodles, top with the tofu, some fresh scallions, peanuts and sriracha for that extra kick! I honestly love this dish as a quick lunch or light dinner. It gives me some summer vibes because of all the different colours and is super delicious. I hope that you will like it to and if you decide to recreate it be sure to tag me on Instagram with @uneptcuisiniere or with #unepetitecuisiniere! Also, it would mean a whole lot to me if you would leave a comment and rating under the blog post! Thank you very much and enjoy!

XX

Katie 

Print

Rice Noodle Salad with Best Crispy Tofu

A delicious Pad-Thai-ish recipe. Healthy and vegan and really delcious. It is amazing during hot summer days or for all of you who want to get some summer feels druing these days.

Course bowl, dinner, lunch, Main Course
Cuisine asian, thai
Prep Time 15 Minuten
Total Time 25 Minuten
Servings 3 servings
Calories 483 kcal

What you will need

For the Base:

  • 150 g Rice Noodles about 0.5cm thick
  • 1 tbsp sesame oil
  • 1 zucchini
  • 3 carrots
  • 1 bell pepper I like to use red one
  • 6 brussel sprouts

For the Sauce:

  • 1 tbsp peanut butter
  • 1 tbsp soy sauce
  • 2 tsp fish sauce vegan
  • 2 tsp honey or brown sugar
  • 3 cm ginger
  • 2 scallions
  • 1.5 tbsp lime juice
  • 1 tsp sriracha
  • 1 tbsp Water

For the Tofu:

  • 250 g firm Tofu
  • 2 tbsp corn starch
  • 1 tbsp sesame oil
  • 2 tbsp soy sauce

For the toppings:

  • crushed peanuts
  • fresh scallions
  • some hot sauce

How to

That is how it works:

  1. Bring a pot with water to a boil and cook the rice noodles according to package instructions.

  2. Lay down a piece of kitchen roll down on a flat surface. Add the tofu on top and another piece. Above lay something heavy such as a cutting board or a book and let it press for about 4-5 minutes.

  3. Meanwhile cut the vegetables into thin strips. The thinner the better, because they will be easier to eat with the noodles.

  4. In a small blender add all the ingredients for the sauce and blend until smooth.

  5. Cut up the tofu into 1cm sized chunks. Coat them in the corn starch. Heat up 1 tbsp of sesame oil in a pan. Once hot add teh tofu and let it fry for about 3-4 minutes. Then add the soy or stir-fry sauce and let it cook for another 2 minutes.

  6. Meanwhile heat up 1 tbsp of sesame oil in a pan. Once hot add the vegetables and stir-fry them.

  7. By now the noodles should be done cooking. Reserve a little of the cooking water, and drain the noodles. Add them into the pan with the vegetables and pour over the sauce. Add some of the reserved water, it will help everything to combine very well.

  8. Once mixed together seperate it onto the plates. Top it with the Tofu and some crushed peanuts, thinly sliced scallions and some more hot sauce if you like!

  9. Serve and enjoy!

Kategorie: Lunch/ Dinner, Salad, Season, Summer, Thai, Vegan, Vegetarian, Vegetarian Stichworte: asian, bell peppers, brussel sprouts, carrots, crispy, crispy tofu, fallvegan, glutenfree, noodles, pad thai, pasta, pastasalad, peanut, peanutbutter, peanuts, rice noodles, salad, thai, tofu, vegan, veganfood, Zucchini

« Vorherige Seite

Footer

What has been happening on my Instagram

Copyright © 2024 Une Petite Cuisinière on the Foodie Pro Theme