We all love those sweet, juicy and tangy summer tomatoes, am I right? Especially when they are grown locally and do not have travelled thousands of kilometres! Such a pity that they only are available in summer!! Wait .. no, we don’t want that. We also want that pleasure in winter! But how? I´ll show you three ways how you can make tomatoes last longer!
Just a little intro to my love for tomatoes
I am not joking or exaggerating when I say I LOVE tomatoes and that I am obsessed with them. Since I was I child I had a passion for all foods that were red/ pink – strawberries, cherries, raspberries, and also tomatoes. And I still do have this love. Sometimes we have a like half a kilogram of tomatoes in the kitchen because we want to cook something with them. After a day or two they are gone, but not because we used them for cooking but because I snack on them all. the. time.
So if anyone, then it’s me who knows how hard and annoying it can be to not enjoy those super delicious tomatoes in winter. That’s why we need a delicious and climate friendly solution!
Why not having tomatoes in winter?
To grow, tomatoes need sunlight and heat. Therefore they are fruits (yes, they actually are fruits!!) that are grown in summer. Most of the times they are grown in Spain or Italy, just because the season is longer there but in June, July and August, you can also can local ones in most areas.
As tomatoes need these factors to grow and become tasty, you can imagine that it is hard to grow a tomato in winter in Austria, when it is cold and there is little sun. But this does not mean that tomatoes cannot be grown in winter. They can. But to fulfil these factors and needs, they either are grown far away from Austria, in a different climate or they are treated with chemicals and fertiliser to grow large and juicy.
So we have those two options, of which both are not very climate friendly. When the are grown far abroad, they need to travel a lot to come to Austria, which means a lot of carbon is emitted. When they are grown rather locally, they need to be treated with fertilisers, which both, are unhealthy for our body since they mess up with our digestion, and are unhealthy for the environment because they harm the soil.
To sum up, you can have tomatoes in winter but it neither is healthy for the environment nor is it for our body (in most cases).
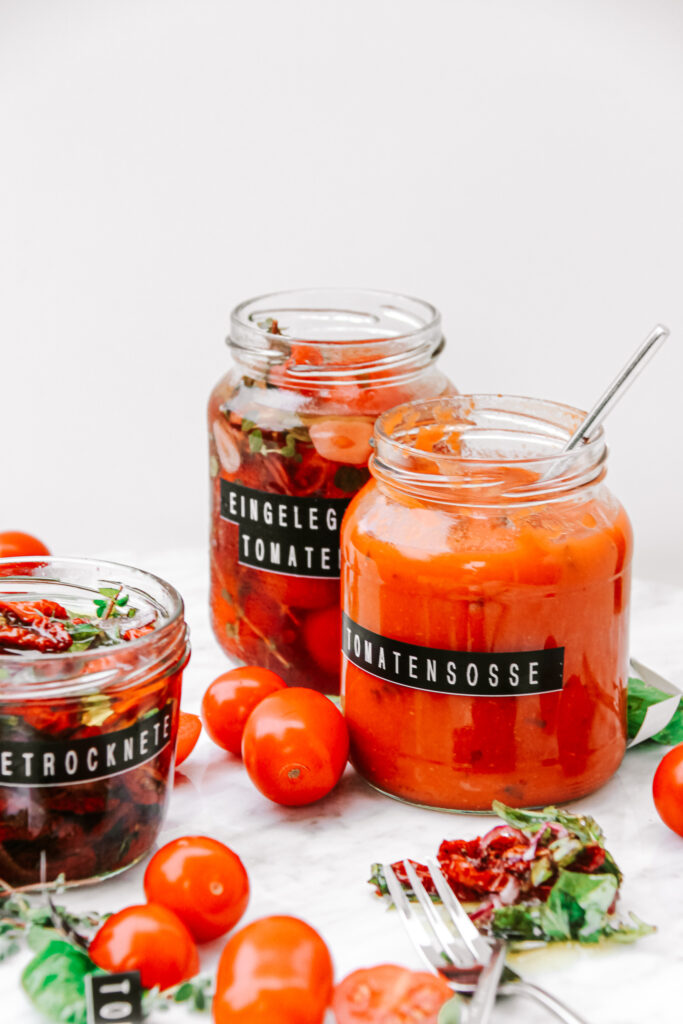
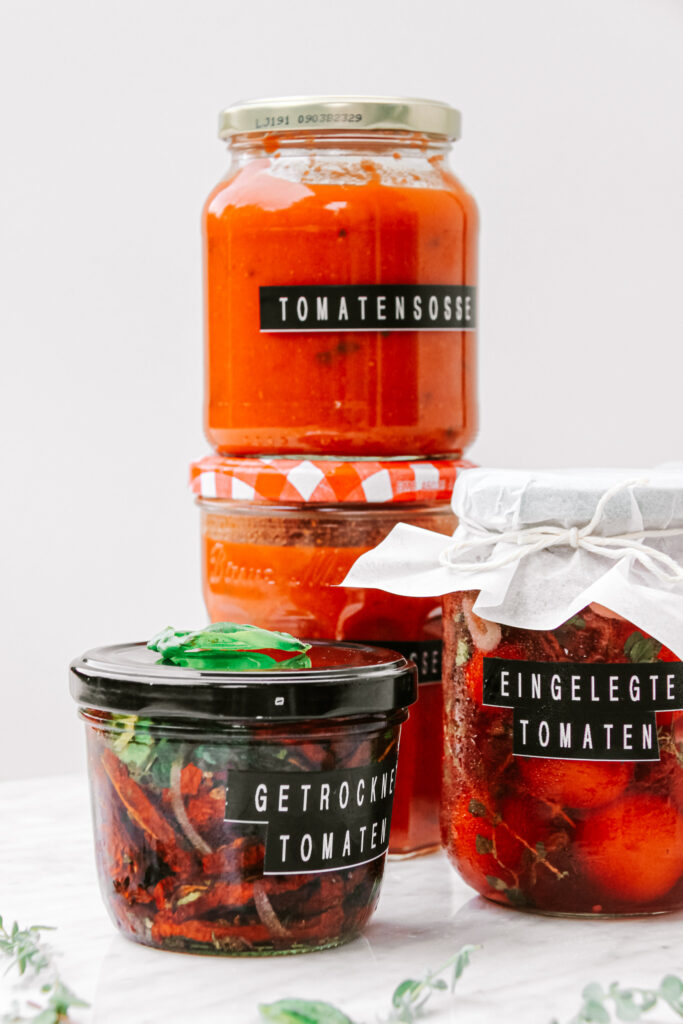
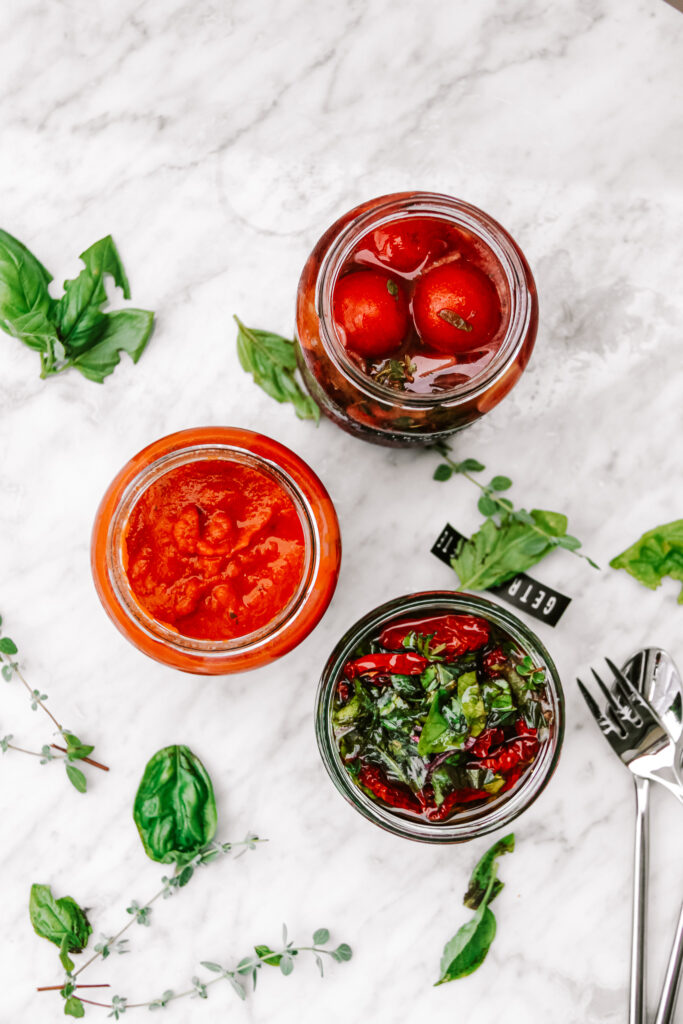
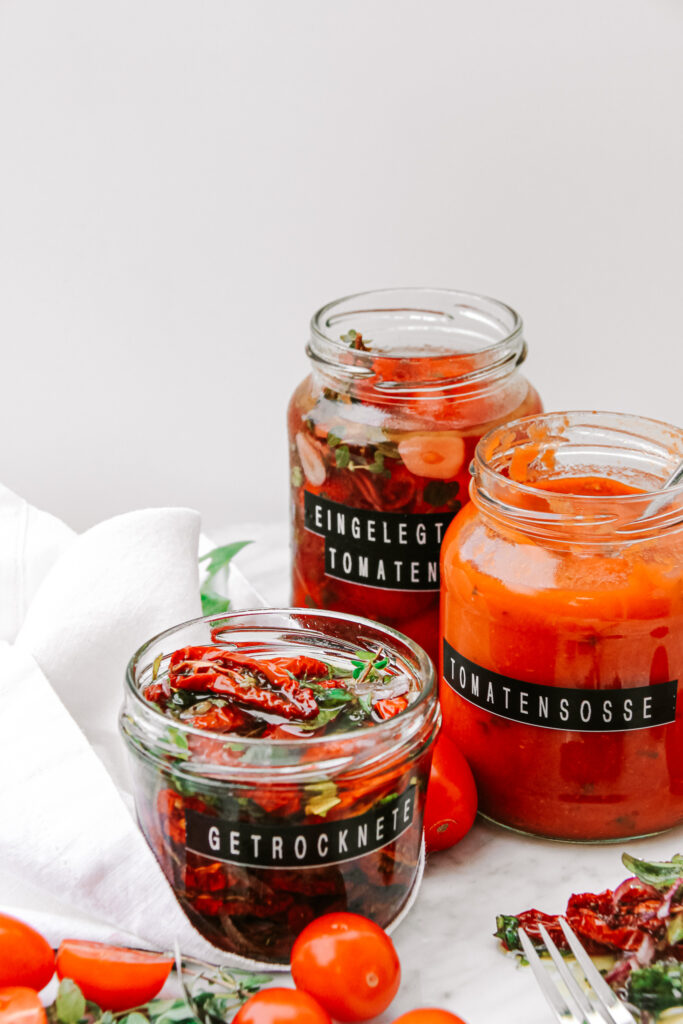
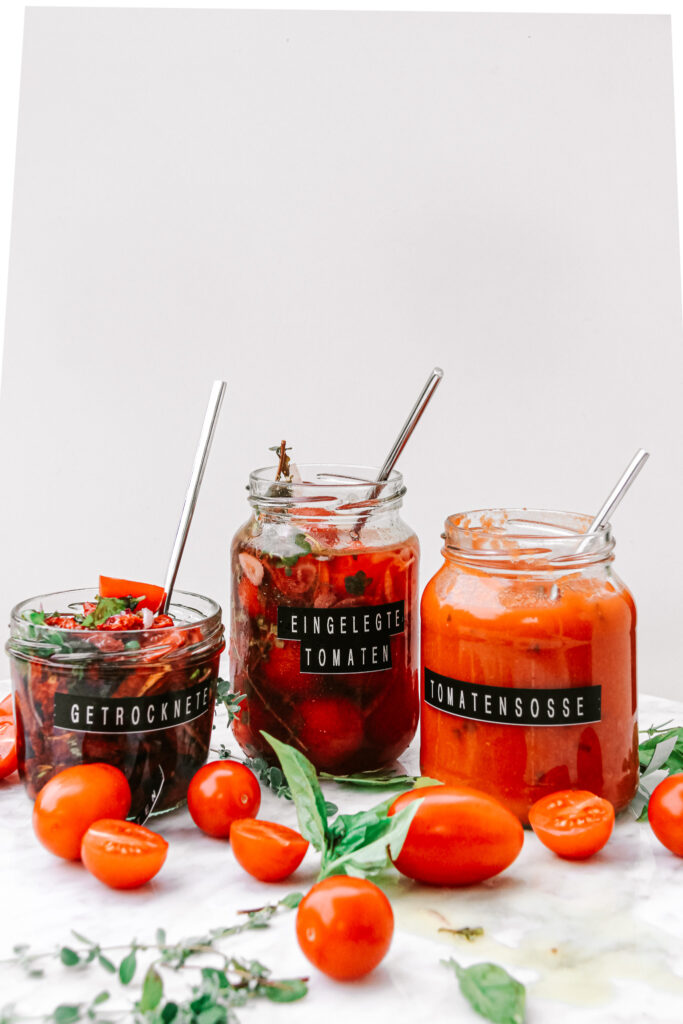
So how do you make tomatoes last longer?
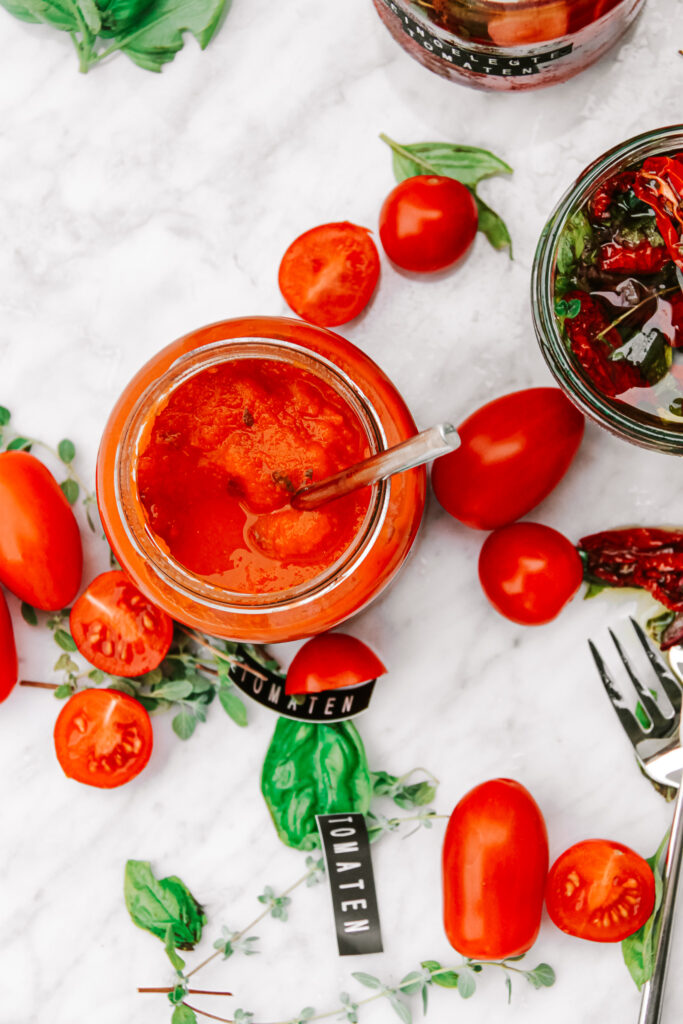
Tomato Sauce 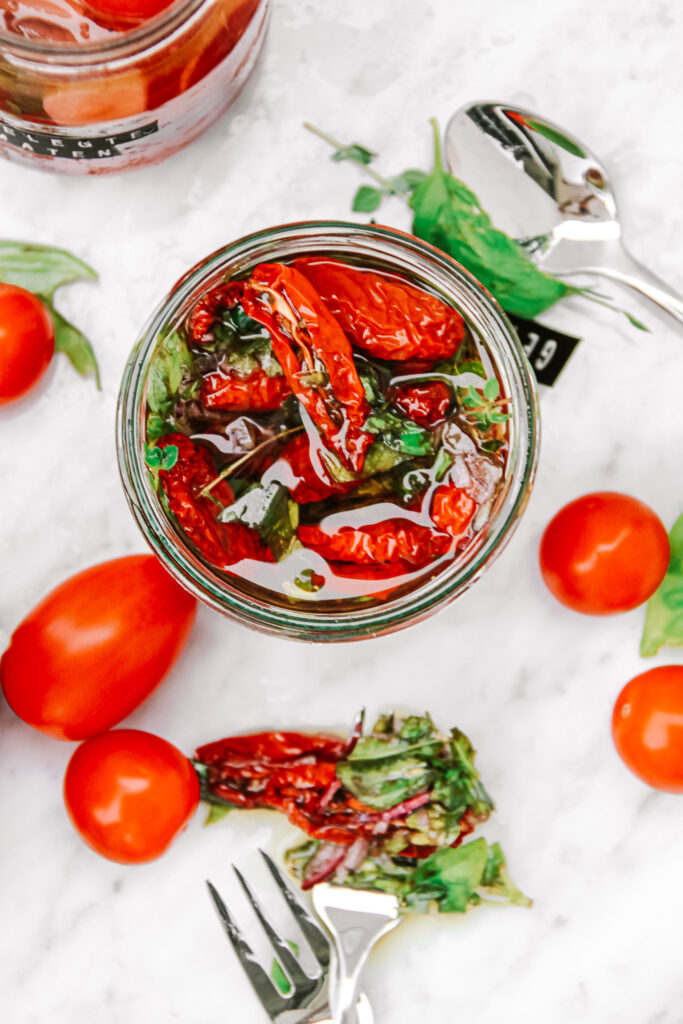
Dired Tomatoes 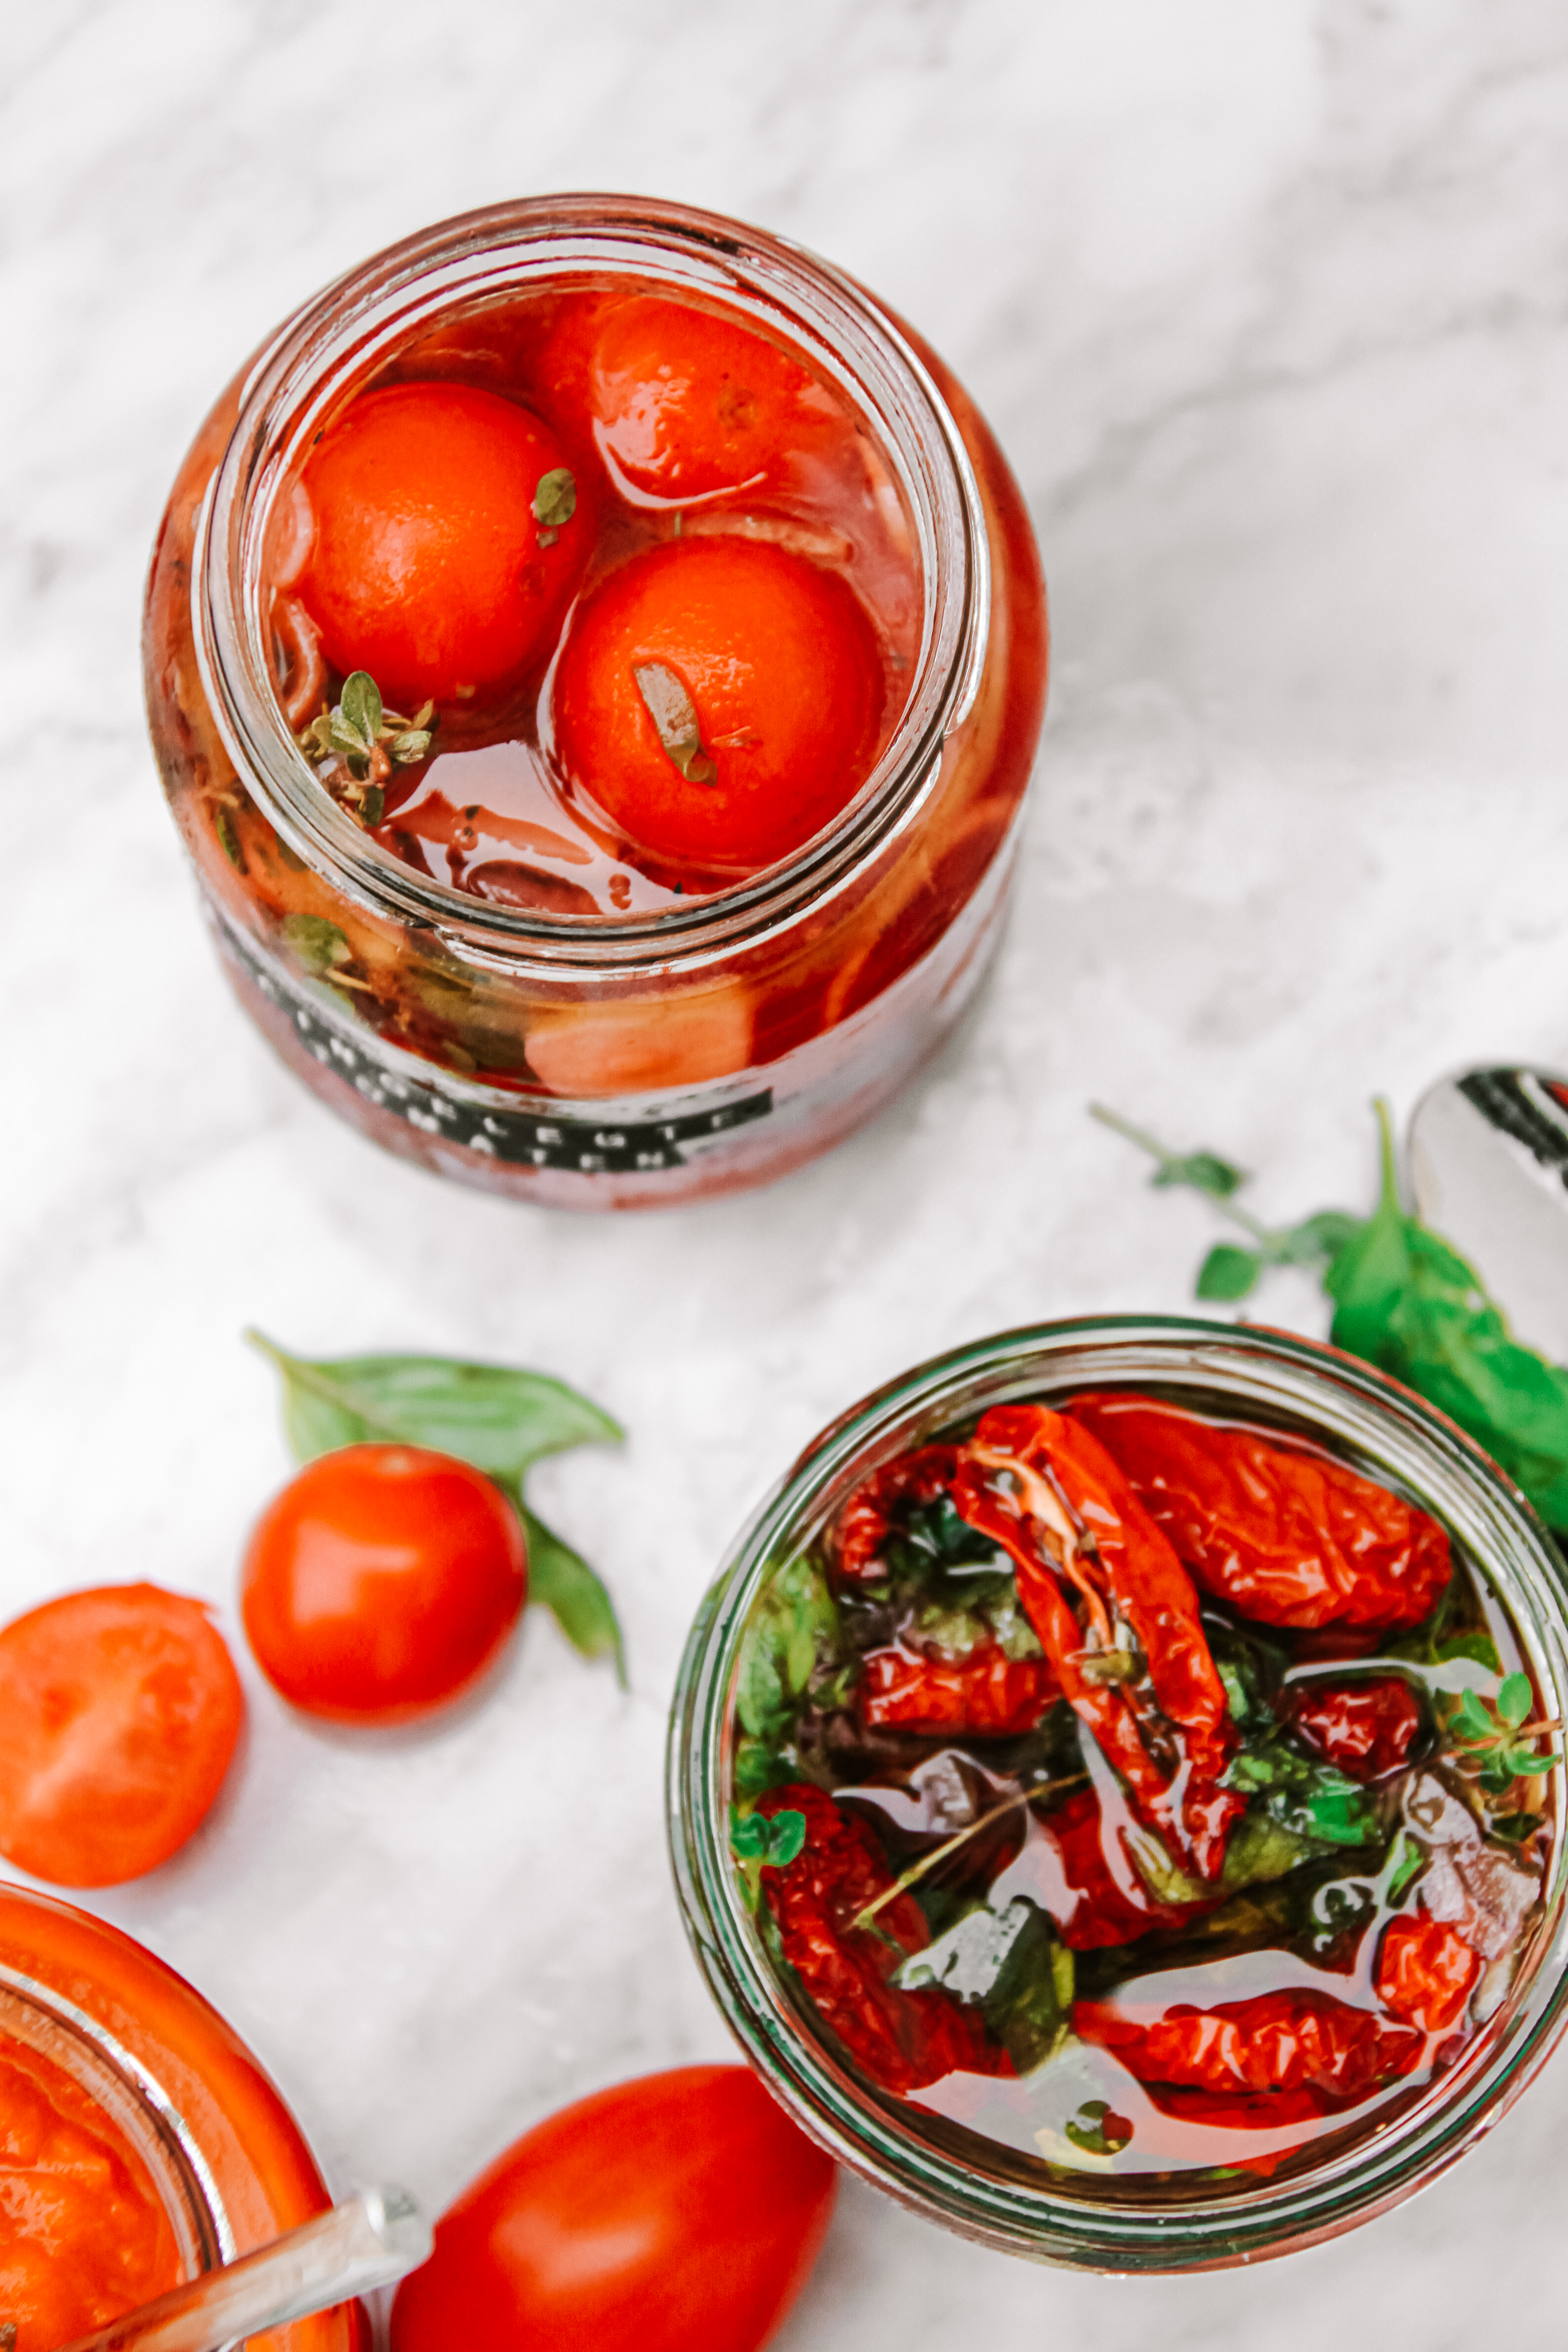
Pickled Tomatoes
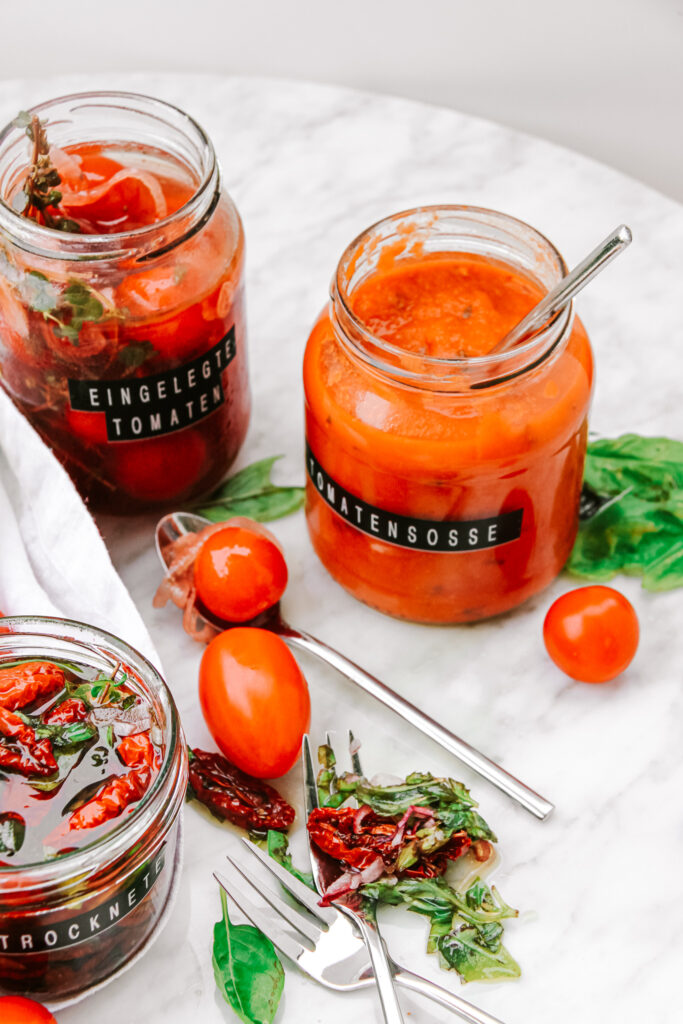
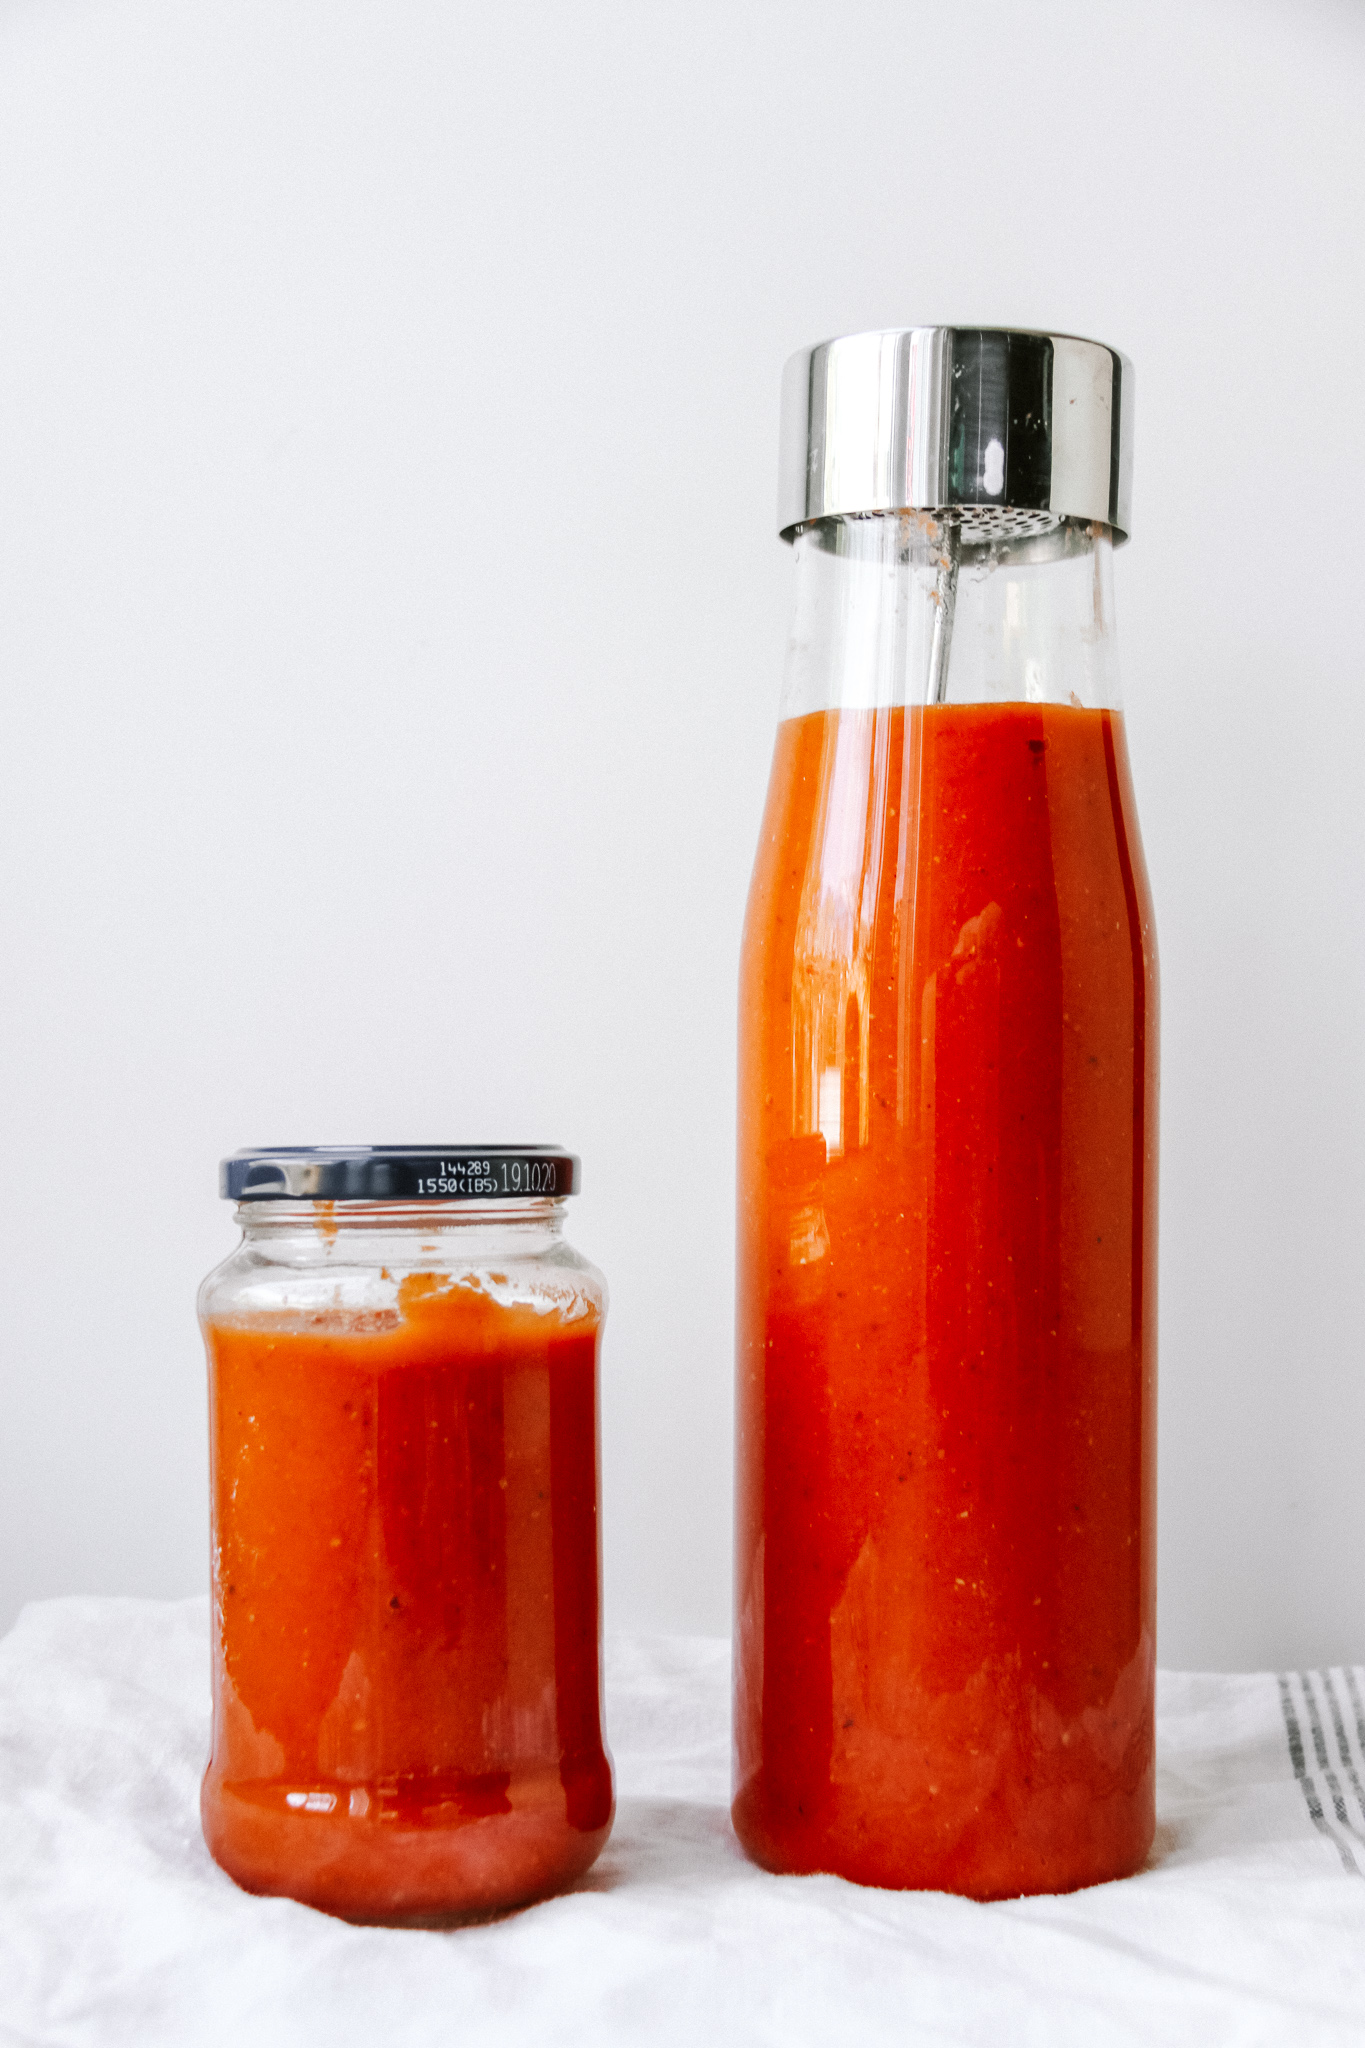
- Tomato Sauce
We all know the easiest way to have tomatoes in winter. In form of a tomato sauce! We get a pre made tomato sauce in the store all year round. And it has already often been our life saver, hasn’t it? While store bought tomato sauce is alright, when you have made your own homemade one once, you will not want to go back.
Plus, it actually is healthier than store bought one. Oftentimes, the ones that is pre made and ready to use has a lot of sugar and flavour enhancers added. This tastes good, but really is not healthy for you. When you make it yourself, you know exactly what’s in, you can season it to your preference and you can choose the best tomatoes to make it with for the best flavour! Plus, it is way easier than you may think it is!
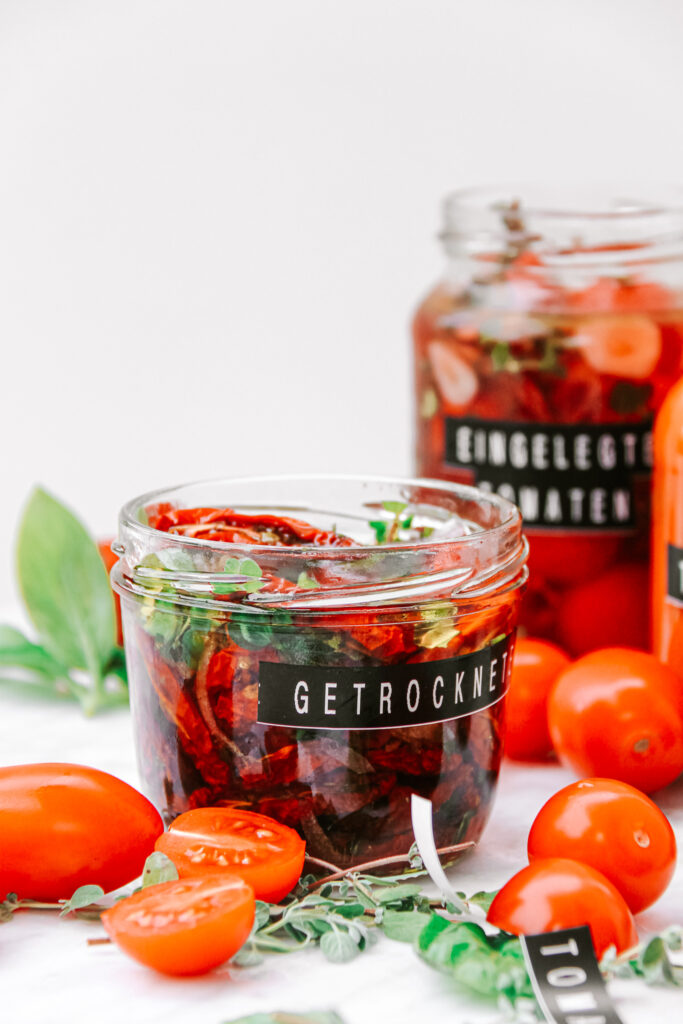
2. Dried Tomatoes
Most of us also know this one. Dried tomatoes are, as the name suggests dehydrated tomatoes. They usually come soaked in oil and herbs but sometimes also without anything. Dried tomatoes are a little soft but have barely any water in them anymore and are pretty salty in most cases.
They are perfect to add to pasta dishes, salads, bowls or just on top of burrata. They add an incredible amount of flavour although they are so simple. I think, these are the easiest to make from all 3 recipes because they essentially come down to being cut in half, put into the oven and then stored in a jar with oil. Pretty simple right?
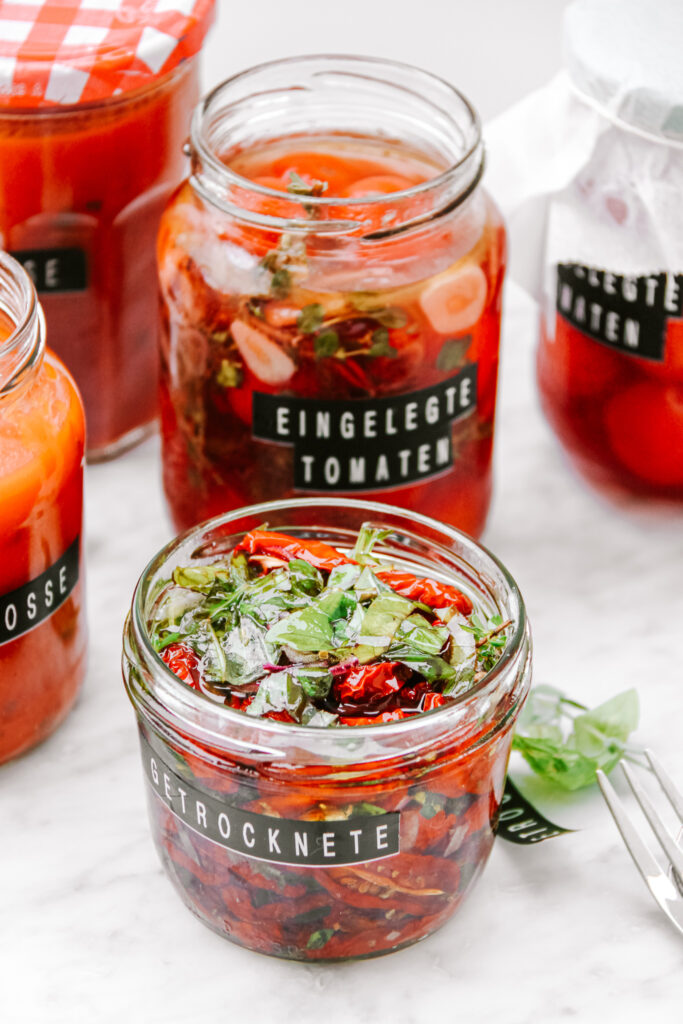
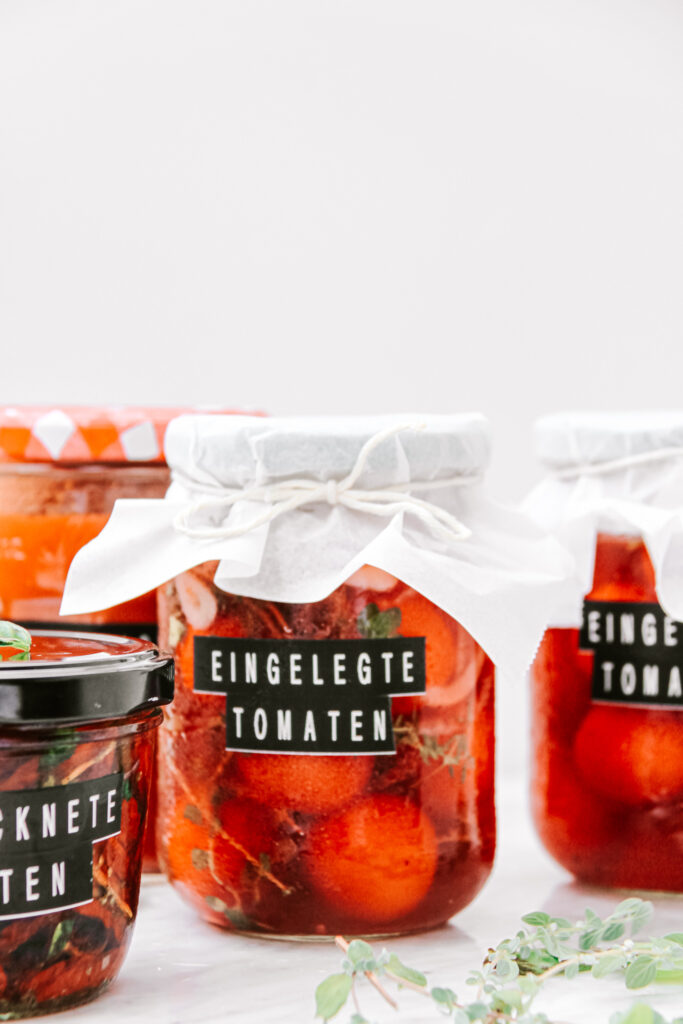
3. Pickled tomatoes
I know what your face looks like right now. Like, huh? Don’t you just pickle cucumbers? NO! You can pickle pretty much any vegetable. It makes vegetables last longer while gaining flavour. My favourite pickled thing besides tomatoes, are onions. Red ones, that turn pink but also small white onions, which are pickled as a whole. They are often served in Italy and they are so delicious.
But back to the tomatoes. Pickling them is really easy. You make a brew from vinegar, water and (coconut) sugar, pour that over the tomatoes and let them sit in the fridge. That way they get even sweeter and last pretty long. I love adding them to salads, with burrata, to Buddha/ nourish bowl or serving them with avocado toast or poached eggs. Super super tasty!
Are these things healthy?
Yes, they are. You can take a look at the ingredients and you’ll see that they all are healthy. Tomatoes themselves, also are a very healthy fruit. They are very low in calories but a great source of fibre, vitamin K, C, and Potassium. Let’s take a look at the specific dishes:
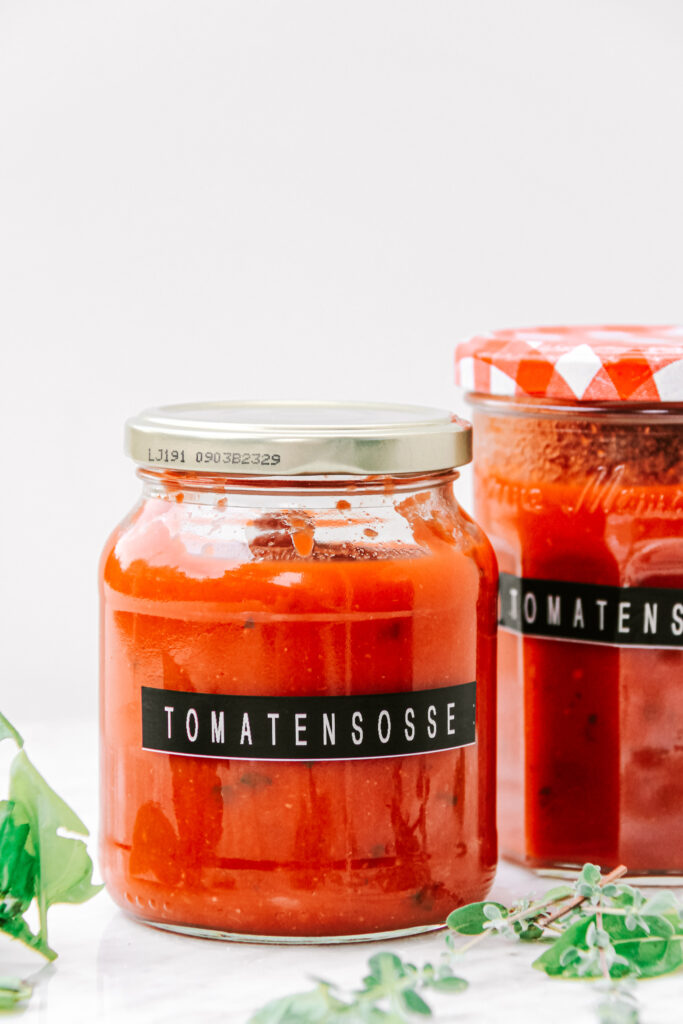
Tomato sauce: it is made out of fresh tomatoes, onions, garlic, celery, carrot, olive oil, salt, pepper and herbs, That’s it! To really clean and healthy. Adding the celery and carrot at the beginning does not only account for more flavour but it also is a great way to add some vitamins! I have a detailed blog post on tomato sauce here where you can read a lot about it and how to make it!
Dried tomatoes: The only ingredients here are tomatoes, salt, oregano, onions and olive oil. Again, very simple and very clean. Maybe your question now is, when they are stored in olive oil, are they still healthy? Yes, they are. First of all, oil and olive oil is not unhealthy! It is high in calories, that is true but since we only store them in oil, and do not pour over all of the oil when eating, they still are really healthy.
Pickled tomatoes: what you’ll need for this is vinegar, water, coconut sugar, salt, onions and herbs. Also here, very clean ingredients. Usually pickled tomatoes are made with normal sugar but since we are opting for a healthier choice, we go for coconut sugar. This one is higher in nutrients and lower in actual sugar.
How to best enjoy these tomato dishes:
No we have made them it would be good to know how you can use them. he tomato sauce goes for anything you would use store bought for. This can be as a regular pasta sauce, with meatballs (or no-meatballs), in Shakshuka, in Tikka Masala or in Ratatouille. The dried tomatoes are a great garnish for anything Mediterranean inspired or are a great addition to sauces to add some flavour. I for example love to add them to tomato sauces for extra flavour or to a creamy cashew sauce. Also great in salads! The pickled tomatoes are a great topping for toasts or an amazing and flavourful part of a buddha/ nourish bowl. Also they are great when enjoyed with mozzarella or in breakfast tacos !
Enjoy
I hope that you will enjoy these different ways of having tomatoes in winter and will come back to those when you want tomatoes all year around. They are best to make now, when the tomatoes are in season to have a delicious and sustainable way of enjoying them all year round!
Italian Tomato Sauce (V, SF, S)
This is a very easy recipe for a traditional recipe for our loved tomato sauce. Only a few ingredients and packe with flavor to make use of the delicious red fruits that are in season right now. (Vegan, Sugarfree, Seasonal)
What you will need
- 1,5 kg tomatoes about 4 medium to big ones
- 4 tbsp olive oil
- 2 red onions
- 4-5 cloves garlic
- 1 carrot
- 2 sticks celery
- 1 tbsp tomato paste
- 1 tbsp salt at least! Preferably sea salt
- chili flakes as desired
- 1/2 tbsp pepper
- 1 handful oregano
- 1 handful basil
How to
-
Start by removing the green stem from the tomatoes. Then turn the tomato around so that the top side, where the stem has been is facing down. Take a sharp knife and carefully slice a small cross into the skin. This will help you later when cooking and peeling.

-
In a pot bring water to a boil and reduce to a simmer. Place the tomatoes into the pot and let them simmer for about 30-45 seconds. Flip them around and simmer for another 30-45 seconds. Take them out and transfer them into an ice bath so they cool quickly.
-
While the tomatoes are cooling, finely peel and chop up the onion and the garlic and set them aside. Peel the carrots and chop it up along with the celery. Heat up the olive oil in a big pot. When hot add the onion and garlic and let sweat for about 2 minutes on medium heat.
-
Take the tomtatoes out of the ice bath and you will notice that the skin has taken off a little where you have cut the tomatoes before. You can now easily peel of the skin, you wont need it anymore. Cut the tomatoes into chunks and add them to the other vegetables in the pot. Let that simmer for about 20-30 minutes.
When the liquid has reduced and thickend pour the cooked tomato-vegetable mix into a blender. If you prefer to have some tomatoe chunks in you sauce, then reserve some of them and set them aside. Blend the rest until smooth and pour back into the pot along with the chunks if you reserved some. Add the tomato paste, salt, pepper, oregano, and chili.
Let the sauce simmer at low heat for another 45 minutes at least. The longer the sauce simmers, the more the flavor will come out, this can be simmered for several hours if the time is available.
A few minutes before chop up the basil and add into the sauce. The sauce can be served with pasta, rice, meatballs or anything you like. The sauce can be stored in the fridge for about 1 1/2 to 2 weeks. It can be kept in the fridge for several months, just thaw before using and heat it up again.
-
I hope that you will enjoy the recipe!

Dried Tomatoes
Delicious, soft and flavorful homemade dried tomatoes! Very easy and very tasty!
What you will need
- 300-400g g cherry tomatoes
- 1-2 tsp salt
- 1 tsp dried oregano
- 1/2 tsp cracked black pepper
- 1/2 small red onion
- some fresh oregano & basil
- olive oil to store (about 200ml)
How to
-
Preheat the oven to 100°C. Half the cherry tomatoes and lay them out on a baking tray lined with parchment paper. Season with salt, pepper and oregano. Put in the oven for 2 hours. Turn down the heat to 90°C and dry for another 3,5-4 hours, depending on how soft you like them.
-
In the meantime dice the red onion very very finely or pulse it in a food processor.
-
When the tomatoes are done in the oven, transfer them to a jar, add the onion, basil and oregano and cover with oil. Store in the fridge for a few months! Enjoy!

Pickled Tomatoes
A great way to make tomatoes last longer and enjoy them all year round. A little sweet and a little sour, with so much flavor!
What you will need
- 300 g cherry tomatoes
- 150 ml vinegar
- 150 ml water
- 100 g coconut sugar
- a splash olive oil
- fresh basil & oregano
- 1/2 red onion
- 2 garlic cloves
How to
-
Into a pot add the vinegar, water, olive oil and coconut sugar. Bring to a boil and let simmer for about 3 minutes, stirring constantly so the sugar doesn´t burn but dissolve.
-
In the meantime slice up the onion and garlic very very finely.
-
Add the tomatoes, onion, garlic and herbs to a jar. When the vinegar-sugar mixture is done, pour it over. Let the tomatoes soak up the vinegar for a week and then it is ready to enoy!
Happy cooking,
Enjoy,
Katie // Une Petite Cuisinière