• Zur Hauptnavigation springen
  • Skip to main content
  • Zur Fußzeile springen

feel food club

  • Home
  • About me
  • My Recipes
  • Blog
  • Navigation Menu: Social Icons

    • Instagram

Side

Shrimp, Carrot & Aubergine Mushroom Dumplings

März 27, 2020 by katharina.kuehr Kommentar verfassen

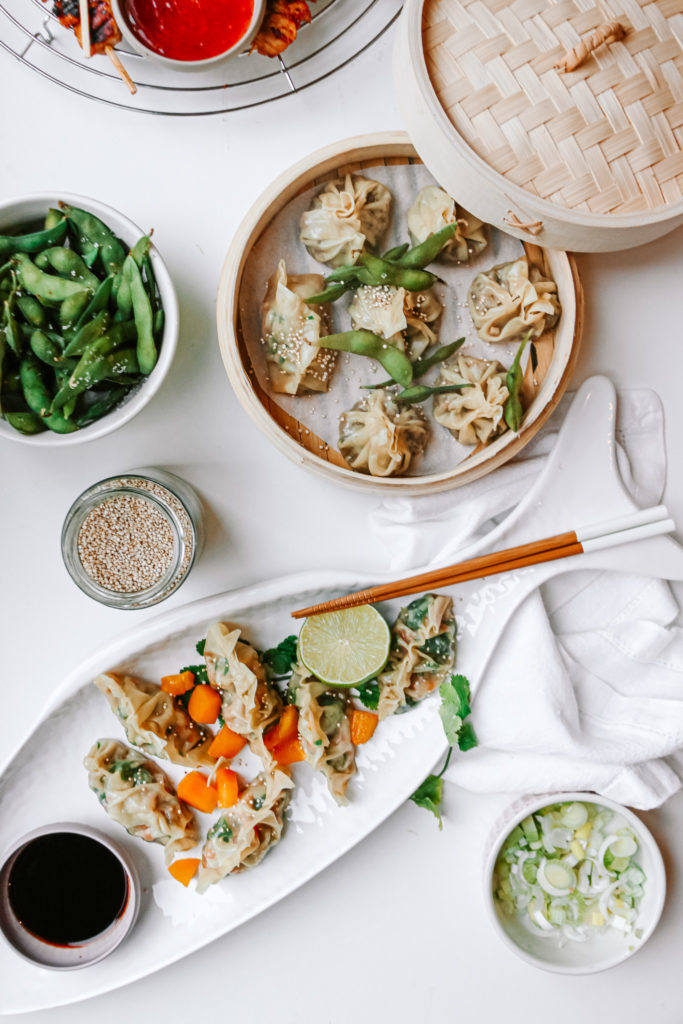
Dumplings are one of my absolutely favourite things to have. I always order them when going out to Chinese or Japanese restaurant but I have never dared to make them at home because I thought it was super complicated to make them. Wrong! They are not complicated at all, just require a little work, which is a lot of fun when doing it with someone else.
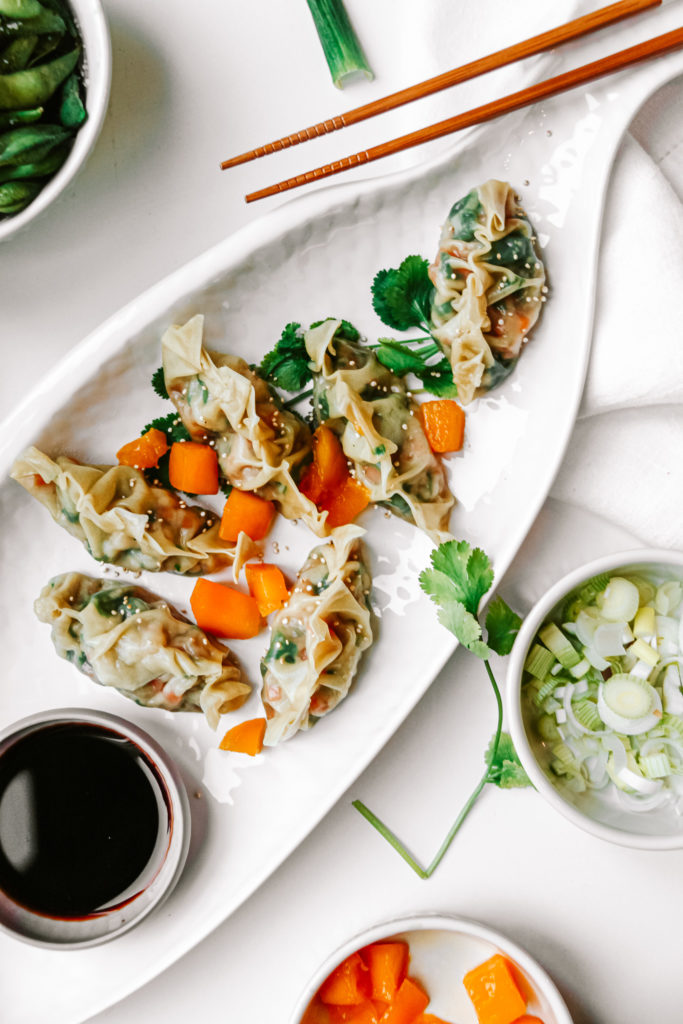
I do not know if anyone else loves the mix of textures and flavours or a decently spiced filling and a soft and doughy outer shell as much as I do. The combination always gets me and I believe that it is the perfect comforting and still healthy food. The great thing is that you can switch up the fillings and get so creative. There is nothing you cannot put into those cute, little dumplings.
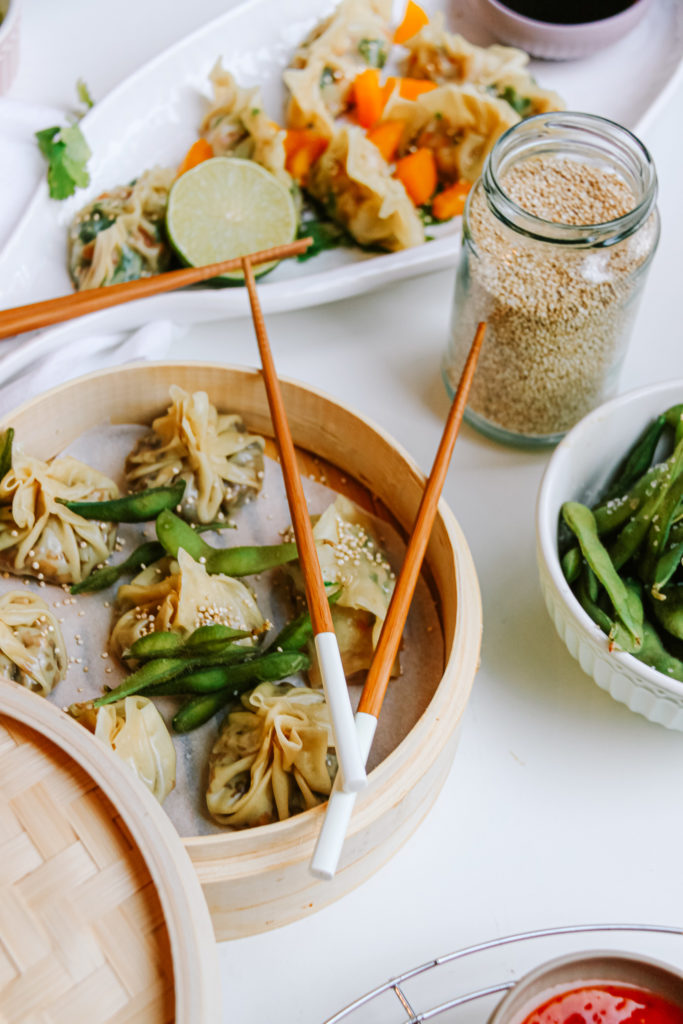
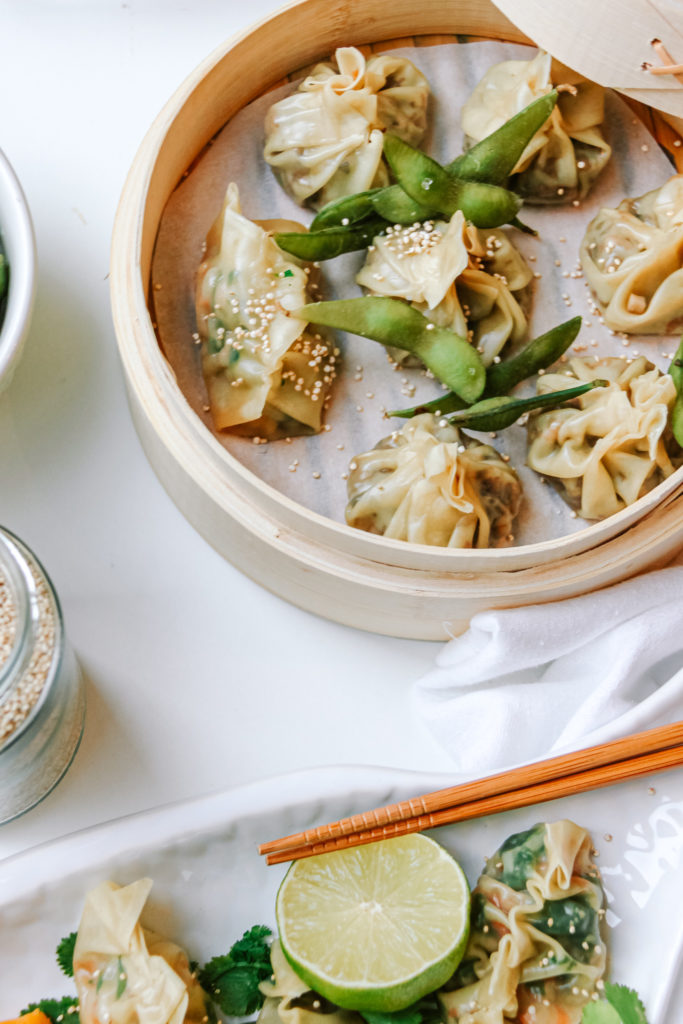
Since everyone has different taste buds, I created 2 versions for this first dumpling blog post. A vegetarian (vegan actually) and one with seafood. They both are incredibly delicious. For the vegetarian I combined some super finely chopped eggplant and some super finally chopped mushrooms. The chopping really takes time but making it that small just changes the taste so much because it almost feels like ground meat, texture wise, and you have both veggies in one bite. This mixture is sautéed just for a minute or so and then tossed with a teriyaki sauce. The sauce really adds a lot of flavour and makes it so addictingly good.
The shrimp dumpling is even easier. I use frozen shrimps simply because they are easiest to get and to store. Before preparing them, they need to be defrosted, which you can either do by taking them out of the freezer a few hours before cooking or if you forgot to do that, you can place them in a bowl with warm water and let them defrost that way. The shrimps are also finely chopped. The other 2 ingredients are carrots, which are peeled and also chopped up really finely and wild garlic. I love to use wild garlic at this time of the year but if you do not have that on hand you can use normal garlic cloves instead. This mixture does not have to be pre cooked, because the shrimps I use are already cooked before frozen. If yours are not you can quickly pan fry them or you just cook them when steaming.
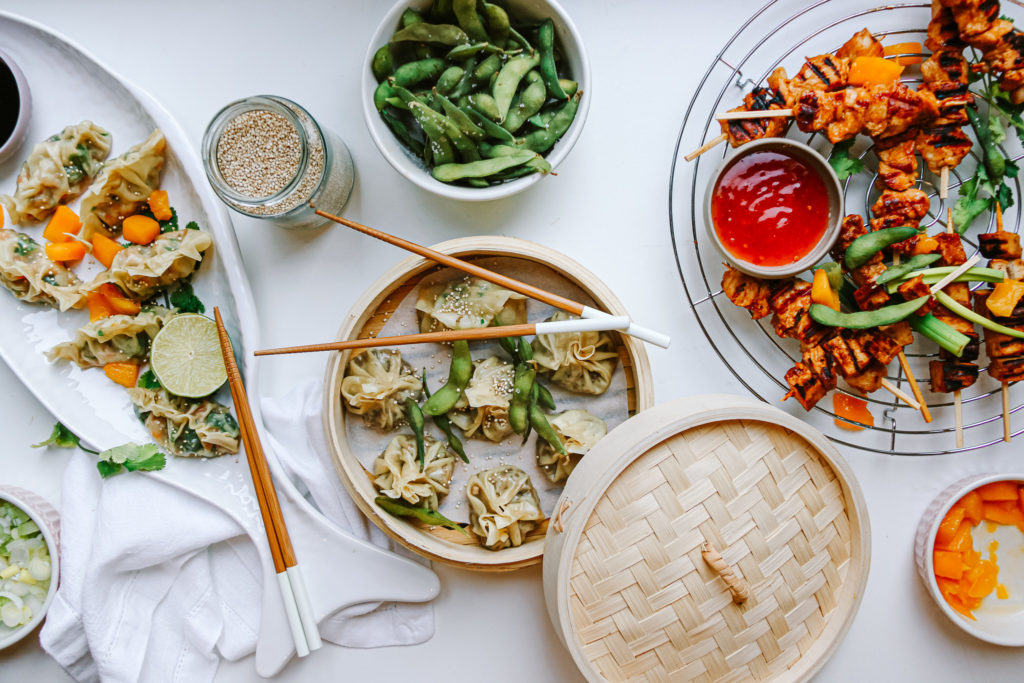
As for the outside dough, in this recipe we are using wonton wrappers. You can get those frozen at any asian market and sometimes even in supermarkets or speciality stores. Those are the same ones you would use for spring rolls. So you can deep fry, pan fry or steam them. Same with those dumplings. I am 100% down for steaming, simply because I believe they taste best and the flavours come out most, but you can also crisp them up in a pan. I would not recommend deep-frying them tough.
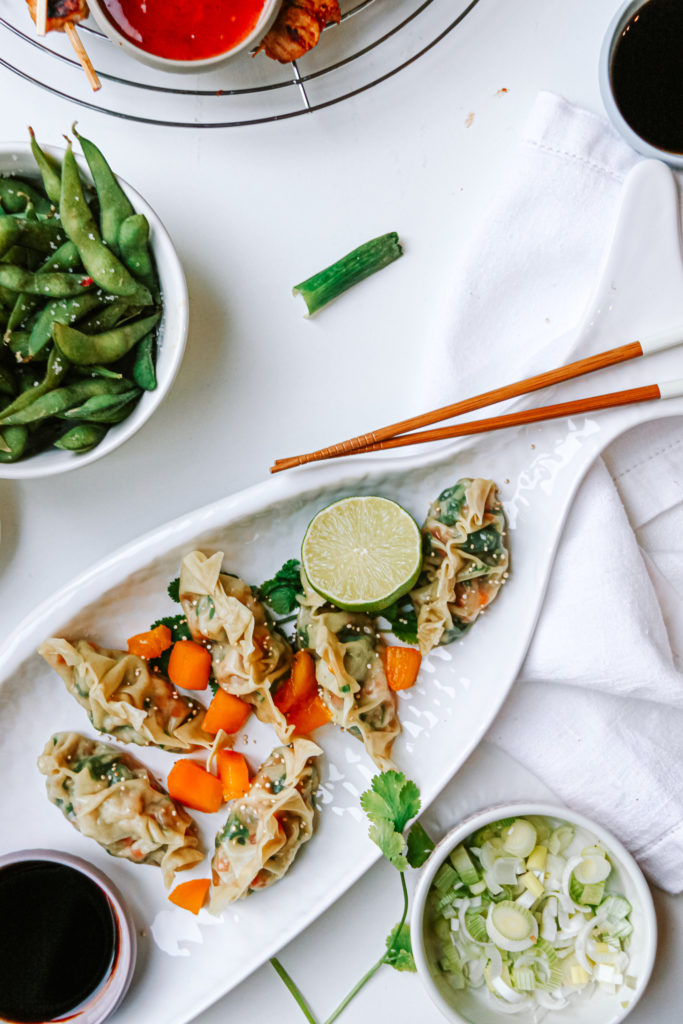
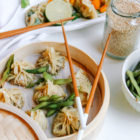
Here I decided to close them differently and bring them into diverse shapes but if this is too much work for you, leaving it with one is absolutely fine. The filling and shaping does take some time, because each wrapper is a bite, so it takes a while until you have gotten them all read but it is so worth it.
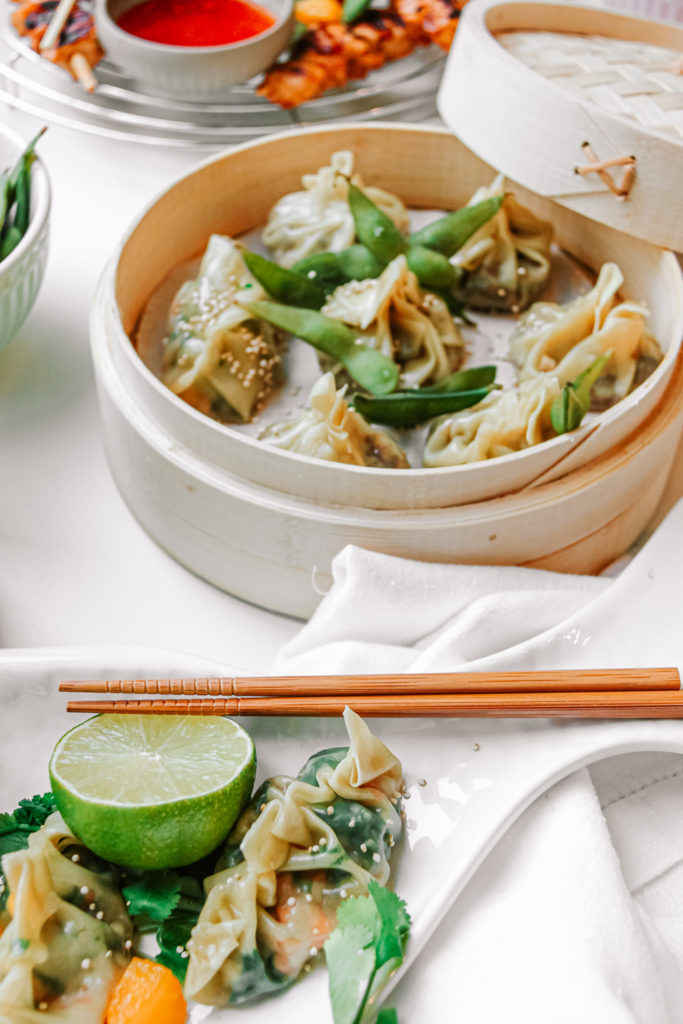
You can serve them as an appetiser when friends are over, or also if not, or just prepare more and make an asian spread for lunch or dinner (maybe with the satay skewers, which are coming up on the blog next week?). This recipe is totally family approved, not only everyone likes eating them, but the making them together part is. a lot of fun too!

When you serve them, then do so with some soy, teriyaki, chilli or peanut sauce to dip in!

I hope that you will love this recipe as much as I do!

Have fun cooking,

Katie // Une Petite Cuisinière

Print

Shrimp and Carrot Dumplings

Light, easy and super tasty. Crunchy carrot, soft prawns and fresh wild garlic, the result, an absoltue amazing dish!

Course Appetizer, dinner, lunch, Side Dish
Cuisine asian, Chinese
Prep Time 27 Minuten
Cook Time 8 Minuten
Total Time 35 Minuten
Servings 15 dumplings
Calories 48 kcal

What you will need

That is what you need:

  • 15 wonton wrappers
  • 3 carrots
  • 300 g prawns frozen and thawed
  • 1 handful wild garlic
  • 1 tbsp soy sauce
  • some sesame seeds

How to

This is how it works:

  1. Peel the carrot. Slice and cube it into mini chunks, about 2 mm large. The smaller you get them, the better they are. Or, grate them with a grater.

  2. Defrost the prawns and chop them very small too. Take the wild garlic, wash it and also cut this one into small sizes.

  3. Place all of those ingredients in a bowl and mix them together with the soy sauce.

  4. Take one wrapper at a time and place a teaspoon of the filling into the middle. Brush the edges of the wraper with some water and fold two diagonal edges together. Close the dumpling up by pressing the open sides to each other so they close.

  5. If you want to, you can make a small pattern by taking one end of the triangle and folding it towards the other side. The part of the wrapper where the dough has been folded over, now folds over in the same direction. Continue doing this until you have reached the other side of the wrapper.

  6. Repeat that with the remaining wrappers until the filling is used up.

    Bring some water to a boil in a pot. Take a steamer, a bamboo steamer preferably, and place the dumplings in it on top of some parchment paper to prevent them from sticking.

    Steam them for about 5-8 minutes until the dough is soft. Serve them with some sauces like soy sauce, chili sauce or peanut sauce, a sprinkle of sesame seeds and some fresh cilantro.

    Enjoy!
Print

Aubergine and Mushroom Dumplings

A vegan version of the best asian comfort food. Soft and tangy aubergine mushroom mix tossed in soft wrappers. INcredibly good.

Course Appetizer, dinner, lunch, Side Dish
Prep Time 27 Minuten
Cook Time 8 Minuten
Total Time 35 Minuten
Servings 15 wrappers
Calories 39 kcal

What you will need

That is what you need:

  • 15 wonton wrappers
  • 1/2 eggplant
  • 1 tbsp oil
  • 200 g mushrooms you can use champignons or oyster mushrooms
  • 2 tbsp teriyaki sauce can be substituted for 1 tbsp soy sauce and 1 tbsp honey
  • sesame seeds
  • fresh cilantro
  • 1 garlic clove
  • 3 cm ginger

How to

That is how it works:

  1. Finely chop the ginger, garlic, mushrooms and eggplant into about 2mm sized cubes. The smaller the better.

    In a pan heat up the oil. Sautée the veggies for about 2 minutes. Take them off the heat and stir in the teriyaki sauce.

    Take one wrapper at a time and place one teaspoon of the mixture in the middle. Brush all edges with some water. Take the four edges and pull them up to the center and press them together. Take the remaing open sides and also press those together so the dumpling is fully closed.

  2. Repeat that with the remaining wrappers until the filling is used up. 

    Bring some water to a boil in a pot. Take a steamer, a bamboo steamer preferably, and place the dumplings in it on top of some parchment paper to prevent them from sticking.

    Steam them for about 5-8 minutes until the dough is soft. Serve them with some sauces like soy sauce, chili sauce or peanut sauce, a sprinkle of sesame seeds and some fresh cilantro. 

    Enjoy!
Kategorie: Appetizers, Asian, Cuisine, Diet-Specific, Fish & Seafood, Japanese, Lunch/ Dinner, Poultry & Meat, Side, Vegan, Vegetarian, Vegetarian Stichworte: appetiser, asian, asian appetiser, asian food, Carrot, comfort food, dumplings, eggplant, family food, family friendly, family meal, healthy, healthy dumplings, healthy lunch, light lunch, prawns, teriyaki

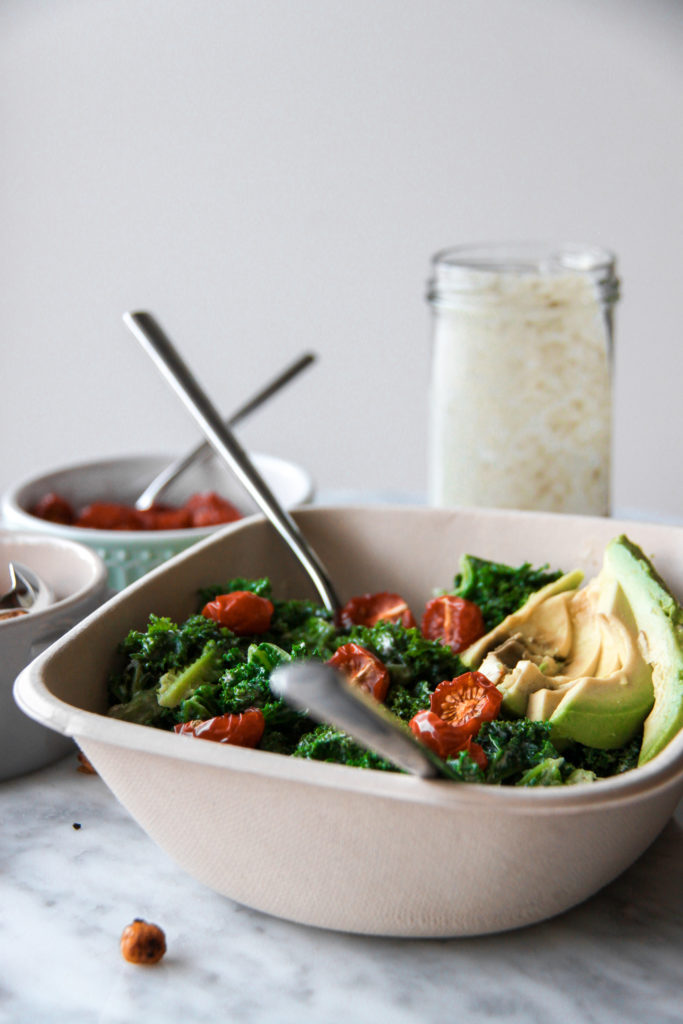
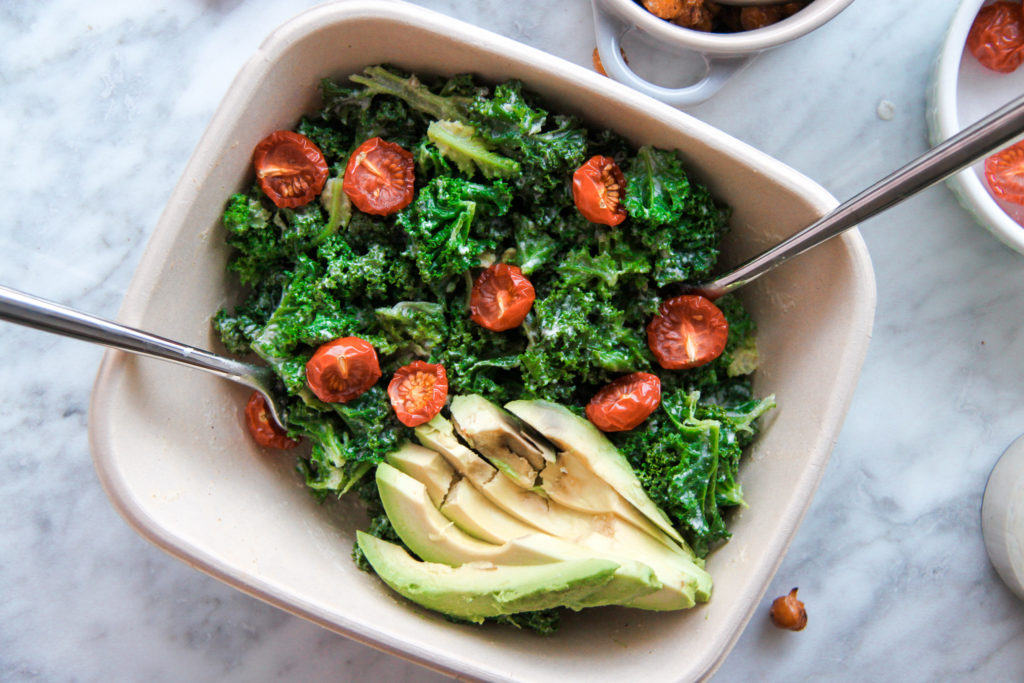
Vegan Kale Ceasar Salad

März 2, 2020 by katharina.kuehr Kommentar verfassen

Summer is (luckily) getting closer and closer, which means so do salads for summer bodies. But please, it shouldn’t be about the way you look but the way you feel! For me plantbased or veggie heavy dishes always make me feel the best, give me tons of vitamins, a lot of energy, make my sleep be that best it could possibly be and just shine grin the inside and out. 

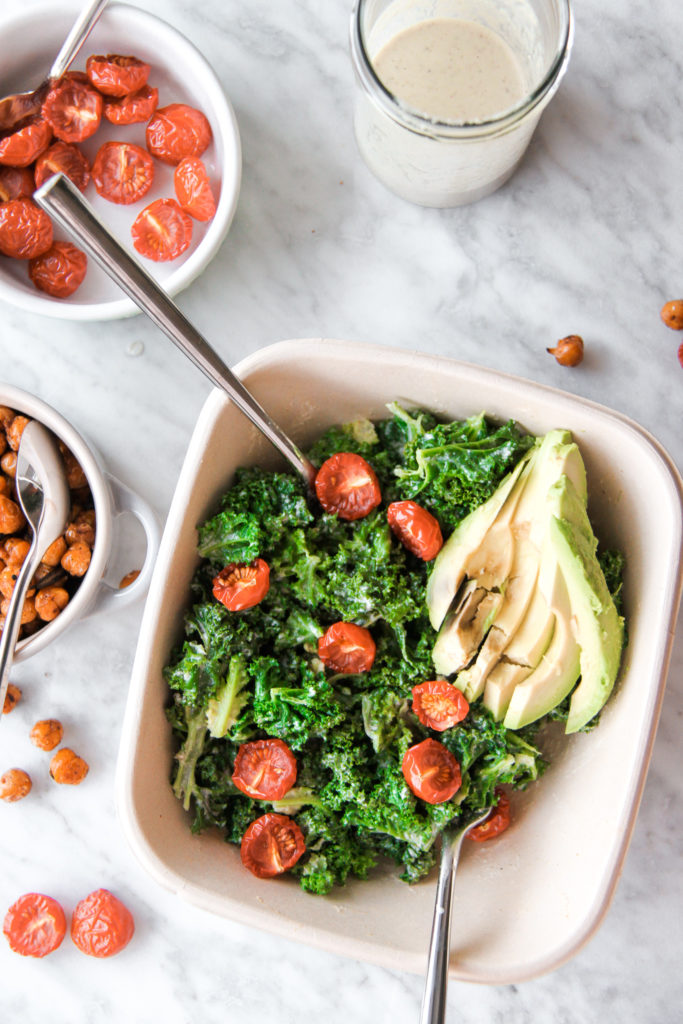
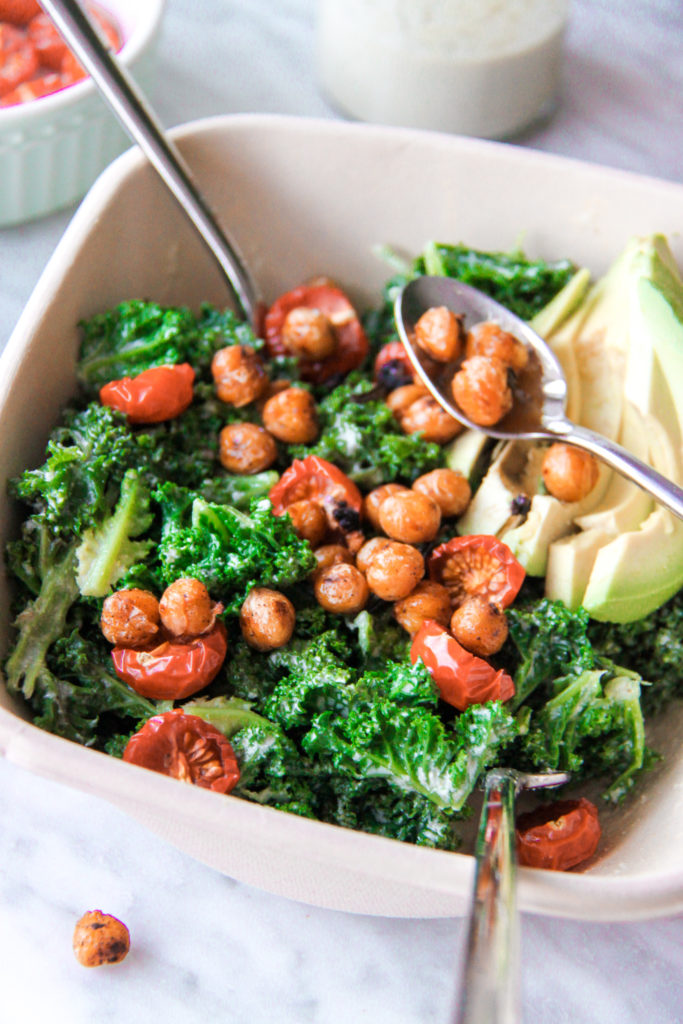
But I know for a lot of people when they read „salad“ they either think of rabbit food (as my brother likes to say :)) or some green leaves underneath a ton of dressing. So today, we are doing none of those. Neither super boring and leaving us hungry, nor drenched in a fat heavy dressing. No. We a re doing a super delicious vegan and healthy version of the super popular ceasar salad. Still a little cheesy, with self dried tomatoes (best thing ever!) and crispy pan fried rosemary chickpeas. Sounds like a pretty solid dish to me and it definitely is! 

Why Kale?

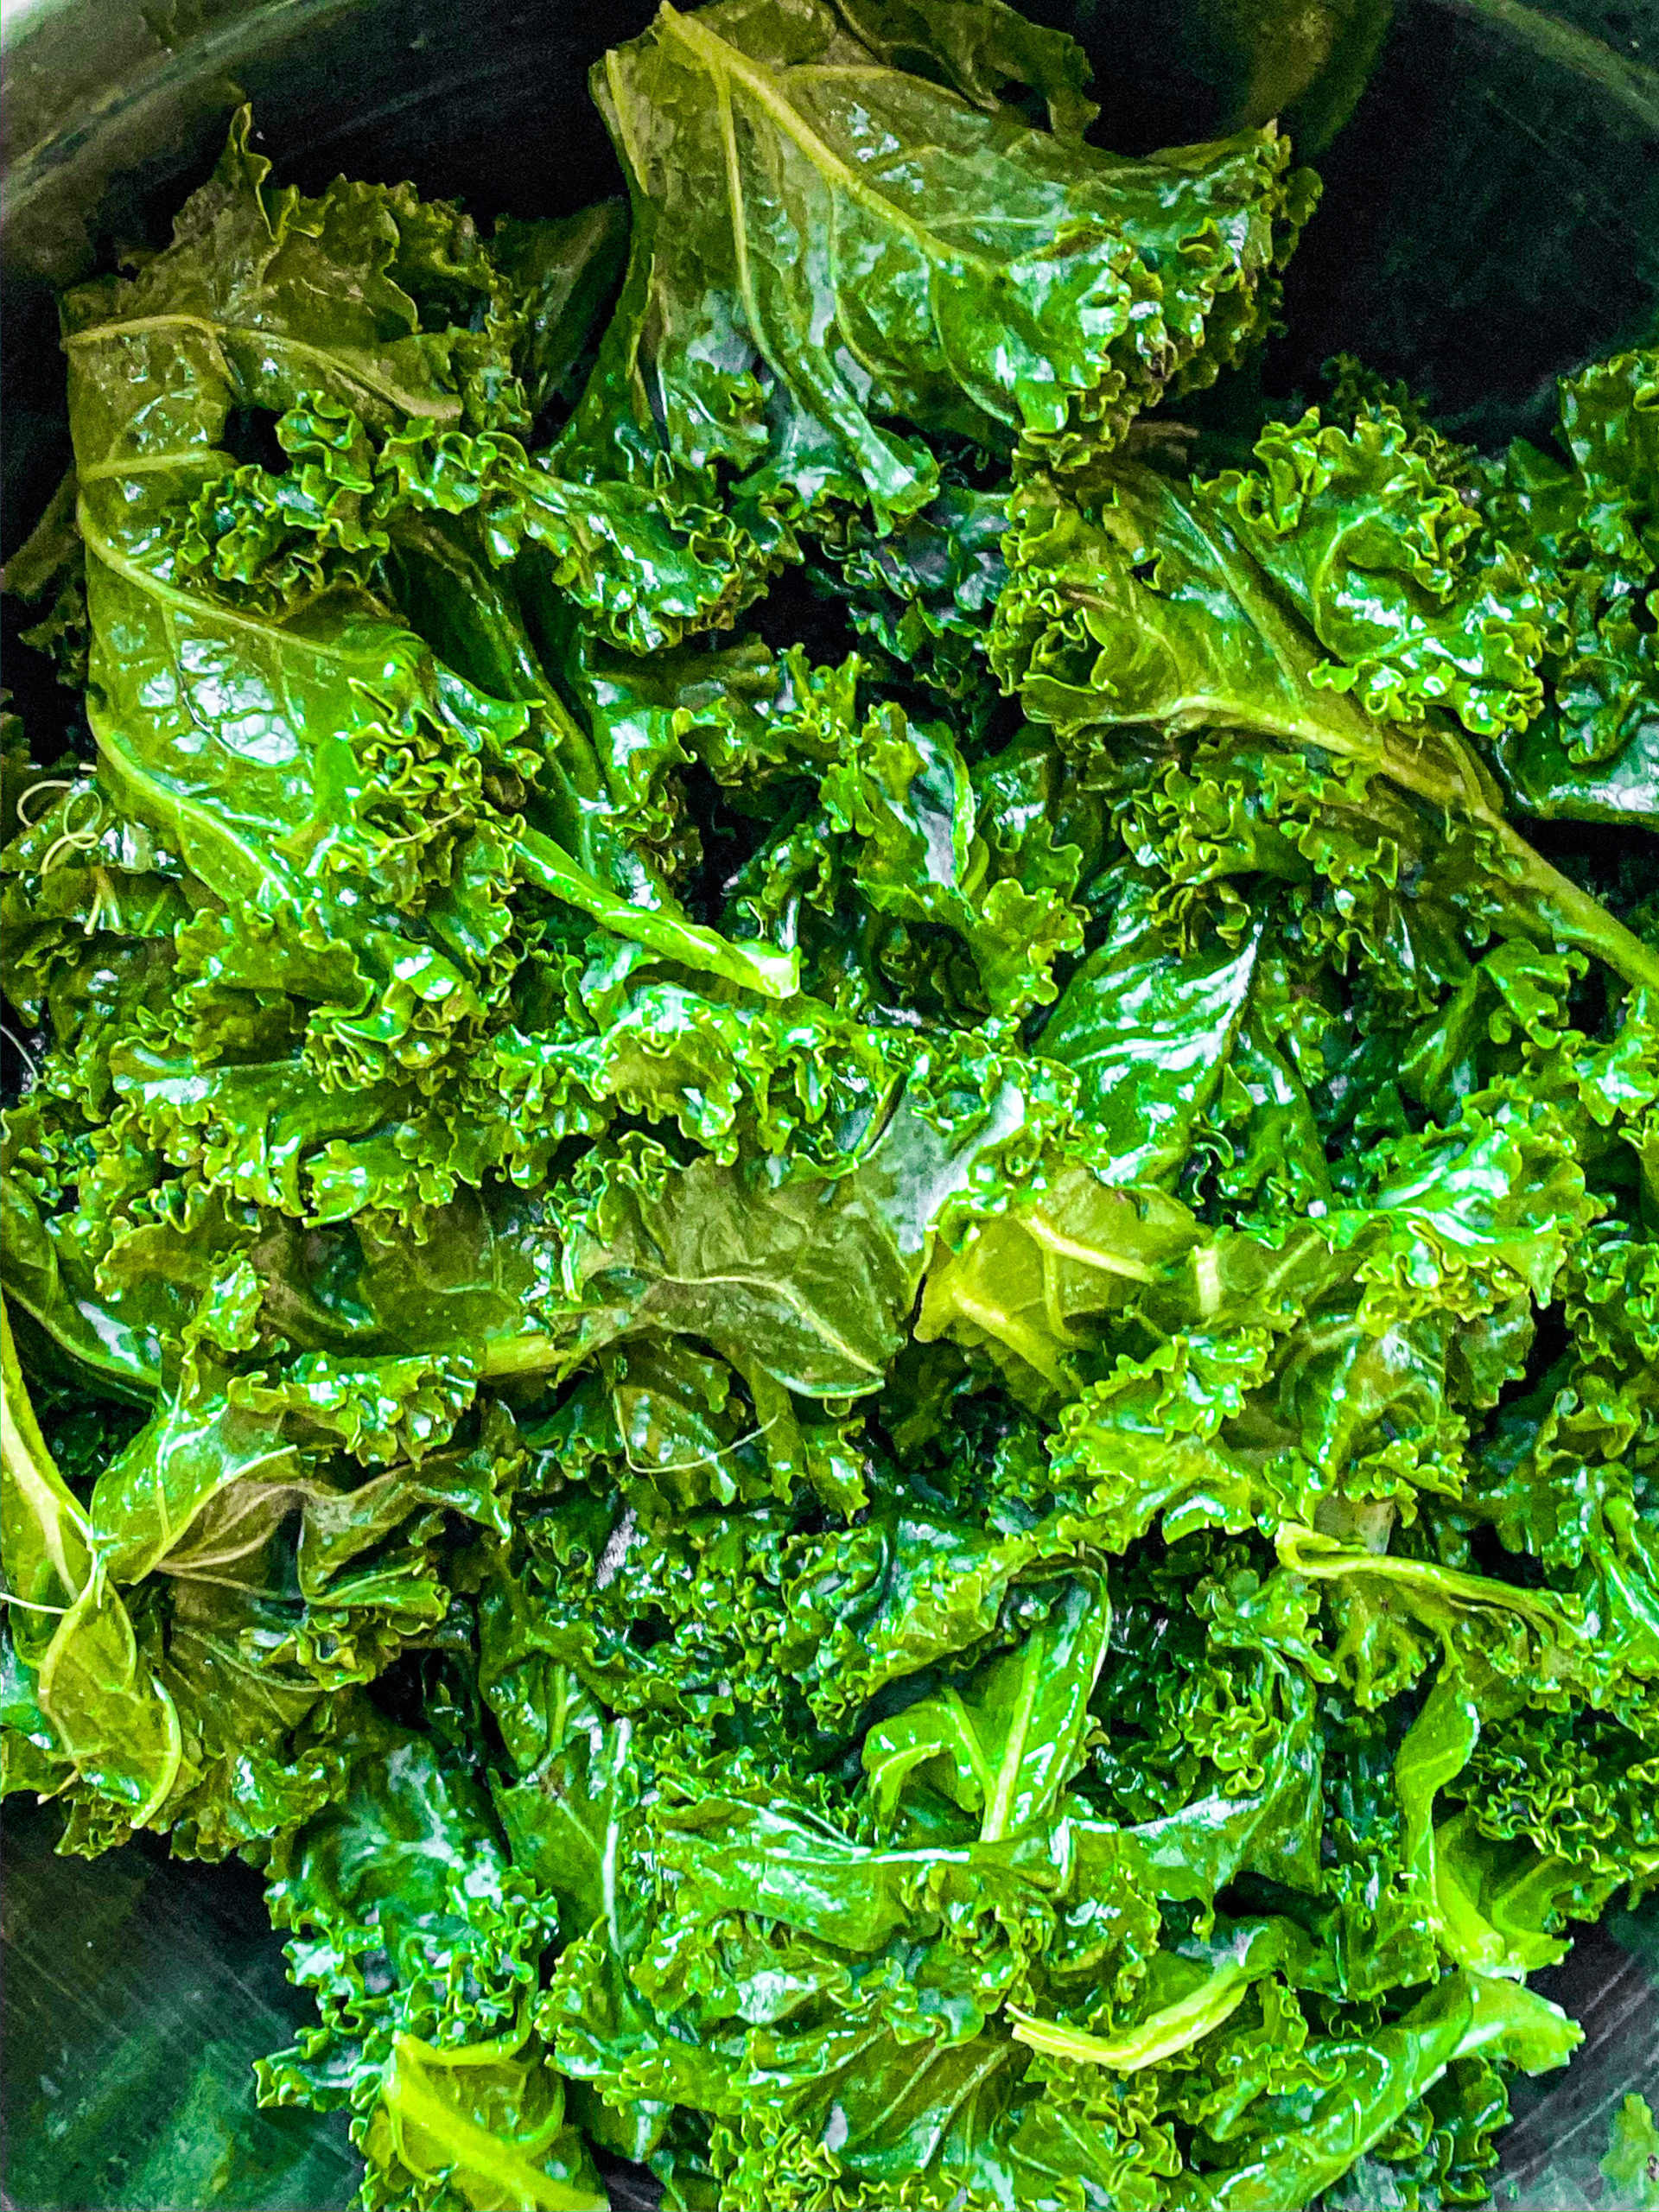
That’s super simple: to switch things up. As good as Romain lettuce is sometimes, it is good to change things every now and then. And kale is a true superfood. Super high in fiber, minerals, vitamins, iron, antioxidants, and all of that other healthy stuff. And no, it’s not the raw one that is hard to chew but we are steaming it so it is softer, easier to digest and tastier. I know that there are a lot of people that absolutely can’t stand kale at all, no matter in which form, then I would recommend using spinach or lambs lettuce as this would work best for this. Also a mix with arugula would be great!

What else?

That’s a good question. Where to start? The oven roasted tomatoes, the incredible dressing, the crispy chickpeas or the croutons? 
One after the other. So what else is super typical for ceasar salad are the croutons. No normal croutons here but whole wheat garlic ones. You heard me right. A little healthier but so good! Pan fried with fresh garlic and a little olive oil, it’s the best add in (to any salad actually).

Homemade dried tomatoes

Next up; oven roasted tomatoes. If you have never made this before, you sure missed out on something and spent way too much money on store bought ones before. It is essentially 3 steps: cut the tomatoes, place them in the oven, take them out. Oh, yeah and eat them of course! That’s how easy it is. You just leave them in the oven for an hour and go take a bath in the meantime. After an hour they are going to be somewhat I like to call semi-dried. They are dried, but still a little juice and not tough like leather. 

Best crispy chickpeas

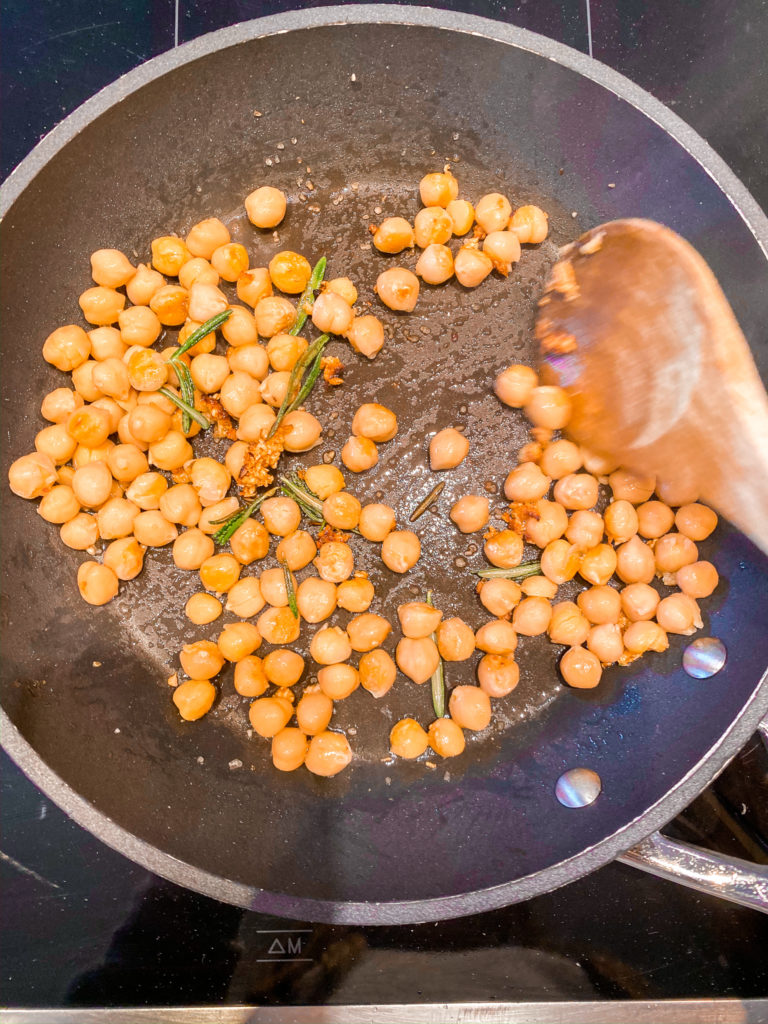
Next up, the crispy chickpeas. That’s THE way to do crispy chickpeas. So good you drain them from the can and rinse them. After tap them dry (this is important bc otherwise they are not gonna be crispy) with a kitchen paper. In a pan we add olive oil, garlic and rosemary and let them fry for 2 minutes to infuse the water. Rosemary and garlic out, chickpeas in and crisp them up for 5-10 minutes with some smoked paprika powder and sea salt. If you like the fried garlic and rosemary, go ahead and add them to your salad, otherwise don’t. 
You can make those chickpeas ahead of time and just keep in a jar to snack on every now and then. A life changer.

The dressing:

And lastly to top it all off, the star of the show: the vegan Caesar dressing. Yep. Vegan. No cheese and no sardines. No mayo. Good and good. Instead of Parmesan cheese (not that Parmesan wouldn’t be good, it’s delicious, but sometimes it’s better not to have too much cheese) we are using nutritional yeast (German: Hefeflocken)! You can get those in your local health store (Reformhaus) or in some organic shops. It is made out of yeast, high in protein and really resembles the taste of cheese. The base of the dressing are cashews. Ideally we soak them a few hours or the night before so they get softer and easier to blend. They will ensure everything to get really creamy and add a really nice flavor. We also have some Dijon mustard and capers in it, to replace the sardines, a little vinegar and that’s it. It actually is not super difficult but tastes amazing! 

So now, it’s just left to be mixed up! Nothing more nothing less! The steamed kale, the oven dried tomatoes, the croutons, and the dressing. Toss it all and enjoy! 

Note:

If you want to meal prep this, make sure to leave the chickpeas aside to keep the crunch. You can already toss the salad in the dressing because when using kale, it doesn’t really matter, since the kale then absorbs the flavor and gets softer! 

Happy cooking!
Katie // Une Petite Cuisiniere

Print

Vegan Ceasar Salad with Crispy Chickpeas

A vegan twist on the classic and it is so good! Super delicious dressing, best ever chickpeas, oven roasted tomatoes and homemade croutons.

Course Appetizer, bowl, brunch, dinner, Main Course, Salad
Cuisine American
Prep Time 10 Minuten
Cook Time 1 Stunde
Soaking Time: 2 Stunden
Total Time 3 Stunden 10 Minuten
Servings 2 servings
Calories 411 kcal

What you will need

For the salad:

  • 4 handful kale off the stem
  • 15 cherry tomatoes
  • 1 slice bread
  • 4 cloves garlic
  • 2 tbsp olive oil
  • 120 g chickpeas

For the dressing:

  • 25 g cashews
  • 2 tsp dijon mustard
  • 2 tsp capers
  • 1/2 lemon, juiced
  • 2 tbsp plant milk
  • 2 tbsp water
  • 1 tbsp nutritional yeast

How to

That is how it works:

  1. Soak the cashews for about 2 hours to overnight in water. 

    Preheat the oven to 100*C. Slice the tomatoes in half and lay them on a baking tray lines with parchment paper. Bake them in the oven for an hour.

  2. In the meantime bring a pot with water to a boil. Take a sieve and place the kale leaves, that have been removed from the stem in there. Let them steam for 2-3 minutes. After remove them and drain under cold water. This will ensure the color to stay and the kale to cool down quicker.

  3. Take the bread and cut it into 1 cm cubes. Press out or grate 2 garlic cloves and combine them with the olive oil. Toss the bread cubes in the oil mixture and then fry them in a pan for about 2 minutes until crispy. 

  4. Take the chickpeas out of the can. Drain and rinse them to get rid of the liquid around them because this would make you go gasy. Tap them dry with some kitchen paper. In a pan heat up the olive oil. Once hot add the garlic and rosemary and fry for about 2 minutes, then take them out. After, you throw the chickpeas along with the sea salt and smoked paprika in and let them fry on medium high for about 5-10 minutes until super crispy.

  5. Drain the cashews from the water. Add them to a food processor and add the nutritional yeast, Dijon mustard, capers, salt, pepper, water and plant milk. Blend until smooth. If too thick, add some more water, if too thin, some more cashews! 

  6. Place the kale in a bowl and mix with the dressing. Separate it into bowl. Take the tomatoes out of the oven and add them into the bowls with the croutons. Top with the chickpeas and if you like it, the fried garlic.

    Serve and enjoy!


Kategorie: American, Cuisine, Diet-Specific, Lunch/ Dinner, Salad, Salads, Side, Vegan, Vegetarian, Vegetarian Stichworte: cashews, Ceasar, cheese, chickpeas, crispy chickpeas, dried tomato, dried tomatoes, garlic, nutritional yeast, plant based, plant based salad, salad, salad season, savoryvegan, summer, summer food, tomato, tomatoes, vegan, vegan Ceasar, vegan dinner, vegan lunch, vegan salad

Winter Salad with Baked Apple

Dezember 19, 2019 by katharina.kuehr Kommentar verfassen

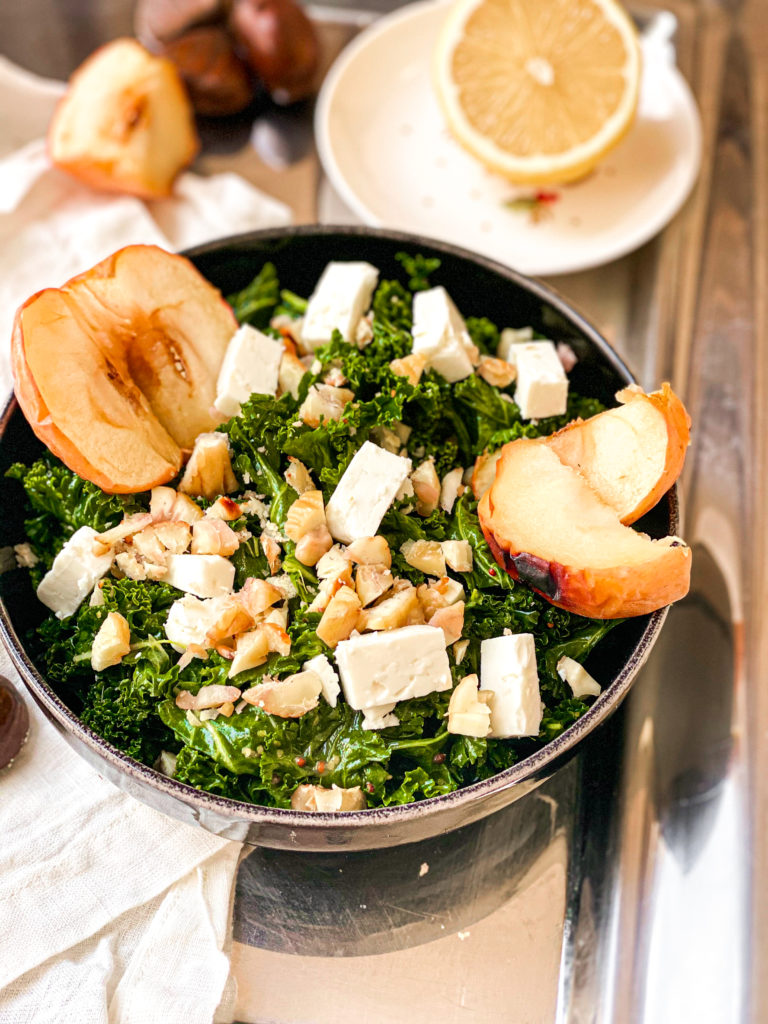
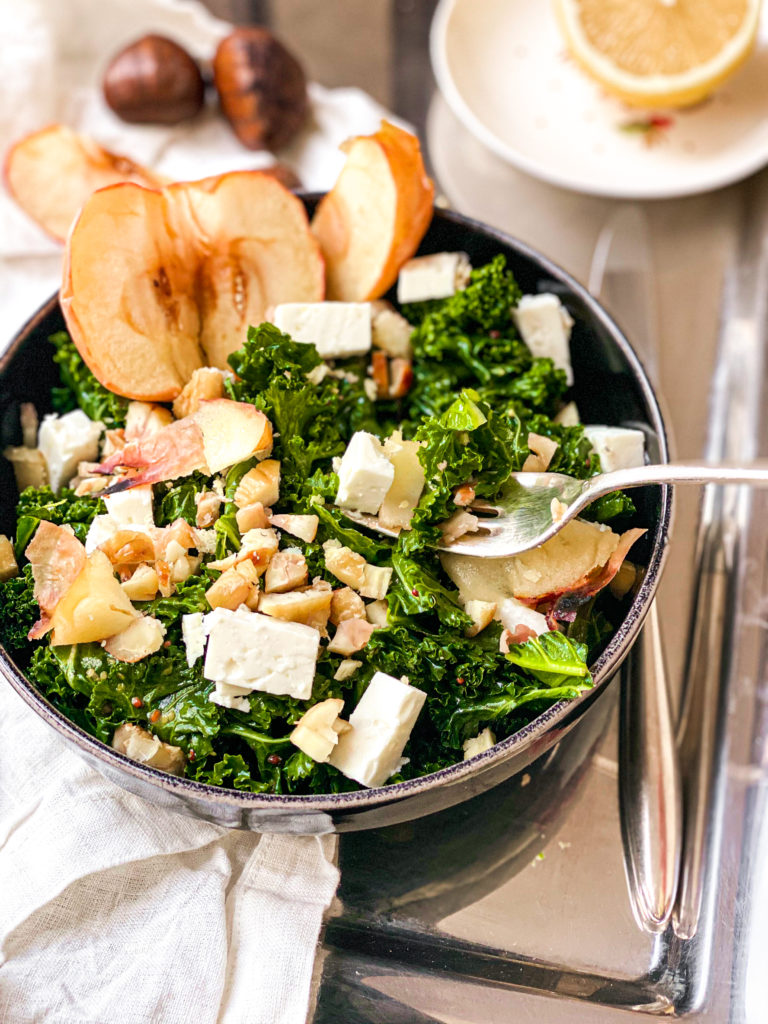
Crunchy kale tossed in a creamy Honey Mustard dressing, with juicy, sweet baked apple, rich chestnuts, and fresh Feta cheese… this is like the BEST salad to make up for all of those Christmas cookies, and the 1 or 2 too many we’ve been eating all month long. 

Main or Side dish?

This recipe also makes an awesome side for your Christmas dinner. It is not too difficult, and it will impress your guests! Even the name itself will “Winter Salad with Baked Apple”, already sounds pretty fancy.. no? Although it sounds pretty fancy, and tastes delicious, it is not too hard to make. I love eating a larger serving of this as a light lunch or serve it along with some meat or fish as a side dish. 

Why is it special?

This salad recipe is not as refreshing as other ones are, but it is winter, so I think something more comforting and cozy is just right. These are also all seasonal foods, which I love. The ones I used for the salad, which basically is kale, apple, chestnuts, and sheep’s cheese, are all from Austria. This means that the transportation did not produce a lot of CO2, which is better for the climate. If you wish to make this recipe vegan, you can simply leave out the cheese, and there you are. 

What is in it?

The Apple adds a sweetness to the earthy kale, which, I believe, balances the entire salad out a lot. It also adds a kick and makes the salad not taste boring! The chestnuts add a winter feeling, because they are a very typical food at this time of the year (at least in Austria you can find them at every corner in December). The ingredients just work in great harmony.

Also the honey mustard dressing goes along perfectly with the apples and the kale. If you have fresh figs on hand, go ahead and throw them in because this combination is bomb too! Or if you don’t like the raw kale, you can steam it for a few minutes to make it softer, or use lambs lettuce instead! But, we are going to massage the dressing into the kale anyway, which is going to make it taste better and easier to digest. 

When to serve?

Because we don’t add the dressing at the very end, as you would do with a regular salad, this is a great make-ahead dish. You can prepare the salad before the guest are coming, then simply bake the apples, cut them up, and you are ready to go! It also works as a leftover the next day. 

Along with my green beans with almond bread crumbs, my caramelized pecan and fog salad or my vegan fall harvest salad this dish is a super delicious side dish for your Christmas dinner. Delicious and nutritious, plus it will impress your guests! 

Enjoy

Katie // Une Petite Cuisinière

Print

Winter Salad with Baked Apple

A delicious winter salad that includes all the delicious and warming ingredients of the season. Sweet and soft apples pair perfectly with rich chestnuts and earthy kale. All tossed in a honey mustard dressing!

Course Appetizer, lunch, Salad, Side Dish
Prep Time 5 Minuten
Cook Time 15 Minuten
Total Time 20 Minuten
Servings 4 servings
Calories 276 kcal

What you will need

That is what you will need:

  • 6 handful kale stems removed
  • 2 apples core removed
  • 150 g chestnuts
  • 100 g Feta Cheese
  • some nuts (optional)

For the Dressing:

  • 2 tbsp Mustard
  • 1.5 tbsp honey
  • 2 tbsp orange juice fresh preferably
  • 1 tbsp Olive Oil
  • 1.5 tbsp white wine vinegar or apple cider vinegar
  • salt & pepper

How to

That’s how it works:

  1. Preheat the oven to 200C. Cut the apples in half. Take the chestnuts and cut a thin slice on one side (this is a necessary step, because otherwise they will explode, and your kitchen will look like a mess, talking from experience :)). 

    Once the oven is preheated, add the apples and chestnuts onto a baking rack. This works best if you place the chestnuts in a bowl, and put this on the rack, and take another bowl, and place on the very bottom of the oven, so the juice that will drop from the apples doesn’t stick and burn on the oven bottom. Bake them for 15-18 minutes.

    Meanwhile wash the kale and rip it into small bite-sized pieces. In a separate, smaller bowl add the honey, mustard, orange juice, oil, vinegar, and salt. Stir until well combined. Pour the dressing over the kale and gently massage it into it with your hands. This way the kale is able to absorb the flavor, taste less butter, and is easier to digest. Set it aside for at least 10 minutes. 

    Cut up the feta into about 1cm sized cubes. Once the apples and chestnuts are done baking take them out. Cube the Apple into small bites. Also peel and  roughly mince the chestnuts. Add everything to the kale and give it a gentle mix until it is all evenly distributed. 

    Serve and enjoy! If wished, add some cracked nuts on top, for extra crunch!

Kategorie: christmas, Salad, Salads, Side, Vegetarian Stichworte: 20 minutes, Apple, baked apple, chestnut, chestnut roasting, Christmas side, comforting, cozy, feta cheese, healthy side, salad, salad goals, side, side dish, side salad, winter, winter salad

Green Beans with Almond Bread Crumbs

November 20, 2019 by katharina.kuehr 1 Kommentar

It’s Thanksgiving next week and Christmas very soon! Although here in Austria we do not celebrate thanksgiving, I know that a lot of people around the world do! November and December are the months for family come-togethers and dinner party’s with friends. I don’t think that in any other month there are that many big meals. 

For us, at Christmas we always make a huge Roastbeef with some potatoes and a salad but this year, for sure, I am going to change the usual game and make these beans instead of the salad! They are so good! I made them once when friends were over for dinner and they immediately asked for the recipe. 

Since it always is difficult to cook for so many people and still chat with them while being a host, I have made a super quick and simple side dish for you. I really love to make this whenever someone is over at my house because it is something almost every one likes, plus it is super simple to make. Also, you can make it vegan, which is perfect for anyone who has a dietary restriction. It is a side that goes with really any dish. 

This green bean recipe works great with meaty dishes such as a Roastbeef, a meatloaf, turkey, a roasted chicken or pork. If you add a little twist to it, such as adding some lemon zest, it already is completely different and works perfectly with some fish or seafood. Also if you make a vegetarian or vegan pie, this is a great and fresh addition! If you already have a carby and filling side, this is a great addition in place of the boring green salad to get some more veggies. 

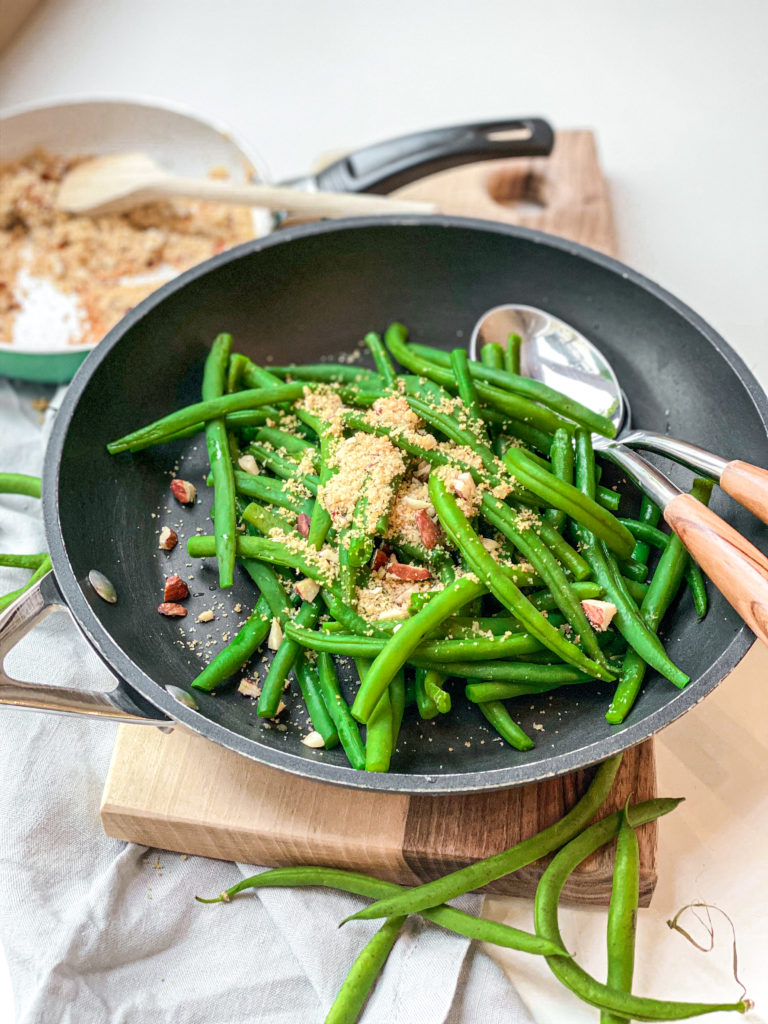
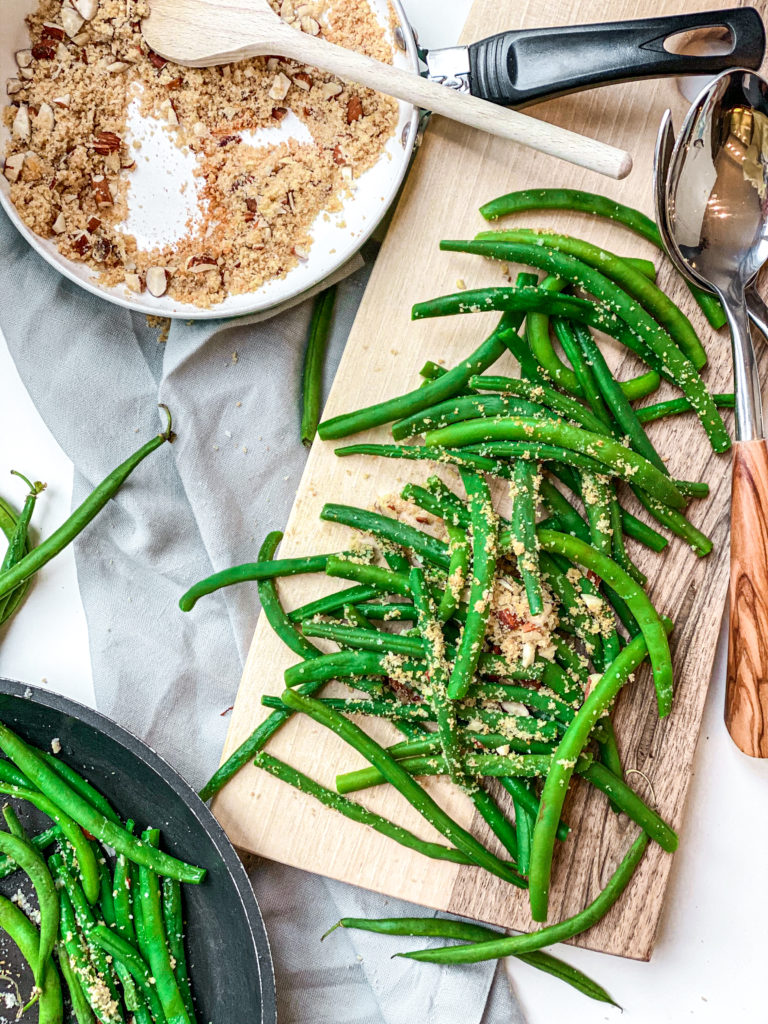
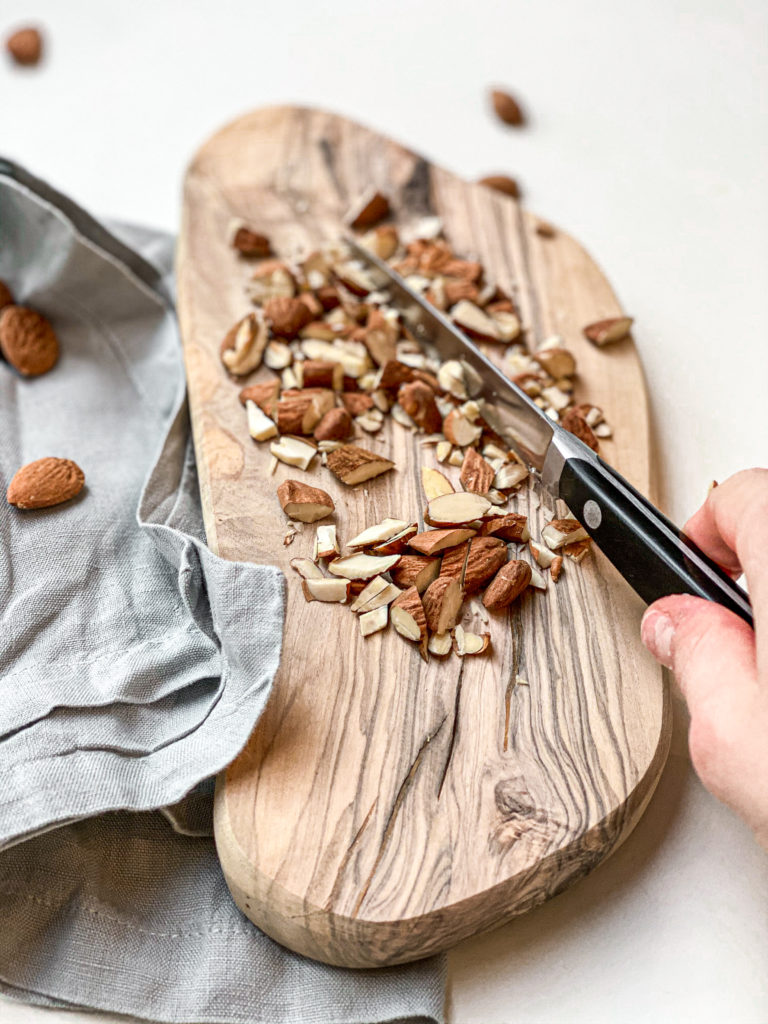
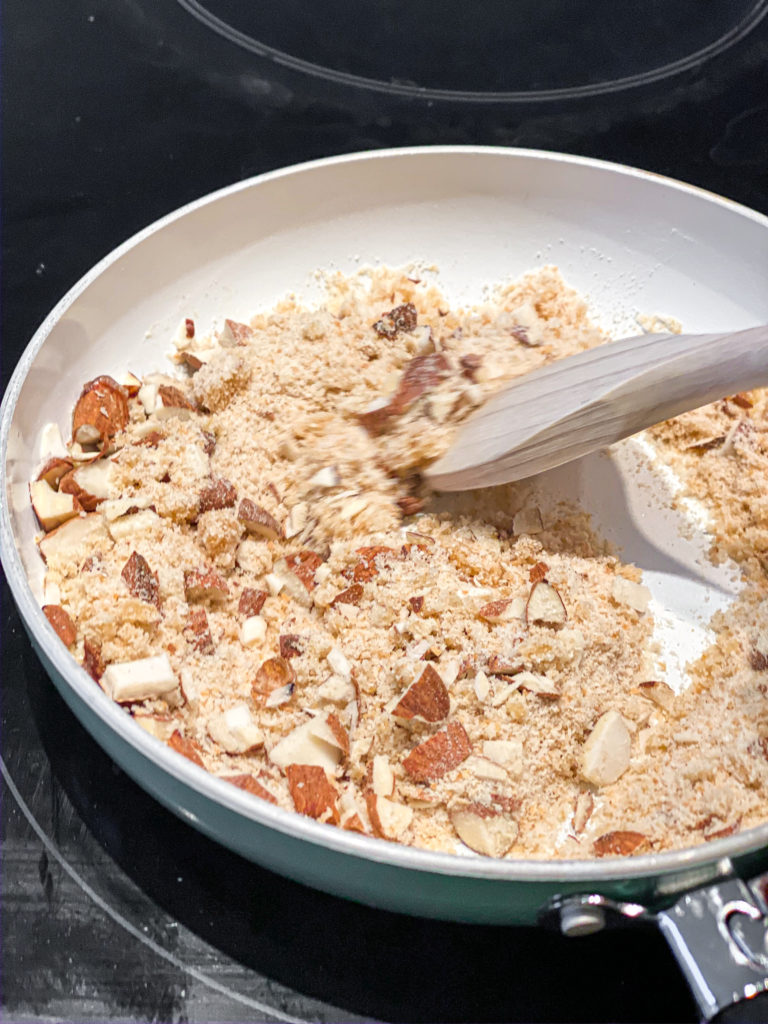
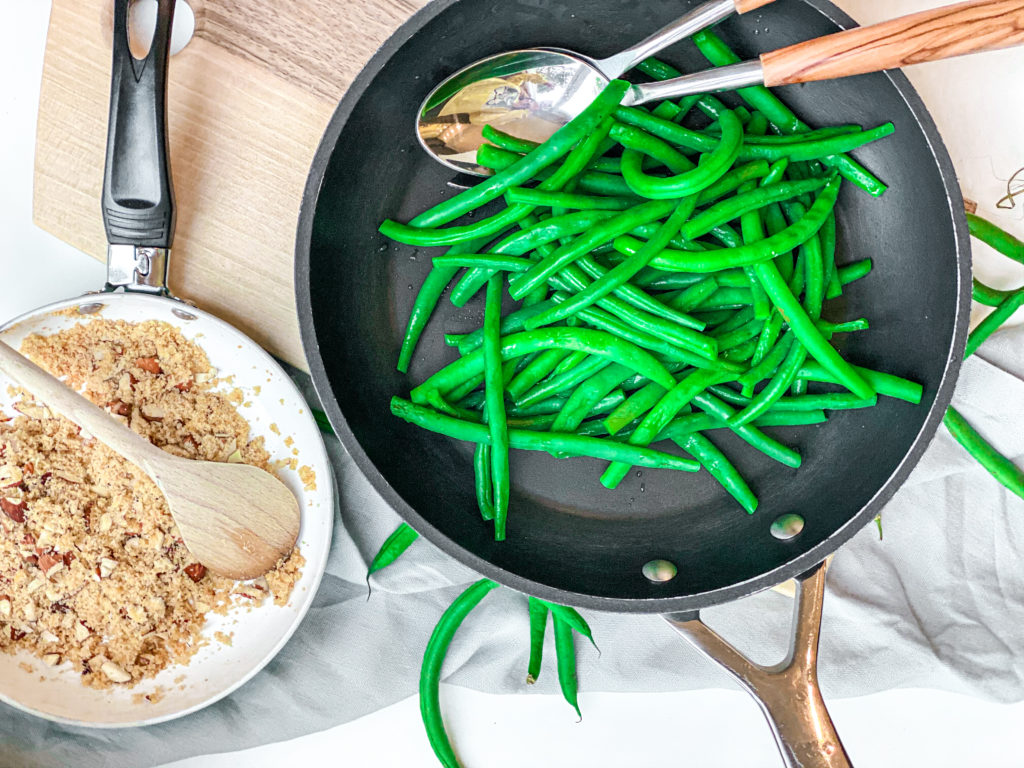
It is as quick as preparing a salad and really good! Just boiling the beans, tossing them in olive oil. Roasting the breadcrumbs and chopped almonds in some butter or olive oil and assemble. If you are vegan, use oil, if you are gluten free, go for only nuts or some gluten free breadcrumbs. If you do not like almonds, switch them out for any other nuts (but believe me, almonds work really good in here)! It is super versatile.

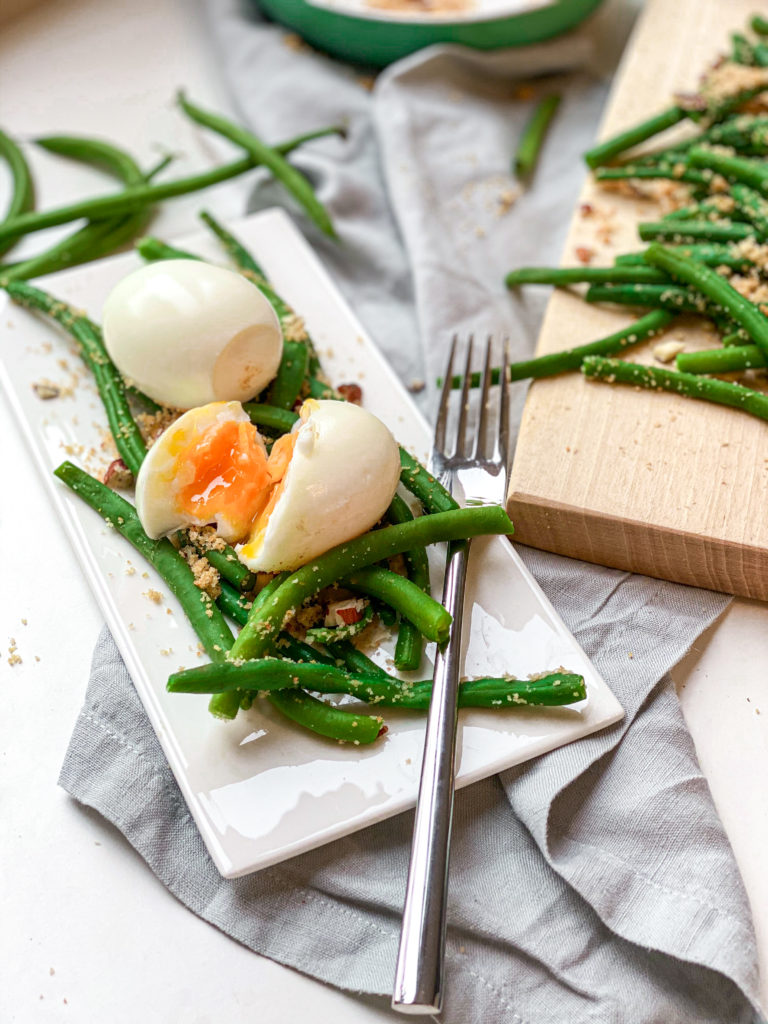
What I also really like about this recipe is that if you do not eat all of it you can use it for lunch next day or you can even meal prep it! Store the almond breadcrumbs in a separate container and it will last in the fridge for a few days! When I have this for lunch, I like to pair it with some boiled eggs as whole-wheat bread or some Quinoa to make it more filling. This is a really delicious and balanced meal then, as you have a lot of vitamins from the beans and eggs, a healthy amount of protein from the eggs, healthy fats from the almonds and oil, and some whole grain carbs from the bread or the Quinoa. 

So stop looking for a side dish recipe for thanksgiving or Christmas! Make these healthy and flavorful cream beans with almond bread crumbs to make everyone happy! And a little tip: try it before the big event to convince yourself that it is REALLY good! So if you do like it, it would mean a lot to me if you could leave a rating and/ or a comment here on the blogpost. Also if you decide to try it out be sure to tag me on Instagram with @uneptcuisiniere or #unepetitecuisiniere !

Enjoy!

Print

Green Beans with Almond Breadcrumbs (Vegan)

This is a great side dish for Christmas Eve or Thanksgiving, or litteraly any occasion. It is super versatile and incredibly delicious.

Course Appetizer, dinner, lunch, Side Dish
Prep Time 5 Minuten
Cook Time 5 Minuten
Total Time 10 Minuten
Servings 4 people
Calories 166 kcal

What you will need

That is what you will need:

  • 400 g green beans
  • 40 g breadcrumbs preferably whole wheat
  • 20 g almonds
  • 20 g Butter if wanting it vegan, use Olive Oil or vegan Butter instead
  • 1 tbsp Olive Oil
  • optional some lemon zest see recipe notes

How to

That is how it works:

  1. Bring a large pot with water to a boil. Generously salt. Cut of the ends of the green beans, and if they are very long cut them in half too. Add them to the boiling water and let them cook for about 5-7 minutes until ready. You will be able to notice that once you can stab through with a fork easily.

  2. In the meantime chop up the almonds into small chuncks. Heat up the butter in a small pan. Once hot add in, both the breadcrumbs, and the almonds and fry them for about 2-3 minutes on medium heat.

  3. Once the beans are done, rinse them and shock them with cold water. This helps to preserve the colour and the vitamins. Toss them in some Olive Oil and add them onto a pretty serving plate. Add the breadcrumbs on top and serve!

    Enjoy!

Notes

Feel free to add some lemon or orange zest to give it some freshness. This addition would make the dish a perfect match to fish and seafood! 

If you do not like almonds, you can use any other nut, but almonds work really great in here!

You can also use gluten free breadcrumbs. 

Kategorie: American, Appetizers, Diet-Specific, Fall, Lunch/ Dinner, Side, Vegan, Vegetarian, Vegetarian Stichworte: 10minute, almonds, beans, christmas, friendsgiving, green beans, healthy, healthy fall, nuts, quick, quickside, side, sidedish, thanksgiving, vegan, veganfall

« Vorherige Seite
Nächste Seite »

Footer

What has been happening on my Instagram

Copyright © 2024 Une Petite Cuisinière on the Foodie Pro Theme