• Zur Hauptnavigation springen
  • Skip to main content
  • Zur Fußzeile springen

feel food club

  • Home
  • About me
  • My Recipes
  • Blog
  • Navigation Menu: Social Icons

    • Instagram

Diet-Specific

Creamy Lentil Dhal

Februar 8, 2020 by katharina.kuehr Kommentar verfassen

This is honestly one of the best things I‘ve ever made. I really really enjoy that on chilly winter days when you want a hot bowl of something but also on warmer days because it also tastes great when it is enjoyed cold and it actually enhances the flavor when kept in the fridge overnight or for several days. This makes it super meal prep friendly. You can just store it and take it to work, school, or Uni whenever you need it. It is like that with every curry or heavily spiced dish, it only gains flavor when left for a day or a few.


So what is dhal?
Dhal is an Indian term that refers to split pulses, such as beans, peas and lentils. These legumes, how you call them in English, are staple foods in Indian cuisine. But dhak is also used to name several dishes, mostly soups. Traditionally there are tomatoes and onions as well as several other spices added. In Asia it usually is eaten with some flatbread or rice. 

Is it good for me?
I love curries. So much. But sometimes you just feel like having something heartier with more substance. Like this lentil dhal. Lentils are packed with protein and fiber but also lots of other vitamins. Plus there’s a good amount of spices in here which makes everything super flavorful. The veggies and potatoes add some more taste and the toppings take it next level. 


What is in this recipe?
So, I am not a traditional Indian, surprise, surprise, so I took a traditional dhal and added a few things.The star of the dish are red lentils. If you really do not like those, I would recommend using split peas. Besides that we have some onion, garlic, ginger, graham masala, curry powder, turmeric, cumin, paprika powder, bell pepper, carrot as a base. We sautée everything and then add vegetable stock. We add in some potatoes that are peeled and cut. I do not think that it is very traditional to add potatoes but I believe that they add an incredible comforting feeling to it and make everything more filling. Plus they add some nice texture. You could also opt for sweet potatoes instead if you prefer but yellow potatoes work a bit better. 

Next come the lentils. I do not pre soak mine or pre cook them because red lentils cook pretty fast. So we add them in after a while and let everything simmer. Once the lentils are soft, in goes some coconut milk. The coconut milk is essential. I would use full fat one since we have a lot of broth and with low fat ones, you won´t be able to achieve that creaminess. While everything simmers for a little, the flavors of the spices will get deeper into the curry and the lentils become a little bit mushy, which tastes so great. 

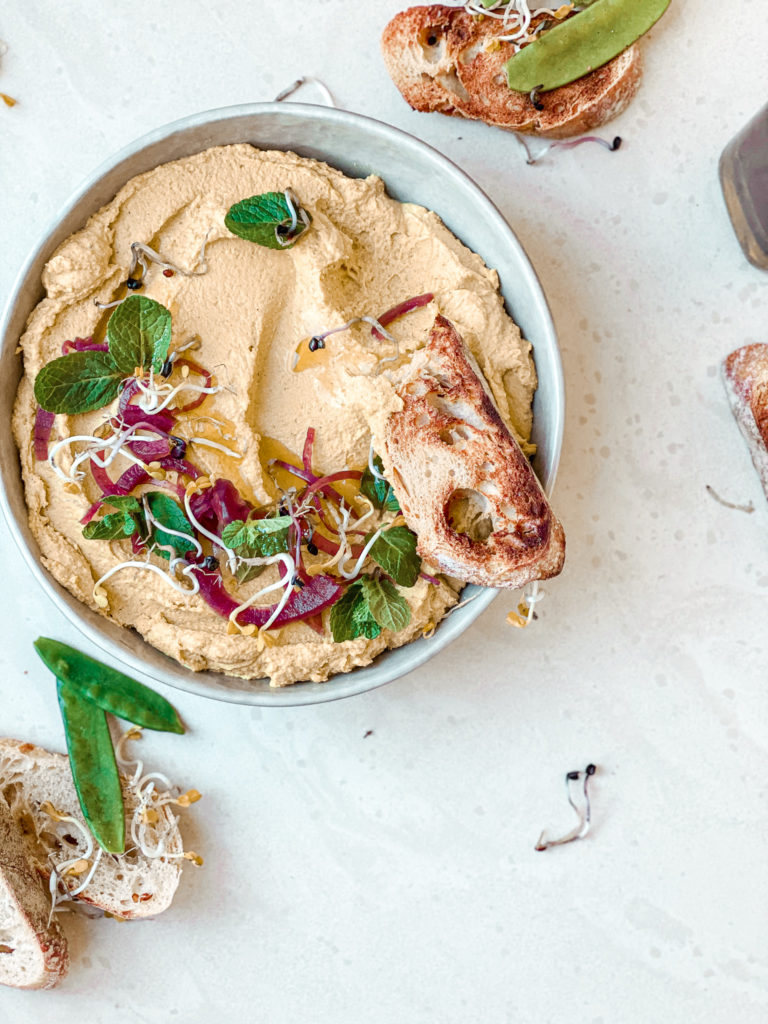
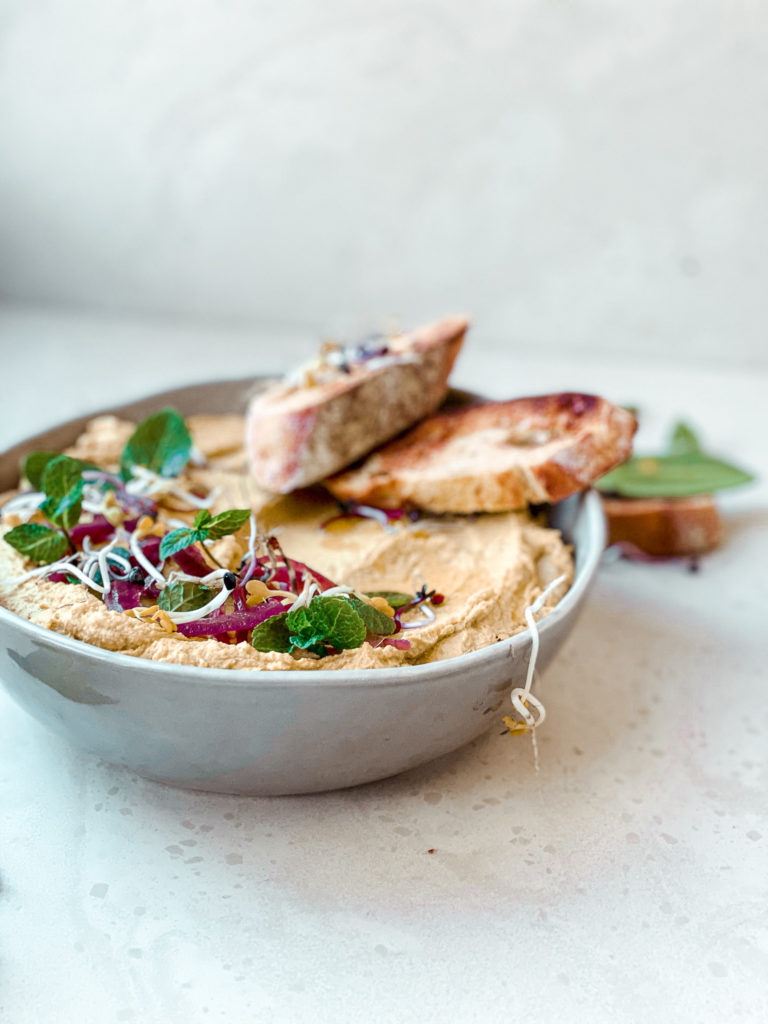
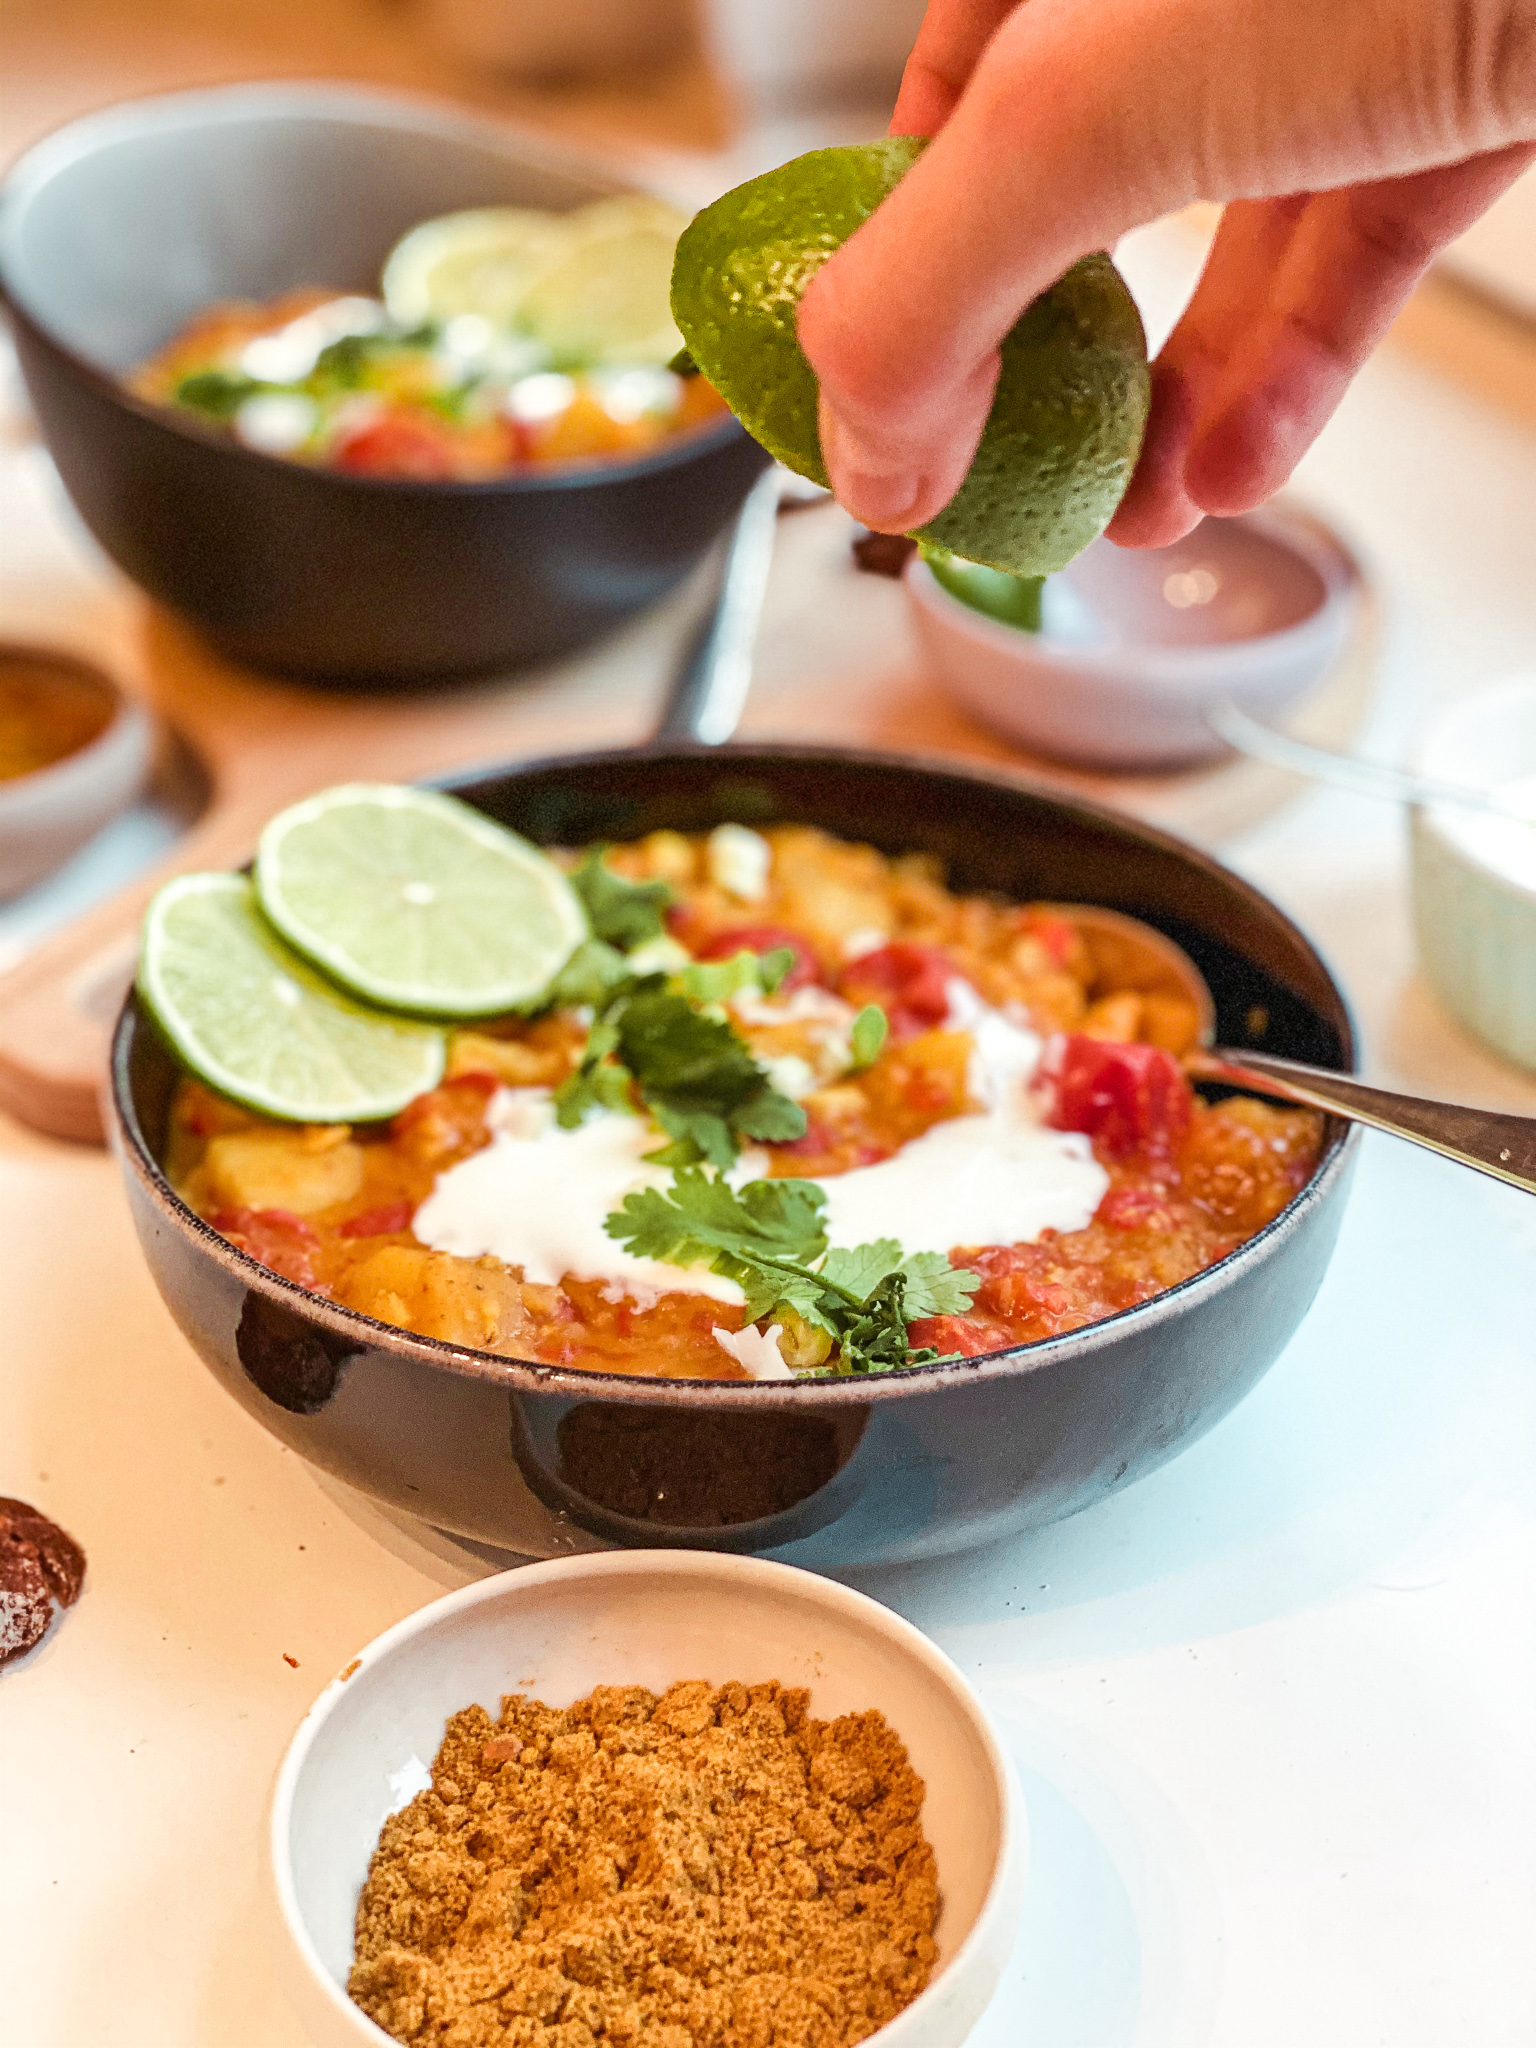
So that basically is the dhal, but what would it be without toppings? Let´s be honest, toppings take everything next level. We are cutting up a lime, of which we will squeeze the juice on the dhal after serving, garnish the dish with a little (plant based) yoghurt or more coconut milk, some fresh cilantro, sliced up spring onions and if wanted (but really good) some cashews or peanuts for extra crunch and extra tastiness. 

I would recommend to serve it over some rice or with naan bread. With either one you can soak up the liquid and it tastes super delicious!

Is it family friendly?

Yes! It definitely is! Not only that it is very versatile, as you can add in some ground chicken when stir frying the veggies or some grilled prawns on top, when including some animal products but it also it can be made more or less spicy, depending on who eats it. Moreover, it can be kept in the fridge for several days, so every member of the family can take it to school or work. 

I hope that you will enjoy making and eating this dish, and that you will love it as much as I do! It is such a great dish to enjoy all throughout the year, is super healthy and packed with tons of flavors!

Enjoy, 

Katie // Une Petite Cuisinière

Print

Creamy Lentil Dhal

A super flavorful and warming dinner, that is super easy to make and incredibly delicious and healthy!

Course bowl, dinner, lunch, Main Course
Cuisine Indian
Prep Time 15 Minuten
Cook Time 30 Minuten
Total Time 45 Minuten
Servings 4 servings
Calories 434 kcal

What you will need

Thats what you will need:

For the base:

  • 2 tbsp oil
  • 1 yellow onion
  • 4 cm ginger
  • 2 garlic cloves
  • 1 tbsp graham massala
  • 2 tsp curry powder
  • 1 tsp turmeric
  • 1 tsp paprika powder
  • 1/2 tsp cumin
  • 1 red bell pepper
  • 1 carrot

The rest:

  • 500 g potatoes
  • 200 g lentils
  • 500 ml vegetable broth
  • 200 ml coconut milk

For servings:

  • some rice
  • some cilantro
  • cut up spring onions
  • yoghurt (plant based)
  • some nuts

How to

That is how it works:

  1. Finely dice uo the onion, garlic and ginger. In a pan heat up the oil. Once hot add the cut up veggies in. Sautee them for 2 minutes and then add the spices and sautee for another 2 minutes.

  2. Peel the carrot. Finely dine it and the bell pepper aswell. Add them to the pot and sautee for 2 minutes. Add the vegetable broth.

  3. Peel the potatoes and cout them into about 2 cm chunks. Once the broth boild, add the potatoes in and let everything cook for 10 minutes. Then add in the lentils and let everything boil for another 10 minutes.

  4. Next pour in the coconut milk and let everything simmer for another 5 minutes.

  5. Once ready, put it into bowls. Garnish with some yoghurt, cilantro, spring onions and cilantro.

  6. Serve and enjoy!

Kategorie: Cuisine, Diet-Specific, Indian, Lunch/ Dinner, Soups, Vegan, Vegetarian Stichworte: bowl, coconut, coconut milk, curry, dhal, dinner, family, family food, healthy, healthy vegan, India, Indian food, lentil, lentils, plant based, red lentils, Soup, vegan, vegan curry, warming

Green Goddess Bowl

Januar 25, 2020 by katharina.kuehr Kommentar verfassen

Sometimes all I am craving is some super clean and healthy food. Especially when I am not feeling the best or have eaten pretty unhealthy the past days. My body is just asking for nutrients and something to fuel it with. There is nothing better for this than a bowl packed with vitamins, nutrients, and tons of greens! This green goddess bowl is my go-to meal for that. It is ready in 15 minutes, incredibly good, super healthy, and so satisfying! It doesn’t taste like „boring healthy“ just because it has like a ton of greens in it but it is super good.

Sometimes when I eat a lot of processed foods, I just don’t feel good at all. It makes me tired, I don’t sleep well, I can’t concentrate and so on. And I know that I am not the only person who feels that way. I mean no wonder. I do not think that products with a thousand add-ins and chemicals, that we can’t even pronounce, are good for us. Even if it says healthy on the packaging or low sugar, it is so important to check the labels and see what actually is in it. I think that it is way better for us if we eat something higher in sugar, but it is naturally sweetened, e.g. with Dates than if we buy something low sugar with emulgators and flavorings and 100 ingredients we have never heard of.

This is why I love to cook with real ingredients and Whole Foods. I for example don’t do „vegan cheese“ that is supposed to taste like cheese because of chemistry, I think that real cheese is way better for us in this example. But that is not about the recipe anymore, so let’s get back to that. I just wanted you to understand why eating Whole Foods is so important to me. 

This green goddess bowl is something I make very often. Honestly, it is such a quick lunch, but also works great if you prepare it the night before and take it to work or school. It takes 10 ingredients which makes it super simple. So as a base, I like to use greens, spinach is my favorite. I do it raw because it is like a salad but if you do not like it raw at all, you can sauté it or steam it. If you prefer other greens such as kale, arugula, lambs lettuce or whatever, that works too, just make sure you have a base full of vitamins.

The other Part of the base is our grain or carb. I like to use quinoa here. Quinoa is such a nutrient dense food! It has a ton of protein, fiber, tastes amazing btw, and a reasonable amount of vitamins and minerals. Also it US ready in less than 15 minutes which is perfect for a quick lunch. Also, other than rice I think, it still tastes good after like 3-4 days in the fridge. So if you make a big batch in the beginning of the week you can use it over and over throughout the week! If you don’t like quinoa at all, something like brown rice or couscous would work really good here too! Just be aware that cooking brown rice takes way longer than it does to make quinoa. 

So now we have the base, we can go on to the remaining ingredients. Here I just like to stick with a lot of greens because they are super healthy and I think it looks super pretty when it is all in one color :)! We cut up some fresh cucumber, slice some avocado, steam or blanch some broccoli and peas. That is about it. You can also do some zucchini or sugar snap peas or edamame if that is something you always have on hand, I just happen to have all of those ingredients in my fridge all the time. The great thing about this bowl are all the different components and textures, the creaminess if the quinoa, the crunch of the cucumber, the bite of the broccoli and peas and the softness of the spinach. I know that this bowl is really healthy and maybe not something for everyone but it is soo good if you just want something clean and nourishing!

Up to now, we have almost everything. But, let’s be honest, that would really be a bit boring if we just sprinkled some salt on here. We don’t want that, and that’s why we are making a bomb dressing. As you probably have noticed this bowl does not really contain any fats, except for the avocado. The dressing adds some healthy fat here. We use tahini, which is like the best thing ever, in salad dressings but also elsewhere! Tahini is like peanut butter but made out of sesame seeds and is a really popular ingredient in eastern cuisine. It has a lot of vitamins and healthy fats and it just tastes sooo good! Other than this we have some lemon juice, honey or maple, plant based or normal yoghurt to add creaminess, a little vinegar and some water to think everything out because otherwise it would be very very thick! This dressing adds so much flavor and just brings all the ingredients together. It is something you definitely do not want to miss out when making this bowl! 

I hope that you will enjoy this recipe as much as I do and love all of the flavors it contains! It is such an amazing dish when just wanting to fuel your body and nourish it! Super easy to make, incredibly delicious (although it is pretty healthy!) and very meal prep friendly! Enjoy & happy cooking! 

Print

Green Goddess Bowl

A super clean, healthy & delicious bowl/ salad perfect for when your body is craving healthy food and nutrients. 15 minutes and mealprep friendly.

Course bowl, dinner, lunch, Main Course, Salad
Cook Time 15 Minuten
Total Time 15 Minuten
Servings 2 servings
Calories 450 kcal

What you will need

For the bowl:

  • 100 g Quinoa
  • 3-4 handful spinach
  • 1/2 cucumber
  • 200 g Broccoli
  • 100 g Peas
  • 1/2 Avocado

For the dressing:

  • 2 tbsp Tahini
  • 1/2 lemon juiced
  • 2 tsp vinegar
  • 1 tsp honey
  • 1 tbsp yoghurt or plant based yoghurt
  • 3-4 tbsp water

How to

That’s how it works:

  1. Wash and rinse the Quinoa. Add it to a pot along with 250ml of water and a pinch of salt. Bring it to a boil, reduce to a simmer and let simmer for about 10-12 minutes until fluffy.

  2. Bring another pot with salted water to a boil. Add in the broccoli and peas and boil for about 3 minutes. Then drain and rinse under ice cold water. This will keep the nutrients and color as it stops the cooking process.
    Either peel the cucumber into thin strips or dice it up into cubes.

  3. For the dressing mix all of the ingredients together until creamy. Use as much or as little water as you wish, depending on your desired thickness.

  4. In a Bowl Place the spinach. Add the broccoli and peas. Next put the quinoa into the bowl. Top with the cucumber ribbons. Drizzle the dressing and garnish with some fresh mint leaves.

  5. Serve and enjoy!

Kategorie: Diet-Specific, Lunch/ Dinner, Salad, Vegan, Vegetarian, Vegetarian Stichworte: avocado, beans, bowl, buddha bowl, cucumber, eat your greens, goddess bowl, green, green salad, greens, healthy, healthy bowl, healthy vegan, plant based, plant based bowl, quinoa, salad, vegan, vegan lunch, vegetables, veggies

Ultimate Hummus

Januar 20, 2020 by katharina.kuehr Kommentar verfassen

Ever since I went to boarding school and me and my friends ordered hummus pretty much every week, I am obsessed with it. I just love the taste, the creaminess and everything! It’s so good! 

But since hummus is not too cheap, I decided to make my own because it is so simple! I did not know how simple it was until I watched a YouTube video about it and let me tell you, no one should or will ever buy hummus in the supermarket again after trying out this recipe. You essentially only need 4 ingredients to make it; chickpeas, olive oil, tahini & lemon. This is the most basic form of it. I would recommend though, to include salt, and some more spices. There are ready-to-use spice mixes in supermarkets that take it next level or you can add them yourself. I would add some garlic powder, cumin, cayenne pepper, and paprika powder. 

If plain hummus is too basic for you, then feel free to get creative and make a different flavor. By adding cooked beets, you can make a beetroot hummus, add curry powder for a curry hummus, greens for a green madness hummus, dried tomatoes and basil or pesto for a Mediterranean twist. Honestly, the options are endless, which makes it such a great dish because it is so versatile. You can make the base and then adapt it however you, your family or your friends like it.

Hummus serves an awesome appetizer too. If you decorate it beautifully in a bowl, garnish it with some fresh herbs such as parsley or mint, some veggies, such as tomatoes, peppers, peas or cucumbers, and maybe some other touch of color, like pickled onions, it immediately looks super appetizing! Serve it with some toasted ciabatta or crackers, drizzle with olive oil, and voilá! A stunning and really simple appetizer is ready to be enjoyed! It is something light your guests can snack on while waiting for dinner! 

But don’t now think that hummus only makes a great appetizer, no, it can be used in so much more! Spread it into sandwiches, top it onto bowls, use it as a dip, … you can do so much with it! It’s like avocado, super good and super versatile! I for example love to have it with some toasted bread or in a wrap. This is so good! 

The making process is pretty simple too. It actually is ready in 15 minutes if you buy canned chickpeas. You just need to drain and rinse them, so any of the liquid is removed. This makes it easier to digest, which is really good. Of corse, you can cook them yourself if you want, just bake sure to soak them before and cook them until really soft so they can easily be mashed. I actually prefer cooking them myself, simply because you have more control about how soft they are going to be. Then just add them into a blender along with some Tahini, Olive Oil, lemon juice, salt, spices and a little water. Blend it until really creamy and then you already are done! That’s how easy it is! 

I, as already monitored, love to serve it as an appetizer, but it is great in whichever way you decide to use it. You can make a big batch of it and freeze some, so you always have some on hand! I hope that you’ll enjoy this recipe! 


Happy eating, 
Katie <3

Print

Hummus

Partydip, Bread Spread, Appetizer – you name it, Hummus is perfect for it!

Course Appetizer, bowl, Snack
Cuisine asian, oriental
Prep Time 15 Minuten
Total Time 15 Minuten
Servings 10 servings
Calories 109 kcal

What you will need

  • 400 g canned chickpeas
  • 2 tbsp Olive Oil
  • 3-4 tbsp Tahini
  • 1/2 tbsp vinegar (white wine vinegar)
  • 1/2 tsp garlic powder
  • 1/2 tsp cumin
  • 1/2 tsp paprika powder
  • 2-3 tbsp of the liquid the chickpeas were in

How to

That is how it works:

  1. Drain the chickpeas from the can. Rinse them with water until there is no foam anymore. This will make the hummus creamier and easier to digest.

  2. Add the chickpeas, along with all the other ingredients, into the food processor. Blend until smooth. If it is too thick for your preference, add more olive oil or water.

  3. Place in a bowl and garnish with some more olive oil, some fresh, cut up vegetables, pickled onions and parsley. Serve with some crackers and enjoy!

Kategorie: Appetizers, Cuisine, Diet-Specific, Oriental, Snack, Vegan Stichworte: appetiser, Asia, asian cuisine, chickpea, chickpeas, dip, eastern cuisine, healthy, healthy dip, healthy party dip, hummus, olive oil, orient, oriental, party dip, tahini

Open Vegan Breakfast Sandwich

Januar 16, 2020 by katharina.kuehr Kommentar verfassen

I love having savory breakfasts! I like them much more than sweet ones. You might not know because I mostly post sweet breakfast recipes, but that’s because I mostly share plant based ones and I think it is so hard to make vegan savory breakfasts. But since I try to include more plants into my diet, K decided to share a vegan breakfast dish that is savory, especially for all those without a sweet tooth. We do not have to miss out on savory stuff when we want to eat vegan from time to time.

The thing, that I think is most difficult, when not including animal products into your breakfast, is not eating eggs. I absolutely love eggs and think there is nothing better than an avocado toast with poached eggs but sometimes I just like to switch it up. I got inspired to create this dish when I ate at a restaurant in Vienna, which is called Karmafood, that is mostly plant based/ vegetarian. I had a vegan breakfast sandwich and it was soooo good, so I decided to try to recreate it.

At first I thought „mushrooms for breakfast“? Wait, no way! I can’t do that! But it actually is super delicious! It is not like soggy mushrooms, it just tastes really good in the combination with all of the other ingredients. So let me tell you what this sandwich (or topped bread) is made of:

We start out by roasting a sourdough bread. You can use a white bread, but I like to use a mixed one, which is partially whole wheat and partially not. If you want, you can also use a whole grain bread or if opting for a gluten free version, use sweet potato toasts! This really is up to you! We toast that bread in a toaster, because crispy bread is just way better! If you want to be super fancy, you can butter or spread margarine on both sides and toast it in a pan. This adds extra flavor but is a little more work! 

Once we have our bread, we can continue with the rest. Next comes hummus. I like to use curry hummus, just because I really like it, but normal one works just as good. So we spread a thick layer of that. Next up are some greens. I like to use mixed greens, but if you prefer to stick to one kind, that works. You see this is really versatile! The greens in here do not radically change the flavor but add a lot of vitamins! So it’s great! We continue to add even more greens, this time in form of avocado. Because… what would a breakfast sandwich be without avocado? Well, not a good one at least! 

So now we have the base. We continue to add more vegetables. Next up: cherry tomatoes. I like the touch of color and flavor they add! Sautéeing them helps to not let them taste super different from the rest but it helps them to work in a harmony with the other ingredients! Ok top, now only go mushrooms. I would recommend to use shiitake mushrooms, because they are pretty big.you can also use other ones if you prefer, just make sure that they are pretty big. On top only goes another dollop of hummus, and a drizzle of hot sauce, if you like. I live it spicy, so for me it always is a must! 

I love making this for a quick breakfast, because wir literally comes together in like 10 minutes. You can also serve it for brunch or make a cute buffet with all the different things and people can build their own ones! I hope this gives you some inspiration for savory, plant based breakfast ideas! Let me know if you like it and if you decide to recreate it be sure to tag me with @uneptcusiniere or with #unepetitecuisiniere !

Enjoy,
Katie

Print

Open Vegan Breakfast Sandwich

An ideal breakfast for all those who want to eat more plant based but still stay savory. Super delicious and simple.

Course Breakfast, brunch, dinner
Prep Time 5 Minuten
Cook Time 10 Minuten
Total Time 15 Minuten
Servings 2 servings
Calories 239 kcal

What you will need

  • 2 slices bread you can use whichever you want; sourdough, white, whole wheat, whatever
  • 4 tbsp hummus
  • 1 handful greens
  • 1/2 avocado
  • 5-6 shiitake mushrooms
  • 12 cherry tomatoes
  • some sprouts, more hummus and hot sauce for topping (optional)

How to

That is how it works:

  1. Toast the two slices of bread in the toaster.

  2. Meanwhile heat up the oil in a pan. Remove the stems of the mushroom. Once hot, add the mushrooms and sauté them for about 3 minutes on each side until soft. Remove them and add the cherry tomatoes in. Let them soften for about 2-3 minutes.

  3. Meanwhile, remove the bread from the toaster. Generously spread the hummus. Add the greens on top. Slice up the avocado and layer the slices on top of the greens. Take the mushrooms and add them in top along with the sauteed cherry tomatoes.

  4. Finish it up with another dollop of hummus, some sprouts and hot sauce if wished!

  5. Serve and enjoy!

Kategorie: Breakfast, Diet-Specific, Vegan, Vegetarian, Vegetarian Stichworte: avocado, breakfast, breakfast sandwich, brunch, healthy breakfast, healthy brunch, hummus, plant based, sandwich, savory breakfast, savoury breakfast, vegan, vegan breakfast, vegan breakfast sandwich, vegan sandwich, vegan savoury, vegetables, veggies

« Vorherige Seite
Nächste Seite »

Footer

What has been happening on my Instagram

Copyright © 2024 Une Petite Cuisinière on the Foodie Pro Theme