• Zur Hauptnavigation springen
  • Skip to main content
  • Zur Fußzeile springen

feel food club

  • Home
  • About me
  • My Recipes
  • Blog
  • Navigation Menu: Social Icons

    • Instagram

fall

Thai Sweet Potato Cauliflower Soup

Oktober 30, 2019 by katharina.kuehr Kommentar verfassen

It’s finally soup season over here! October hasn’t been too much of a fall weather so far but now the temperatures are starting to drop. Finally! It’s time for comforting soups on cozy evenings in front of your TV in PJs! Couldn’t wait for that time of the year.

I love eating soups, they are so filling, warm, delicious and can be packed with so many nutrients. They are just like pasta, so versatile, just amazing. The first soup we usually make each year is a pumpkin cream soup with sausages. One of the best dishes my mom cooks! Or we go for a beef soup, which is a typical Austrian food and so delicious. We also make it for Christmas ever single year, and no one gets sick of it! 

When not making it for guests, it is such a perfect Sunday night dinner. An ideal meal to round up the week and enjoy while sitting together when it’s cold outside! This Thai Sweet Potato Cauliflower soup is a great dish for such an occasion but it also works great as a starter for guests or even for meal prep to take for lunch or enjoy for dinner. Jut make a big batch on the weekend and keep it in the fridge when enjoying within a week, you can just heat it up whenever you want, or freeze it in pre portioned containers so you can store them over moths and have it whenever you are craving it!

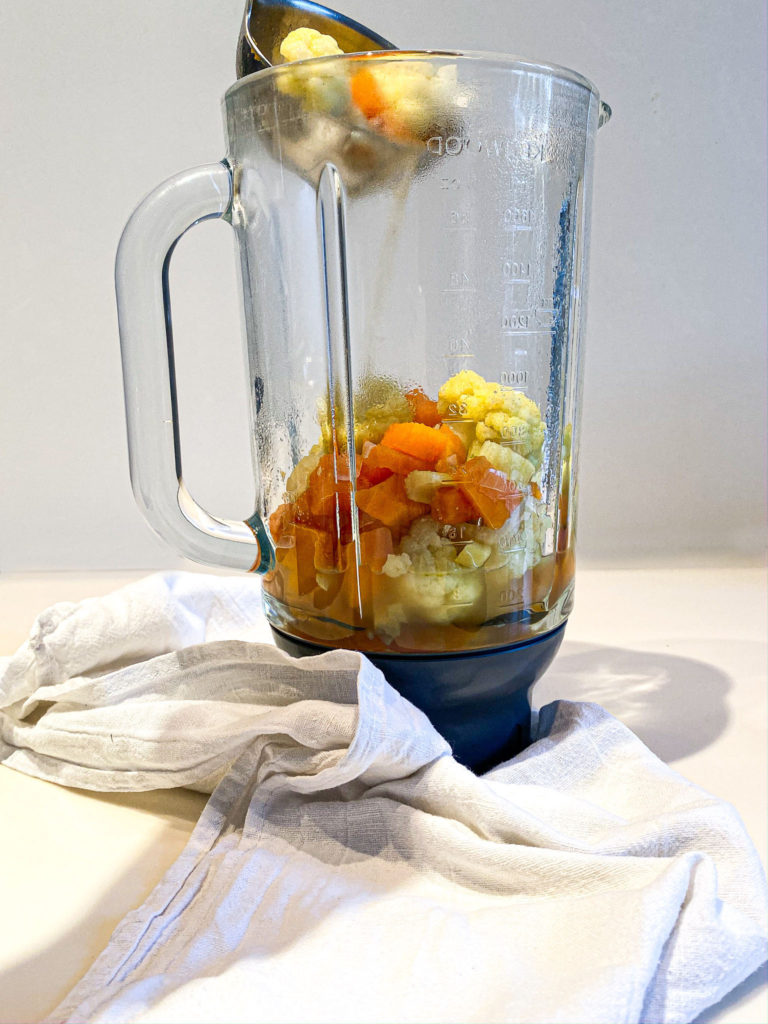
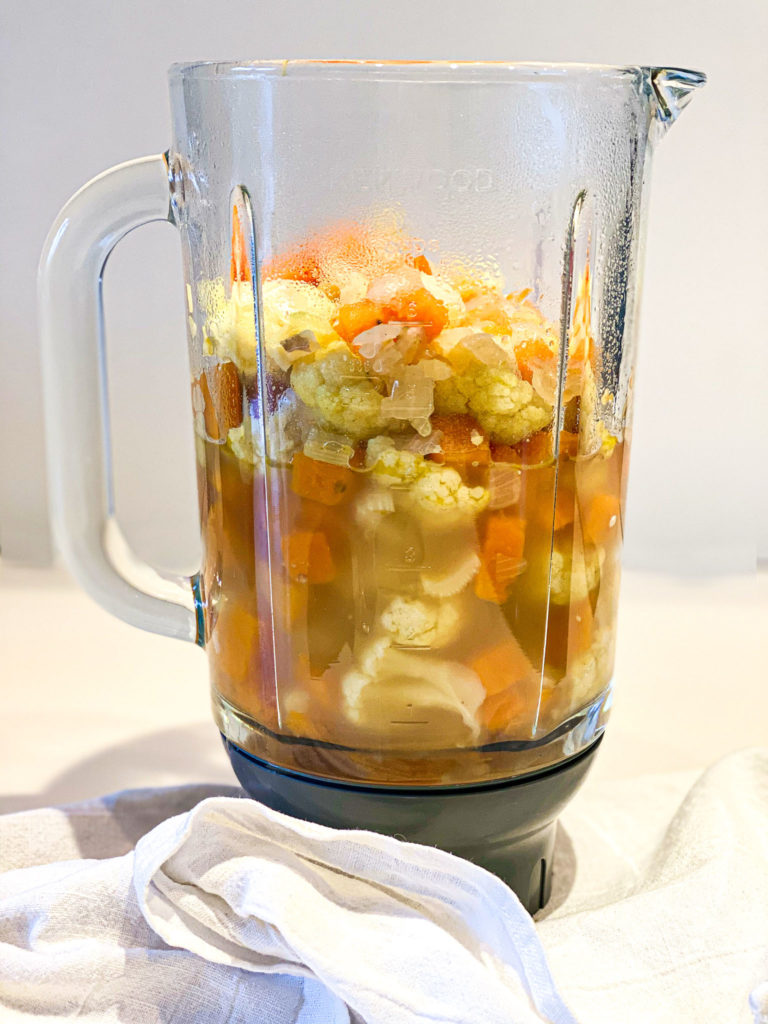
The soup is vegan, and only 9 ingredients! Isn’t that amazing?! It is super easy to make doesn’t ask for a lot of work! First you need to sauté the onion, ginger, and lemongras in the oil until glassy and soft. This already brings out such a nice smell and the glazing it at the beginning intensifies the flavor which makes an awesome soup later on. Next you add the chopped up sweet potato and cauliflower and let the roast for a few minutes. Once these are also coated in the oil it is time to pour over some vegetable stock and let it simmer. The vegetable stock gives it more density and more heartiness.

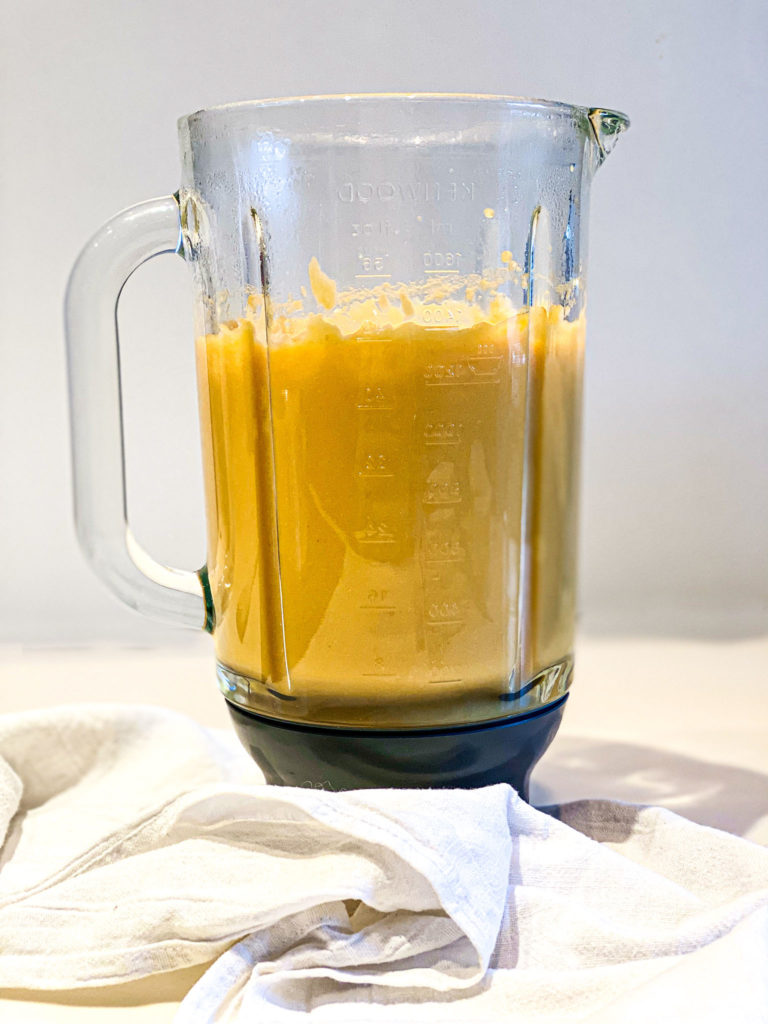
This should simmer for about 20 minutes but really until the sweet potatoes and cauliflower are soft, this can be easily tested by piecing through it with a fork! Then either blend it with a hand blender until creamy or if on hand, blend it with a high speed blender! I used my Kenwood blender which gave me a perfect result! If it is too thick, add a little more broth. The soup already smells so good it’s incredible! But honestly your entire house will smell amazing.

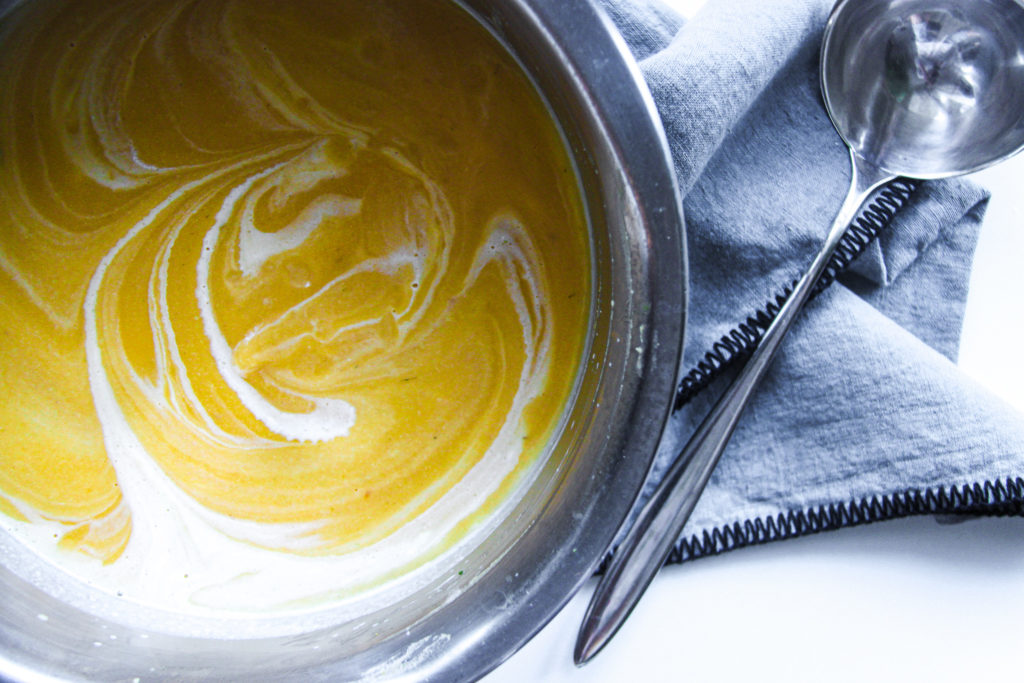
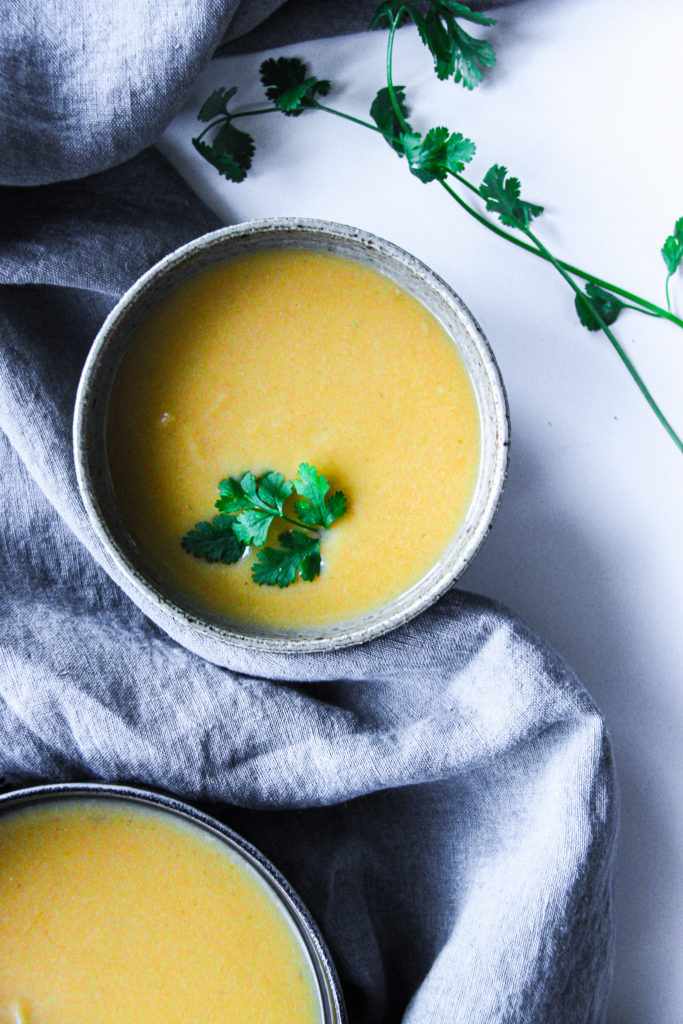
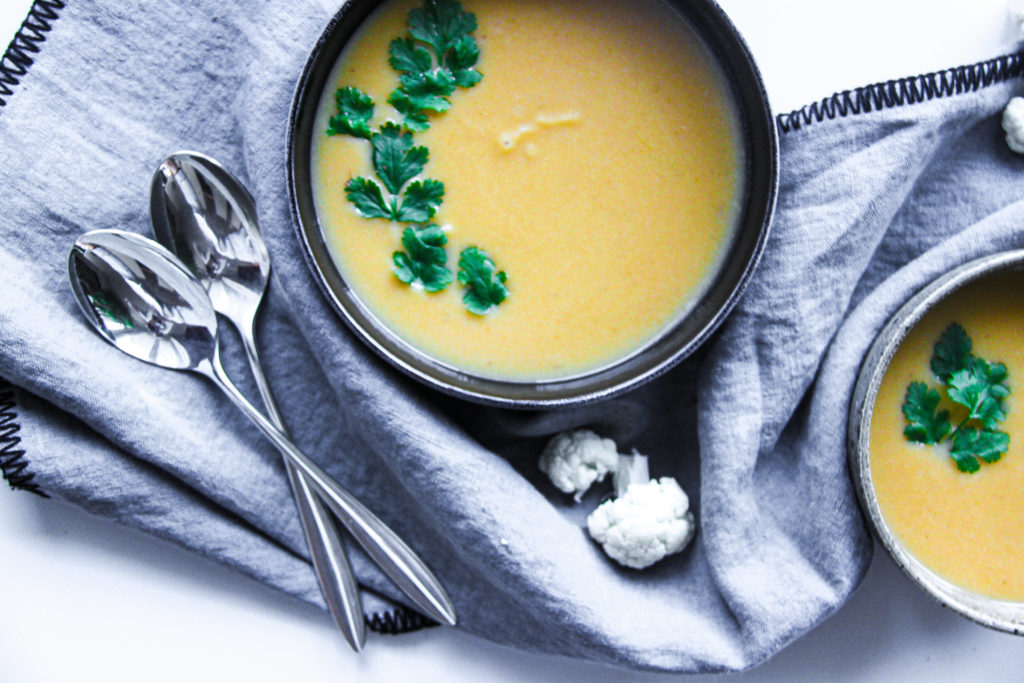
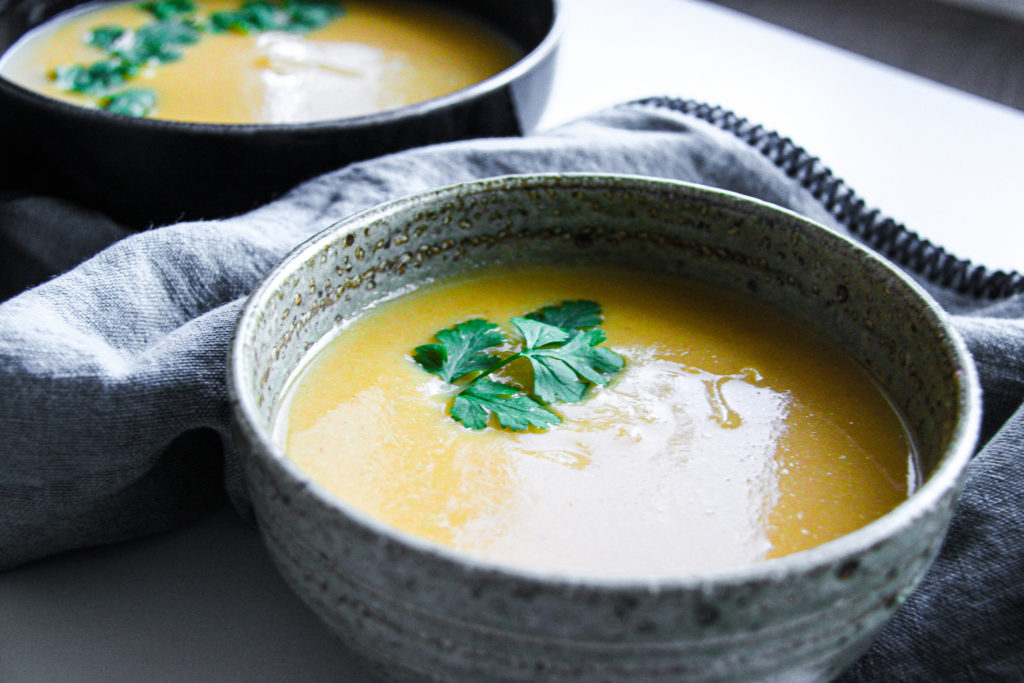
After it has been poured back into the pot, there is only one thing left to do. Add the coconut milk and stir it in. You can either serve it now or let it sit for later or freeze it right away. When serving it, top with some Resy cilantro if you wish and some more coconut milk. If you are not opting for a plant based version some Asian marinated chicken or prawn skewers would be a great addition but it also is really delicious as it is. Serve with some toasted croutons on the side and enjoy! 

Print

Thai Sweet Potato Cauliflower Soup

A asian inspired soup that packs all the falll goodness. Sweet Potato, Cauliflower, Coconut milk. Perfect fall dinner and even vegan.

Course Appetizer, dinner, lunch, Main Course, Soup
Cuisine asian, thai
Prep Time 15 Minuten
Cook Time 35 Minuten
Total Time 50 Minuten
Servings 4 people
Calories 371 kcal

What you will need

  • 2 tbsp oil neutral in taste
  • 1 white onion
  • 2 stalks lemongrass
  • 2 stalks celery
  • 4 cm Ginger
  • 500 g Sweet Potato
  • 500 g Cauliflower
  • 2 l vegetable stock
  • 250 m Coconut milk
  • cilantro for garnish

How to

That’s how it works:

  1. Finely mince up the onion and ginger. Remove the purest layer of the lemongrass and finely mince it too. Peel the sweet potatoes and cut them into about 1,5cm sized chunks. Also cut the cauliflower into smaller pieces. 

  2. In a large pot heat up the oil. Once hot add the onion, lemongrass and ginger. Let this glaze until see through and glassy. Meanwhile set up a second put with some vegetable broth, this can either be pre packaged or made with stock cubes, whatever you have on hand. 

  3. After about 2-3 minutes of glazing the vegetables add in the sweet potato and cauliflower. Let them roast for another 3-4 minutes until they are all coated with oil. Pour the vegetable stock over and let it all simmer for about 20 minutes. 

  4. The vegetables should be soft by now, simply test it by piecing through with a fork. Of not ready yet, continue for a little more. If ready, pour it into a high speed blender or blend it up with a hand blender until creamy and no chunks left. When not blended in the pot, pour it back into there now. Add the coconut milk.

  5. Serve it either right away or keep it on the stove until eating or freeze it right away if prepping it. When serving hernias with some fresh cilantro, a little more coconut milk, and some croutons on the side. 

Notes

Notes:
If making a big batch, it will last in the fridge for about a week. If wanting to keep it for longer, freeze it up to several months. 
Also, when not vegan or vegetarian, serve it with some Thai prawn or chicken skewers for some extra protein!

Kategorie: Appetizers, Cuisine, Diet-Specific, Fall, Lunch/ Dinner, Season, Soups, Thai, Vegan, Vegetarian, Vegetarian Stichworte: cauliflowe, cauliflower, coconut milk, fall, fallfood, fallvegan, healthy, Soup, Sweet potato, vegan, veganfall, veganfood, vegetarian

Super Green 20-Minute Curry

Oktober 27, 2019 by katharina.kuehr Kommentar verfassen

The temperatures are sinking and it’s getting colder outside. The time for cozy sweaters and comfortable evenings with hot chocolates is coming. Finally! Isn’t it one of the best times of a year? I do believe so (at least when you don’t have to go outside)! But also when it’s not warm outside you want to have something warm on the inside and you can best get this with a warm, comfortable dish. 

A big bowl of pasta, some good soup, a pot roast or even a curry. I love a good curry at this time of the year, especially when it’s spicy, it really gets me warm and makes me have a comfortable feeling. But I don’t only love curries in the winter to be honest, they are one of my favorite dishes of all. They are so flavorful, versatile and super nutritious. With a hearty side such as rice, quinoa or naan they make a perfect balanced meal.

Also, I really love the different colors you can have when making curries. It feels like eating the rainbow and they are all the same but different in flavors at the same time. You can make them spicy, mild or without any spice at all, you get basically add whichever vegetables you like, and eat it with whatever side you like. 

In this Curry I added three different greens as I think especially in this time of the year when comfort meals are in focus, it is hard to get all the veggies in an eat balanced meals. The great thing with veggies in curries is, that even if you don’t like the taste of a single vegetable a lot, it won’t matter that much since they are going to absorb a lot of the flavor of the curry paste. So you can be generous with the vegetables you add in. Just be careful, since they might have different cooking times. 

As a protein source I used chickpeas in this recipe because I decided to go for a vegan version. But again, it is very versatile. If you want a meaty version you can add in chicken, lamb, or beef, if you are craving fish, feel free to add salmon, mixed fish, or prawns or if you want to go for something plant based but don’t like chickpeas it don’t have them in hand, it works great with tofu too. Since the chickpeas are already pre cooked I add them at the end, but if you use something like chicken that is not cooked beforehand, make sure to add it before the vegetables so it will get completely cooked through. 

I like to serve mine with a side or rice but really any carb works. This curry is really great for meal prep too, I actually believe that it intensifies the flavor of you keep it in the fridge for one or more days. I also like this dish as a weeknight dinner because it is really simple and quick when you don’t feel like cooking after a long day. I hope that you will enjoy it and I would love to see it if you recreated to be sure to tag me with @uneptcuisiniere or with #unepetitecuisiniere on Instagram and leave a comment! 

Print

Super Green 20-Minute Curry

A great comforting dish for any weeknight dinner or as a perfect meal prep dish. Warming, nourishing and super delicious! The best part? – It only takes 20 minutes!

Course lunch, Main Course
Cuisine thai
Prep Time 5 Minuten
Cook Time 15 Minuten
Total Time 20 Minuten
Servings 2 people
Calories 473 kcal

What you will need

  • 100 g rice
  • 200 ml water
  • 1 tbsp oil
  • 50 g green curry paste you can use homemade or storebought ones, whichever you prefer or have on hand
  • 150 g Brussel Sprouts
  • 200 g Cauliflower
  • 1/2 Zucchini
  • 200 ml Light coconut milk
  • 100 ml water
  • 100 g canned chickpeas rinsed
  • 2 handful spinach
  • Cilantro for garnish

How to

That is how it works:

  1. In a pot add the rice along with 200ml of water and a generous amount of salt. Bring it to a boil and then reduce to a very low simmer and cover with a lid. Let it simmer for about 12-15 minutes without lifting the cover.

  2. Meanwhile half the brusselsprouts, and cut both the zucchini and cauliflower into small chunks. In a non-stick pan heat up the oil. Once hot add the curry paste and gently stir until it is all combined with the oil. When adding the paste before the vegetables the flavors get even more intense.

  3. Next, add the veggies except the spinach. The zucchini has a slightly shorter cooking time, so if you do not want it to get extra soft then add it maybe 3-4 minutes later. If you do not mind or actually like it, as I do, just add it now with the brussel sprouts and cauliflower.

  4. Fry them for about 3 minutes then pour the coconut milk and the water on top. Stir until the curry paste from the veggies and the sauce is well combined. Let this simmer for about 8 minutes and then add in the precooked chickpeas and the spinach. The greens will wilt down so do not worry if they seem huge at first! Let it all simmer for another 5 minutes. Salt it if necessary, this depends on your curry paste.

  5. By now the rice should be done too. Fluff it up with a fork so it gets nice and soft. Seperate it onto the plates and add the curry too! Top it with a little cilantro and some crushed peanuts if wanted.

    Serve and enjoy!

Kategorie: Diet-Specific, Fall, Lunch/ Dinner, Thai, Vegan, Vegetarian, Vegetarian Stichworte: brussel sprouts, cauliflower, chickpea, chickpeas, curry, fall, fallfood, green, greencurry, healthy, healthy fall, meal prep, vegan, vegan curry, veganfall, weeknightdinner, Zucchini

Creamy Pesto Rice with Roasted Fall Veggies and Crispy Chickpeas

Oktober 20, 2019 by katharina.kuehr Kommentar verfassen

I am a huge fan of pesto, when made freshly and in season. We make it a lot in summer. Pick the basil from out herb garden, use olive oil our neighbors made themselves from their trees in Croatia, add some good Italian Parmesan cheese, some delicious pine nuts and a pinch of salt. That’s at simpel as it is and that’s why I love it! So few ingredients, so much flavor! But now it’s October! And unfortunately it’s getting colder and there is no way for the basil to grow in our garden. Still, we all love pesto and want to enjoy it and that’s why I decided to add a little twist to it! 

This pesto recipe is not like the traditional Italian one but it is as delicious! It is made with fall ingredients. Instead of the basil I decided to use Swiss chard, and the pine nuts are substituted for almonds. I kept the Parmesan cheese and the olive oil because I believe that these really make the pesto taste like pesto and make it insanely addicting. To make it you simply have to roast the nits a but because that enhances the flavor, and then blend it up with the Swiss chard and a pinch of salt. Yes, that’s right, only those three ingredients! NEVER blend pesto with the Olive Oil and the cheese. That’s just not how it’s done. At least not in Italy. After blending, the Olive oil and Parmesan are stored in by hand, one by one, slowly. This makes it really creamy instead of mushy! 

Pesto is also great in nutritional value! Although it is quite high in calories it is super healthy! The greens provide you with a lot of minerals, vitamins, and fiber! The nuts add some healthy fats and a protein kick as well as other nutrients! The olive oil also provides you with some more healthy fats, which help you absorb the proteins better and the cheese gives some essential protein. So if you love pesto, here’s another reason to add in on everything. But honestly, I believe that this recipe doesn’t only work great in this dish but also you can totally add that pesto on top of scrambled eggs, into pasta, on top of toast, or whatever is on your mind! 

For the grain as carbohydrates I decided to use white rice. If you want to make it even healthier use whole grain/ brown rice but it is quicker when using white rice since it doesn’t have as long cooking times! If you do not like rice at all but still want to tray making this recipe you can substitute it for another grain! Pasta or Quinoa would work great too! Together with the pesto, the rice gets really creamy, kind of risotto-ish but not completely. Adding pesto if any sauce to rice is such a great way to spice up things a little and get your traditional plain rice to a mouthwatering dish! 

So, now we have the rice and the pesto… but what even is a bowl without some toppings and crunch. With the vegetables you can really feel free to add whichever are your favorites. I used cauliflower and brussel sprouts because they are in season now. Also, the brussel sprouts add some more greens into the dish and I love using the cauliflower because it is a great vegetable which can easily take on the favor of the spices! That way you can really taste your seasoning! Drizzle a little olive oil on top and roast them until crispy! This also works really great for meal prep if you just want to roast a big bunch of vegetables in the beginning of the week!

The chickpeas are coated with a great amount of spices and a good amount of olive oil! The oil is necessary in order to get a crunch and to intensify the flavor. If you want to make them extra crispy, pan fry them, but they are also super delicious when made in the oven plus you don’t have to wash an extra dish! So it’s a win win! 

When it’s all put together it just makes such a bomb combination! The creamy rice (if you want to make it extra ? add some more fresh Parmesan cheese on top!), the hearty roasted vegetables and the crispy chickpeas just make such a great combo! It is such a great comfort meal with such delicious fall meal packed with local and seasonal ingredients! A perfect mid-week dinner and great for meal prep! I hope that you will enjoy it as much as I do! 

Print

Creamy Pesto Rice with Crispy Chickpeas and Vegetables

An ideal weeknight dinner with a delicious twist on traditional pesto with crispy chickpeas and roasted veggies!

Course dinner, lunch, Main Course
Prep Time 15 Minuten
Cook Time 25 Minuten
Total Time 40 Minuten
Servings 2 People
Calories 635 kcal

What you will need

  • 100 G Rice
  • 100 g Chickpeas caned, washed & rinsed
  • 1 tbsp Olive Oil
  • 1 handful sage
  • 180 G Brussel Sprouts
  • 180 G Cauliflower
  • 1 Tbsp Olive Oil
  • 1 Tbsp balsamic vinegar
  • 1/2 Tsp Paprika Powder
  • 1/2 Tsp Chilli Powder
  • 1/2 Tsp Turmeric Powder

For the Pesto:

  • 2 stalks Swiss Chard
  • 20 g Almonds
  • 20 g Parmesan Cheese freshly grated
  • 1 tbsp Olive Oil
  • 1,5-3 tbsp Water can sub for olive oil for even more flavor
  • 1 tsp salt

How to

That‘s how it works:

  1. Roast the almonds in a non stick pan over medium high heat for about 3-5 minutes, stirring occasionally.

  2. Into a food processor add the almonds, the Swiss chard and the salt and pulse until combined! Pour the mixture into a bowl and alternately add the grated Parmesan cheese, olive oil, and water into the mixture until it gets all creamy and rich! If you want to make it all Italian, you can only add olive oil, but I decided to make it a little lighter so I mixed it with water.

  3. In the meantime preheat the oven to 180C. Wash and rinse the brussel sprouts and cut them in half. In a bowl combine them with about 1/2 tbsp of Olive Oil and the balsamic vinegar. Spread them onto a third of a baking tray lined with parchment paper.

  4. Cut of the cauliflower into smaller pieces. Add them into a bowl, along with chili, paprika, and turmeric, 1/2 tbsp of olive Oil and salt. Combine them all and place on another third of the baking tray.

  5. Wash, drain and tap the chickpeas dry for extra crispyness. Add the Olive oil, sea salt, and finely chopped up sage into a bowl along with the chickpeas and toss it. Add them to the remaining third of the baking tray and bake everything for 20-25 minutes!

  6. In the meantime cook the rice according to package instructions. About 3 minutes before it being done, add the pesto into the pot, keeping 1 tabslespoon aside. When done, stir it all together and you will see that the parmesan cheese has melted and it is all creamy.

  7. By now the vegetables and chickpeas should be done and crispy too!. Seperate the rice and onto two bowls. Top them with the vegetables and chickpeas and drizzle the remaining pesto on top. Grate some fresh parmesan for the finishing touch and enjozy!

Kategorie: Diet-Specific, Fall, Lunch/ Dinner, Season, Vegetarian, Vegetarian Stichworte: brusselsprouts, cauliflower, chickpeas, creamy, creamy rice, fall, fallfood, fallpesto, healthy fall, mangold, parmesan, parmesan cheese, pesto, rice, Risotto, swiss chard, vegetables, vegetarian, veggies

Caramelized Pecan and Fig Salad

Oktober 16, 2019 by katharina.kuehr 1 Kommentar


We’re are in the middle of October which means that we are in the middle of fig season. One of the best seasons ever, I believe. They are juicy, soft, sweet, and they have such a pretty color! Plus they are so versatile I believe! They go well on so many things! Add them to your French toast, on top of a yoghurt bowl, dried in granola, serve them with cheese, add them into salads or Buddha bowls, or even grill them to serve as a side. The options are endless! 

But a fig is not necessarily a fig. There are small ones and there are bigger ones. I really like the small ones on top of yoghurt for example because they are just perfect in size and you can always eat the skin! With the bigger ones, I prefer using them in salads or as a snack. But if you want to consume them with the peel, make sure to buy organic ones. If you don’t then I would not recommend eating the skin! 

Figs have a great nutritional value too! When fresh they are really low in calories, but have a quite high fiber content! They help reducing the blood pressure as they increase the potassium in your body. Also, they are high in calcium, which is an essential Mineral. When dried, they are higher in calories but also in fiber, with incredible 9g per 100g serving. So if you want to add some sweet or chewiness to your next granola, or just snack in something sweet with nut butter than grab some figs next time, either dried or fresh with some nut butter and you have a delicious and filling snack! 

Onto the next highlight of the salad; the caramelized pecans! I am a huge fan of pecans, I lottery eat them on anything! I love the flavor and the crunch! Nuts in general are packed with protein, vitamins and healthy fats! They are a great addition in nutritional value and crunch to almost any dish! Yoghurt, salads, stir fry’s, curries, you name it! Caramelized First nuts is incredibly simple and only requires 3 ingredients! The nuts themselves, some honey or agave, and a pinch of sea salt. I like to prepare them in a non – stick pan as I believe that it is easiest and quickest. 

It is as simple as adding all the ingredients to the pan and heating it up. At first it will seem as there was too little honey as it will only stick on a few nuts, but as soon as it heats up it will get more liquid and it will cover all the nuts. They work great on a salad as they add sweetness but I also think that they go along very well with cheese or yoghurt. I like the pre make them in a batch in the beginning of the week and them add on on several different dishes throughout the week. If you are not a fan of pecans they can be substituted them for any other nut. Walnuts and almonds would work great, hazelnuts do work too but I would not recommend using cashews since they already have a sweet touch and are rather soft so I would not recommend using them. 

The dressing for the salad is really creamy and delicious. It is not loaded with tons of calories like conventional store bought ones. It is made out of Avocado, Greek Yoghurt, Dijon Mustard, honey, Tahin, anchovies Lemon Juice and Vinegar. I know that it sounds like a lot of ingredients but it is totally worth it! It is an oil free dressing. Just blend all of the ingredients up and you will end up with a delicious creamy dressing! 

To add the finishing touches coat the spinach in the dressing, cut up some dogs, crumble feta cheese and add the walnuts on top! It is an amazing side dish in Fall with some roasted meat or to enjoy along a bowl of pasta! It contains a lot of fall ingredients, which I love since it is a great way to enjoy all the seasonal and regional food! 

Print

Caramelized Pecan and Fig Salad

A delicious side dish to incooperate all of the delicious fall foods!

Course appe, Salad, Side Dish
Prep Time 15 Minuten
Cook Time 3 Minuten
Total Time 18 Minuten
Servings 4 servings
Calories 153 kcal

What you will need

For the Salad:

  • 3 handful Baby spinach (baby spinach preferably)
  • 2 Figs
  • 25 g Pecans
  • 2 tsp Honey
  • 40 g Feta Cheese

For the Dressing:

  • 30 g Avocado
  • 2 tbsp Greek Yoghurt
  • 1 tbsp Tahin
  • 2 tsp White Vinegar
  • 1/2 juice Lemon
  • 1 Anchovie
  • 2 tsp Mustard
  • 1 tsp honey

How to

That’s how it works:

  1. Add all of the ingredients for the salad into a small blender. Add maybe about 1,5 tablespoons of water to start out. Blend it up. It should be creamy but runny. If it is too thick, feel free to add a little more Tahin or water in order to thin it out. Add a generous pinch of salt and set aside, best in the fridge.

  2. Add the nuts into a small nonstick pan. If you do not have one it is not a huge problem but if you have the option, use a non-stick one. Add the honey and a pinch of salt into it. Don’t worry if the honey will only stick onto a few nuts. Heat it up on medium high, constantly stirring. As soon as it gets hot the honey will get more liquid and coat all of the nuts. Once that happened, take the bits out of the pan and set aside. 

  3. Toss the spinach with the dressing and separate it onto 4 bowls. Cut up the figs and add them on top. Crumble the feta. Finally, add the caramelized pecans on top and serve! 

    Enjoy! 

Kategorie: Fall, Lunch/ Dinner, Salad, Salads, Side Stichworte: fall, fallfood, fallsalad, feta, feta cheese, Fig, healthy, healthy fall, nut, nuts, pecan, salad, side, side salad, sidedish

« Vorherige Seite
Nächste Seite »

Footer

What has been happening on my Instagram

Copyright © 2024 Une Petite Cuisinière on the Foodie Pro Theme