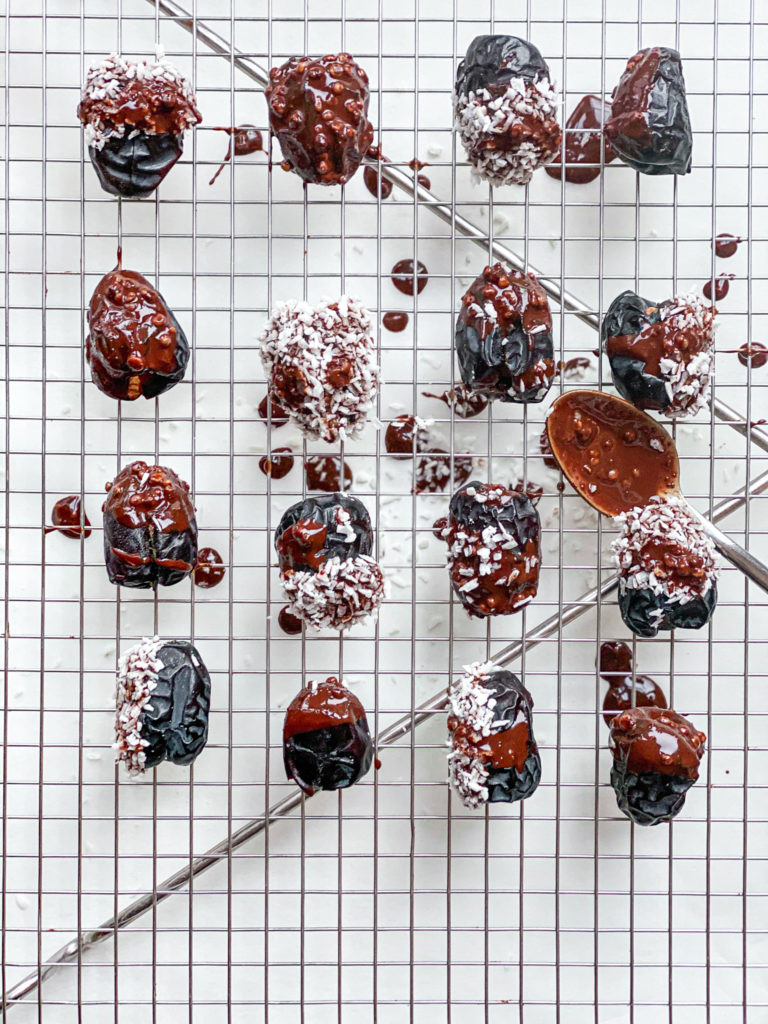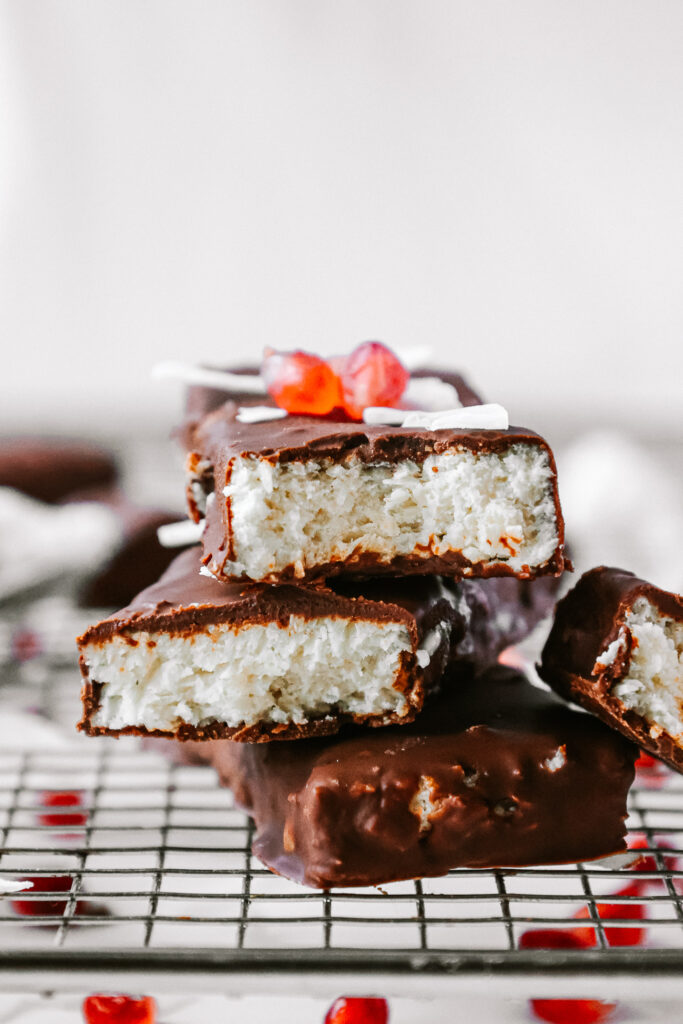
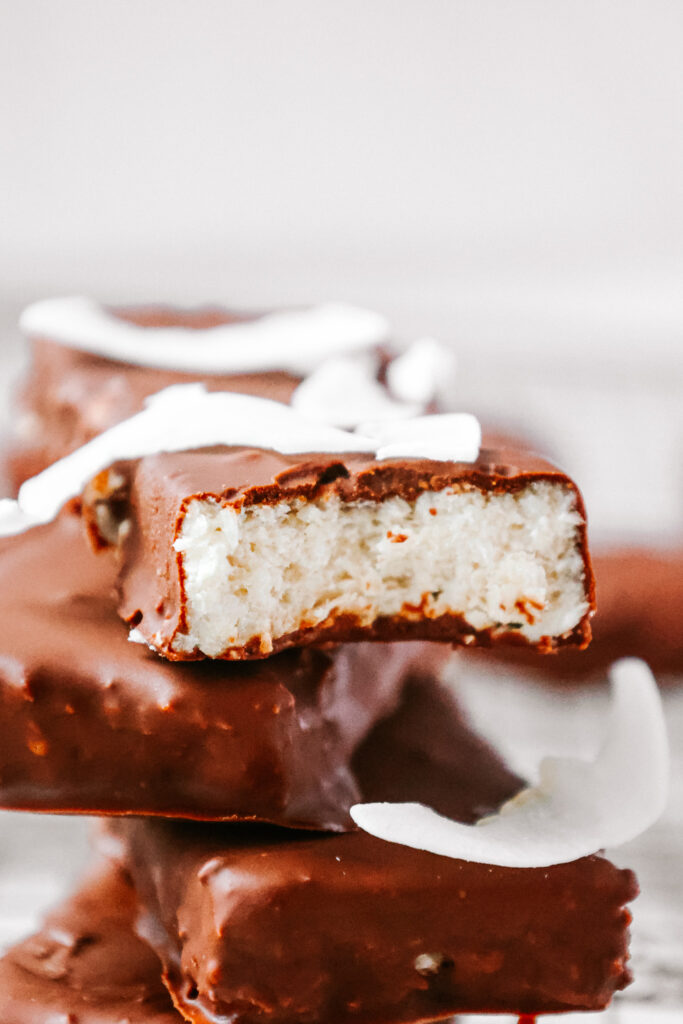
Bounty. The bar we all love. I mean, who can resist some sweet coconut covered in crunchy chocolate. That bite into it is like a bite of heaven. But unfortunately they are not very nutritious and good for us. But that won’t stop us from eating them, right?! That’s why we are making an incredibly easy and healthier version of them that tastes at least as delicious!
When I made them the first time, they were gone within a day, more or less. And it resulted in a family fight about who would get the last one hahaha. So be aware that they’ll be gone quickly when you make them!
What is special about this dish?
Healthy(er) bounty bars. That is very special. Plus, they are incredibly easy to make, so anyone can make them! You really just need 4 ingredients to make them and you do not even NEED a blender. It of course is easier with one but it also us possible without one! That‘s what makes them really special!
Are they healthy?
I would definitely say healthier than regular bounty bars. They are nutrient bomb but they definitely are better, nutrient wise, than regular ones. Why? Because regular ones are loaded with refined sugar, preservatives and flavor enhancers, which all are not healthy for our gut, teeth and overall health.
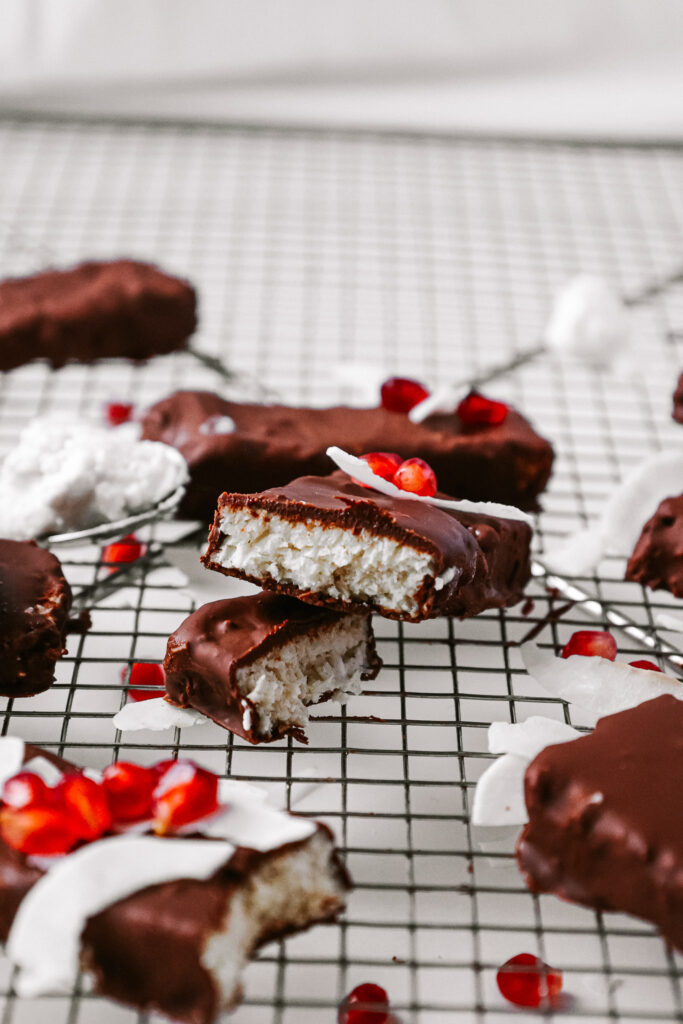
Our version is just made of shredded coconut, coconut milk, maple syrup or honey and chocolate. That is all. The shredded coconut and coconut milk are pure and without any additives, the maple syrup or honey still contain sugar but they also contain nutrients such as fibre and vitamins, especially honey does. When it comes to the chocolate, it really depends on the brand you choose. The darker the chocolate is, the healthier it is. Also make sure to choose one with as few ingredients as possible. You can check the label at the back of the package and maybe you even find one, which is sweetened with coconut sugar.
How to make them:
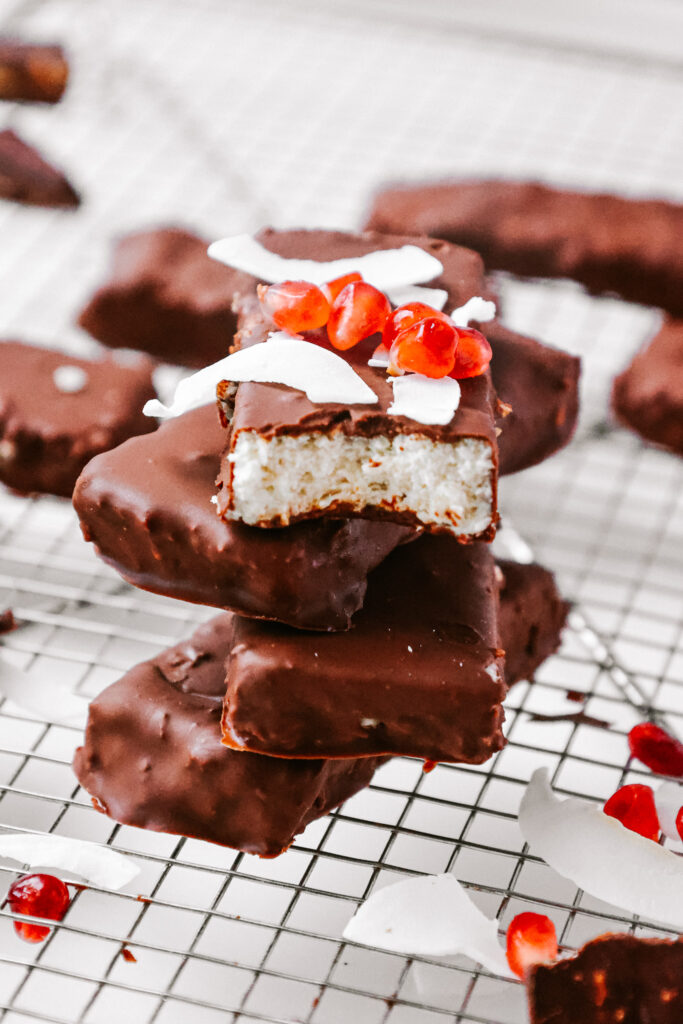
This is incredibly simple. You just need to mix the shredded coconut, coconut milk and sweetener. This can be done with a mixer or blender, which definitely is quicker and easier, and if you don’t have one, you can also mix and knead it by hand. Once this is combined we are pressing it onto a tray, a casserole dish or into a baking tin and let it cool in the fridge or freezer for at least 1 hour or, even better, overnight.
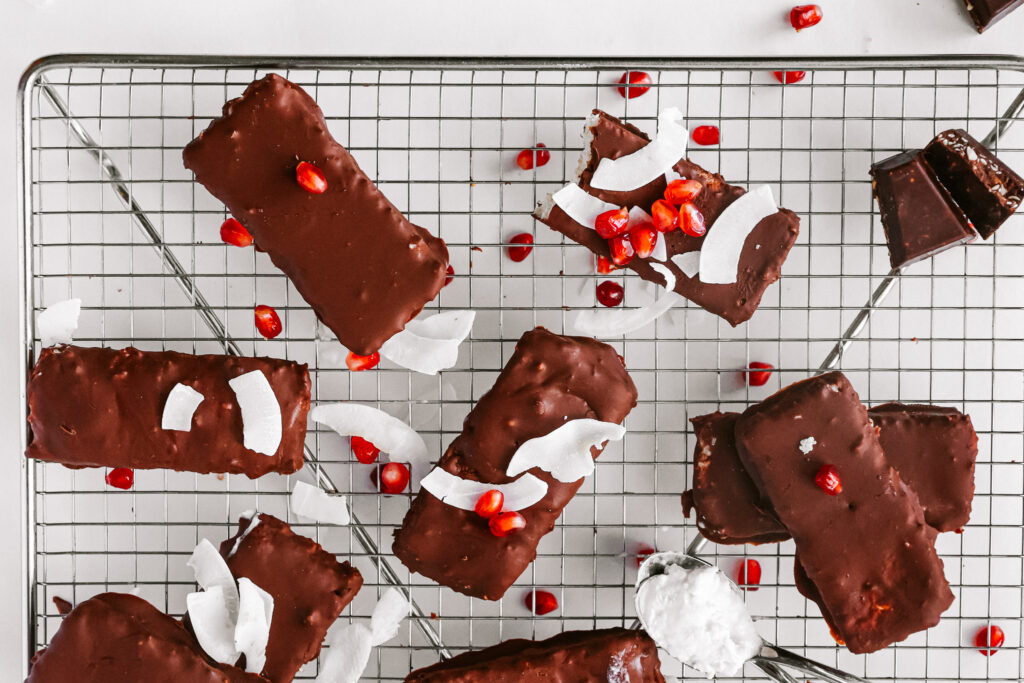
The next morning, or a few hours later, we melt the chocolate. Please do not add coconut oil to thin it out, because then the chocolate won’t cover the bars as good. The pressed and chilled mass now is taken out of the fridge and cut into bar-sized pieces. These now are dipped in the chocolate and chilled in the fridge again! That’s it!
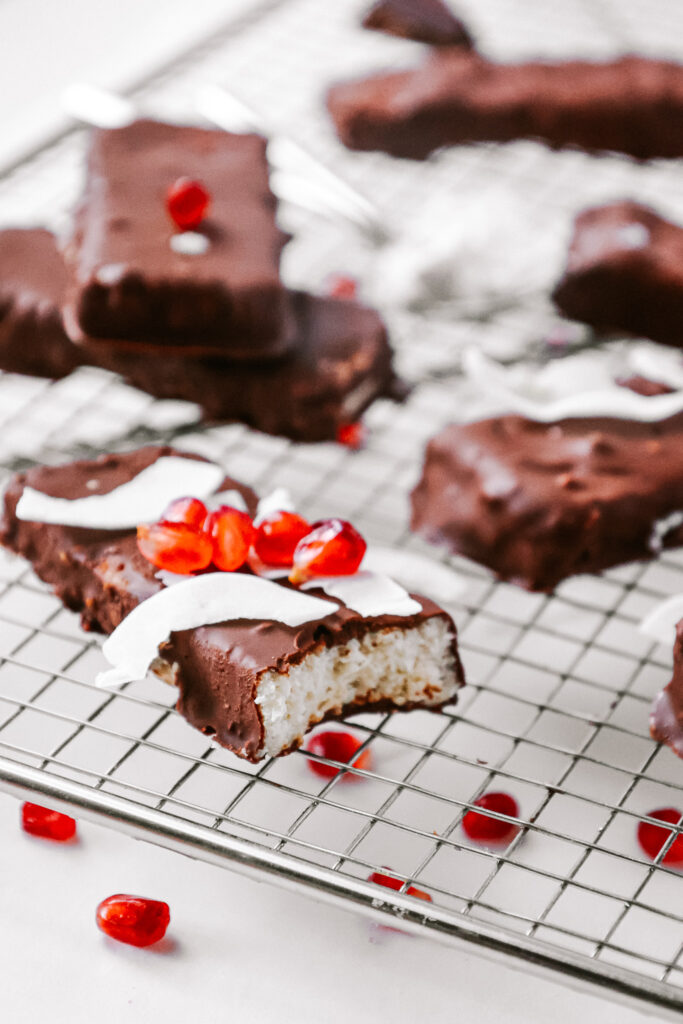
The best snack
This is not only a perfect snack but also a great dessert. The best thing is, you can just take them out if the fridge and that’s it! That also is the reason they are gone so quickly 🙁
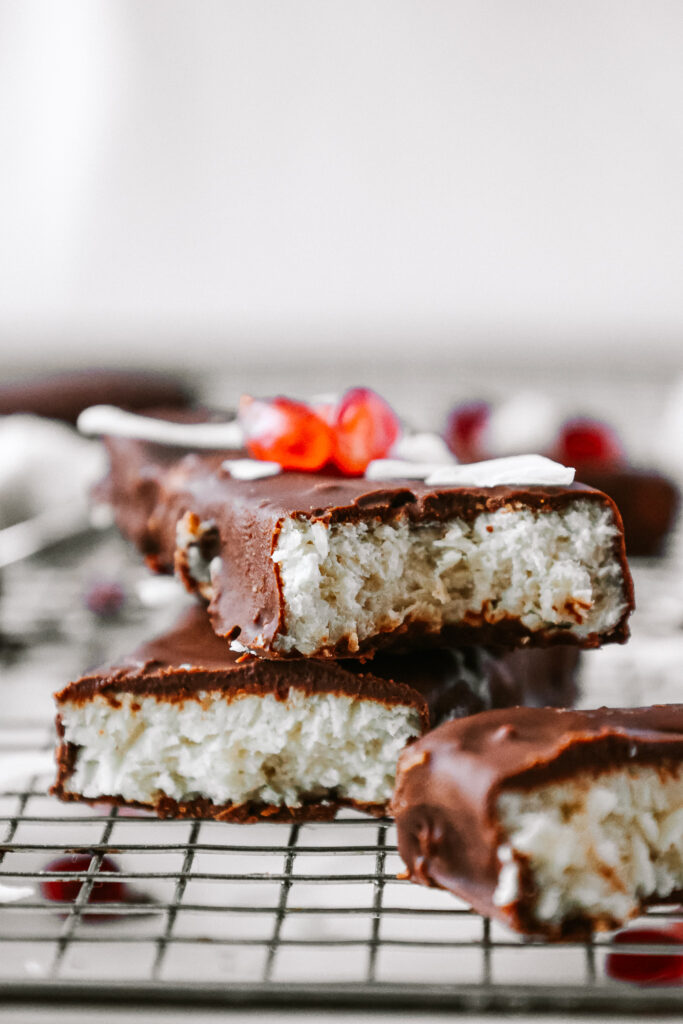
We LOVE these, even say they are better than Kokosbusserl, and that really means something!
Healthier & easy, homemade, Vegan Bounty Bars
At least as good as the original and much healthier. Plus, they are soso easy to make. A bit fluffy and coconuty batter on the inside and crispy chocolate on the outside. Everythnig we want for a snack.
What you will need
- 150 g shredded coconut
- 100 g coconut milk (the firm part only)
- 3-4 tbsp maple syrup
- 200 g chocolate
How to
-
From the can of coconut milk, only use the thick part!!! Do not use the watery part. Add this firmer and thicker part to a blender along with the coconut shredds and the maple syrup until it makes a thick and sticky paste or dough.
-
Into a baking tin or casserole dish or onto a baking tray lay a parchment paper and add the coconut filling on top. Press it down and flat, so it is about 1-1,5cm thick. Cool in the fridge for at least one hour or overnight.
-
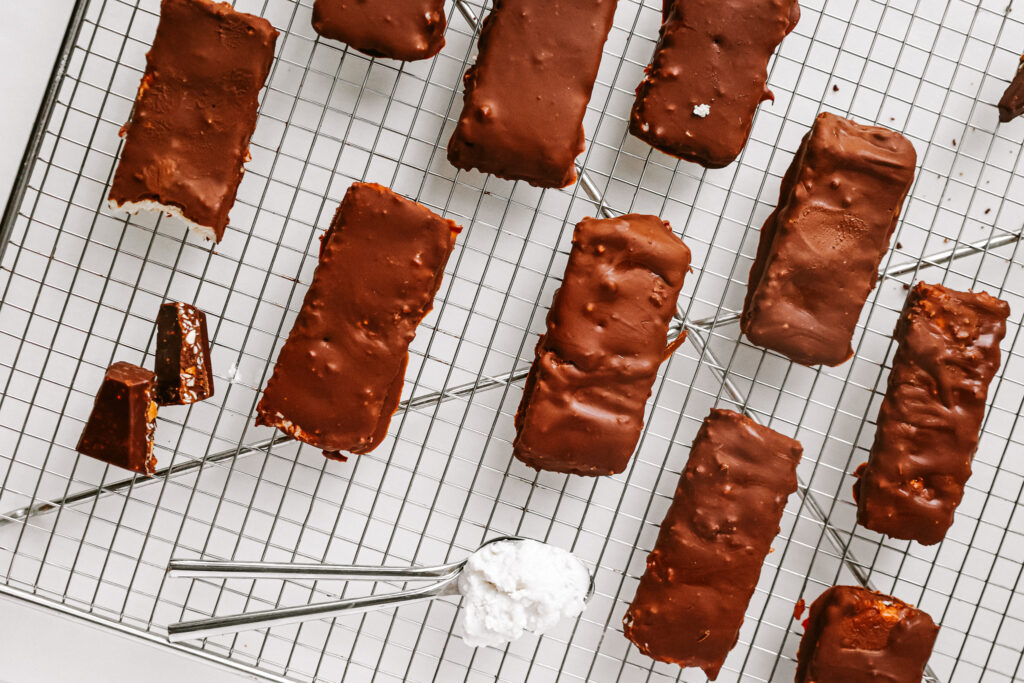
When ready, melt the chocolate and let cool a bit. Cut the bonuty bars into 10 about 3cm wide and 8cm long bars. Dip each bar into the motlen chocolate and lay onto the parchment paper again.
-
Cool in the fridge for another 2 hours at least. Enjoy!
I hope you enjoy them as much as we do and have a fun time making them!
Happy cooking & enjoy,
Love,
Katie // Une Petite Cuisinière


