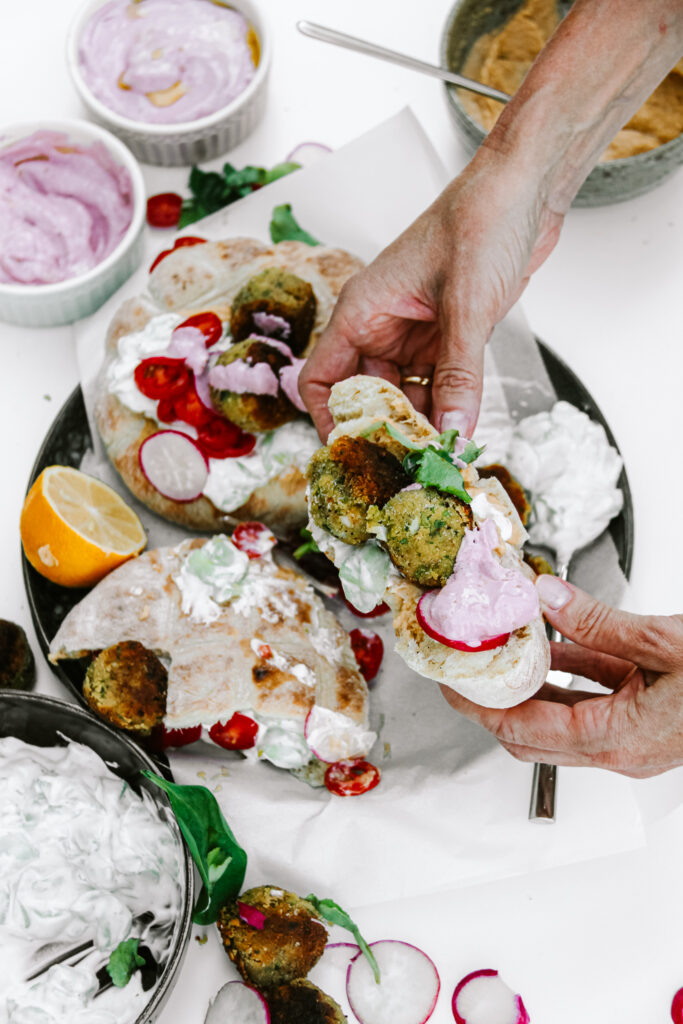
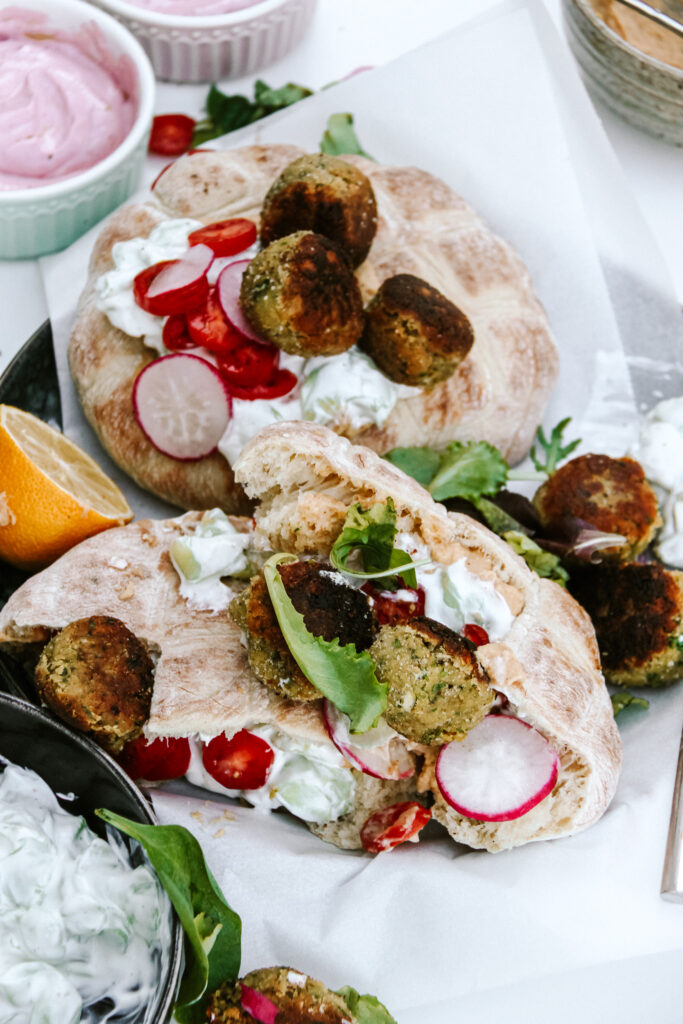
That bite into a warm and soft pita filled with a giant dollop of hummus, that coleslaw, the crispy deep fried falafel and that yummy yoghurt-mayonnaise sauce on top. Sounds heavenly doesn’t it? As good as it sounds, it is really everything else than healthy. But we do not want to miss out on that deliciousness. So why not making it healthy?
What is special about this dish?
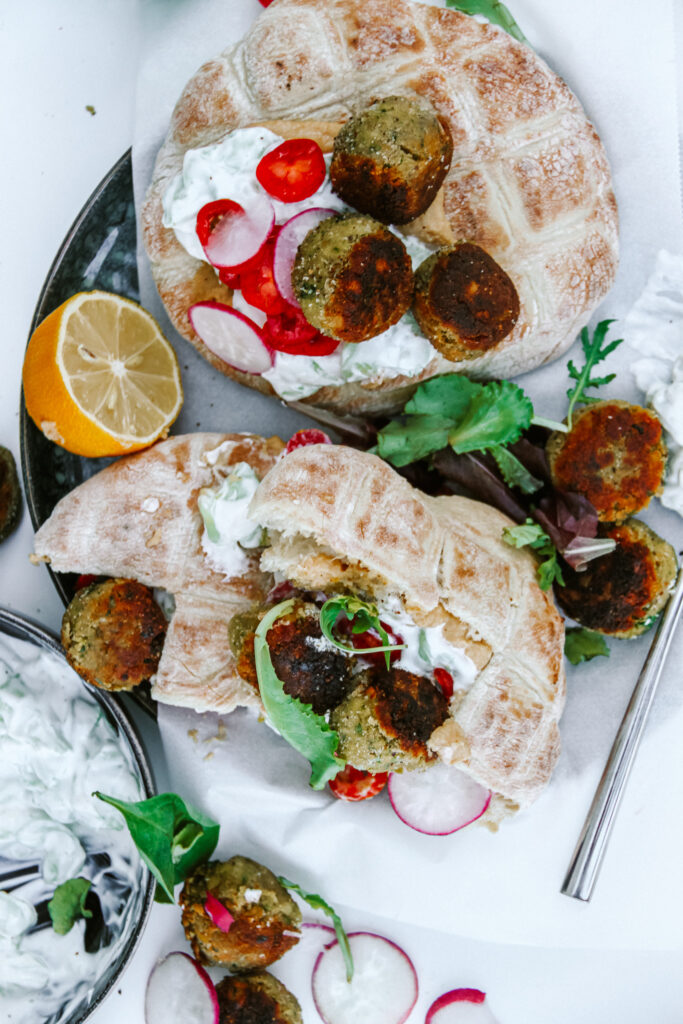
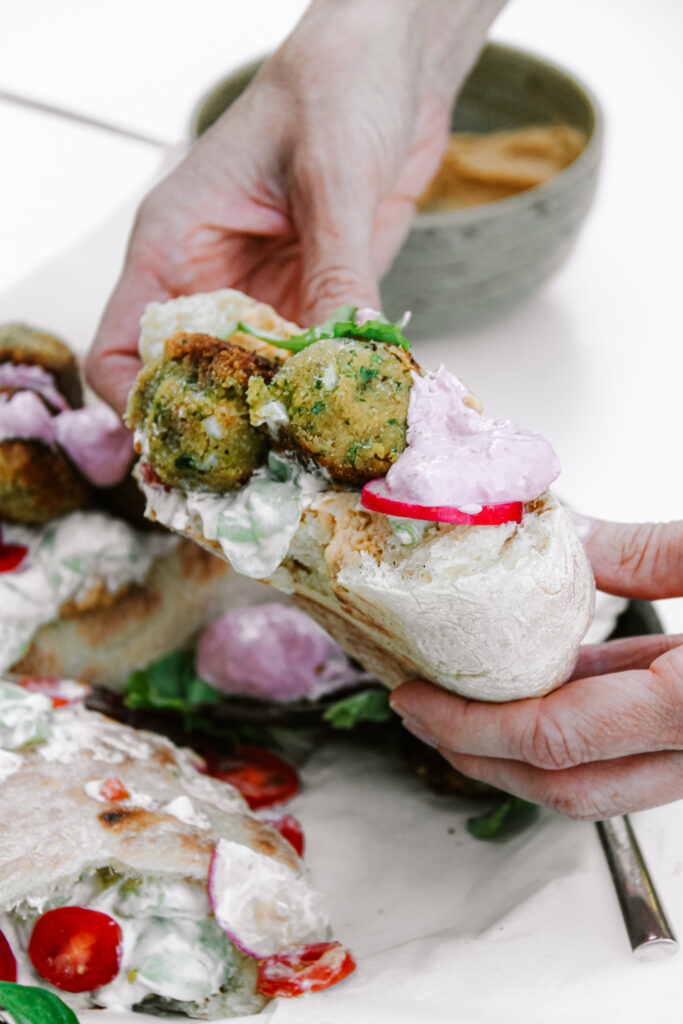
A lot to be fair. We have falafel, that are not deep fried, as traditional falafel would be but pan fried. Then we have a pink tahini and greek yoghurt sauce (which I have never seen at any of those falafel stands before) instead of the mayonnaise yoghurt dressing and we have a homemade tzatziki and self-made hummus for that extra flavour .
First, what is falafel and where does it come from?
Falafel is a ball made out of chickpeas or cassava beens combined with different spices and herbs before it is deep fried. Usually it is served in a pita bread or to go with hummus or other mezze appetisers. It is believed to have originated in Egypt and can be found in the Middle Eastern cuisine today.
Why are falafel not very healthy?
While many people would believe that falafel are healthy because they are made out of chickpeas and are vegan, that is not quite the case. That is true, that the base of the falafel is healthy, so the „dough“ is healthy. But what is not nutritious about them then? The fact that they are deep fried. All of the oil adds a lot of fat and calories. It is more than fine to have fried food once in a while but it is not something that is healthy, one needs to be aware of that.
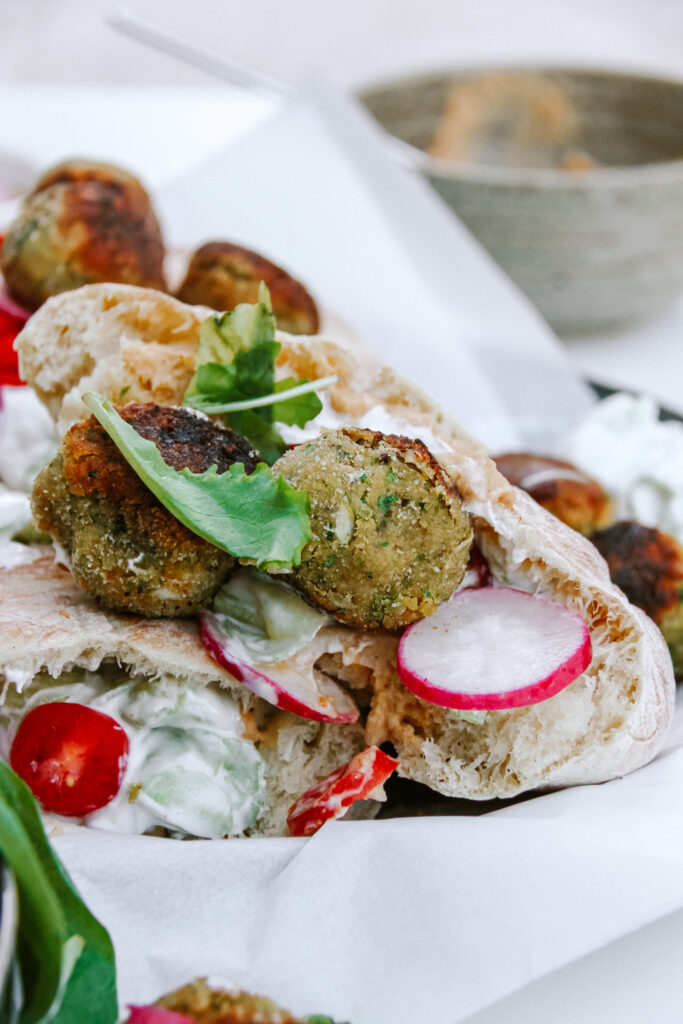
Authentic falafel are made with raw chickpeas that have been soaked. This way they are soft enough to blend but not too soft so you do not have a mushy consistency. But since we do not all have the time to soak falafel (especially when we want a quick meal), in here we use flour for the right consistency and canned falafel. This way they will not be white as crispy, but they are way quicker and still delicious!
How to make this dish healthy
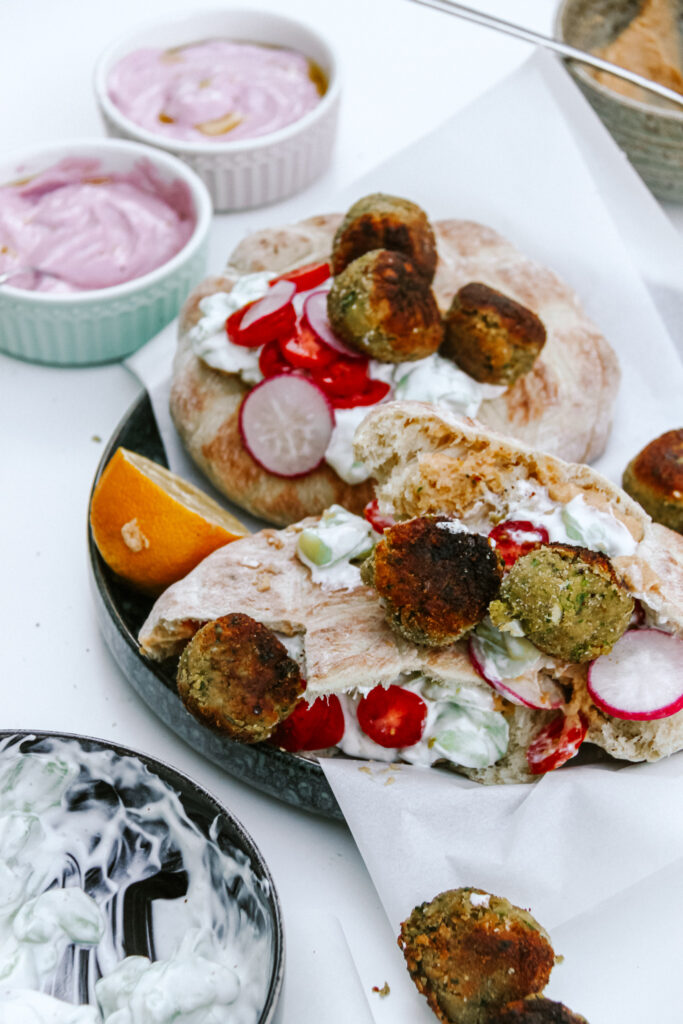
Instead of deep frying the falafel, we prepare them in a pan with just a little oil. Yes, you can also bake them in the oven but to be honest, I never find that those get really crispy when being prepared in the oven. When making them in the pan, we still get that crisp (not the exact same of course, but a really good one) while keeping things healthy.
Also, to replace the mayo dressing that often comes on top we make a beetroot-greek yoghurt – tahini dressing. While homemade mayonnaise, in moderation is not unhealthy, store bought ones often have a lot of additives and preservatives in them and making your own one is a little tricky. The sauce we are making is high in protein, from the greek yoghurt, tastes delicious with the beets (and also has a nice colour), and has a good amount of healthy (or unsaturated fats) from the Tahin.
To make this entire dish even healthier you can substitute the normal pita with whole grain pita. This just is pretty difficult to find, which is the reason I stick with normal pita.
How do you make healthy falafel
This is super easy, to be honest. You need to drain canned chickpeas and add them to a food processor along with a bunch of parsley, onion, garlic, spices, and (wholewheat) flour. Then you just pulse everything together until you have reached a sticky, doughy consistency. (if you do not have a food processor or blender you can also add everything to a bowl, very finely chopped and mix it with a fork or your hands). Then you form little balls with your hand, one at a time and roll them in breadcrumbs.
In a hot pan with oil, you add the falafel and let them fry until crisp for about 3 minutes on each side. That is it!
Meal prep friendly?
I would say so. Pack everything separately and mix together before eating. The falafel will not be quite as crisp anymore but they’ll be just fine when you heat them up in the oven.
I hope that you will enjoy this recipe and please your family and friends with it!

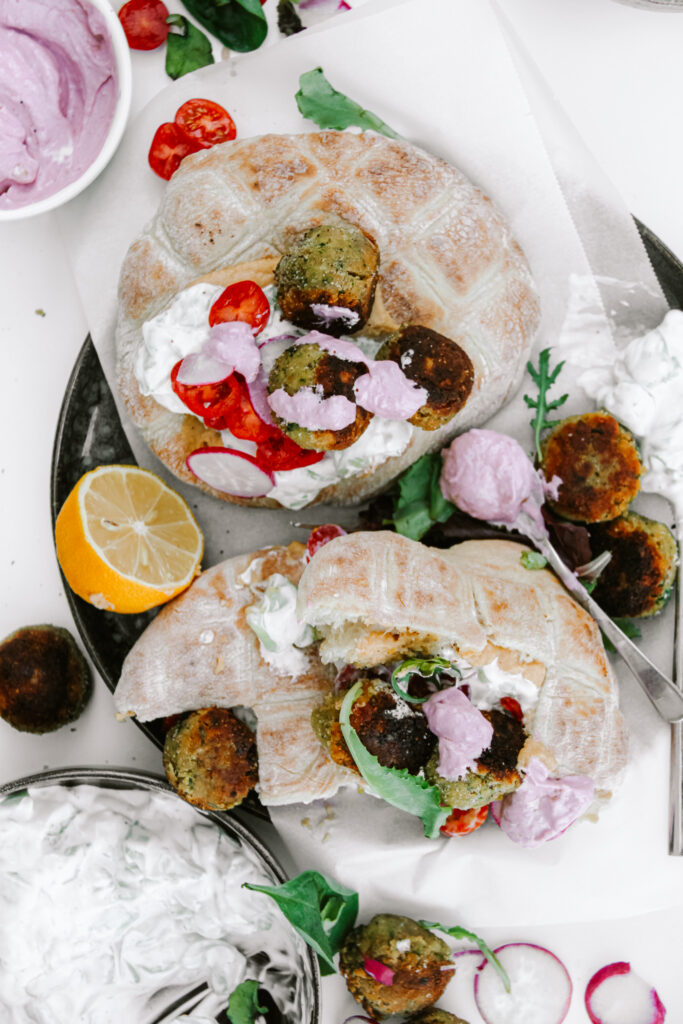
The best falafel-style pita with dreamy pink goddess sauce
A healthy version of the dreamy Middle Eastern classic. A little crispy on the outside, super soft soft on the inside falafel with a creamy delicious Tahini-Beetroot Sauce, Tzatziki and Hummus. Not difficult, but really healthy.
What you will need
For the falafel:
- 1 can chickpeas
- 2-3 tbsp flour (whole grain is prefered)
- 1/2 red onion
- 1 bunch parsley
- 3 cloves garlic
- 1 tsp salt
- 1/2 tsp cayenne pepper
- 1/2 tsp cracked black pepper
- 1/2 tsp cumin
- breadcrumbs
- 2 tbsp olive oil
For the beet sauce
- 1 small beetroot (precooked)
- 100 g greek yoghurt
- 1 tbsp Tahin
- 1/2 lemon juiced
- 1 clove garlic
- 2 tsp honey
For the rest:
- 1 cucumber
- 200 g greek yoghurt
- 1 clove garlic
- 2 pita breads
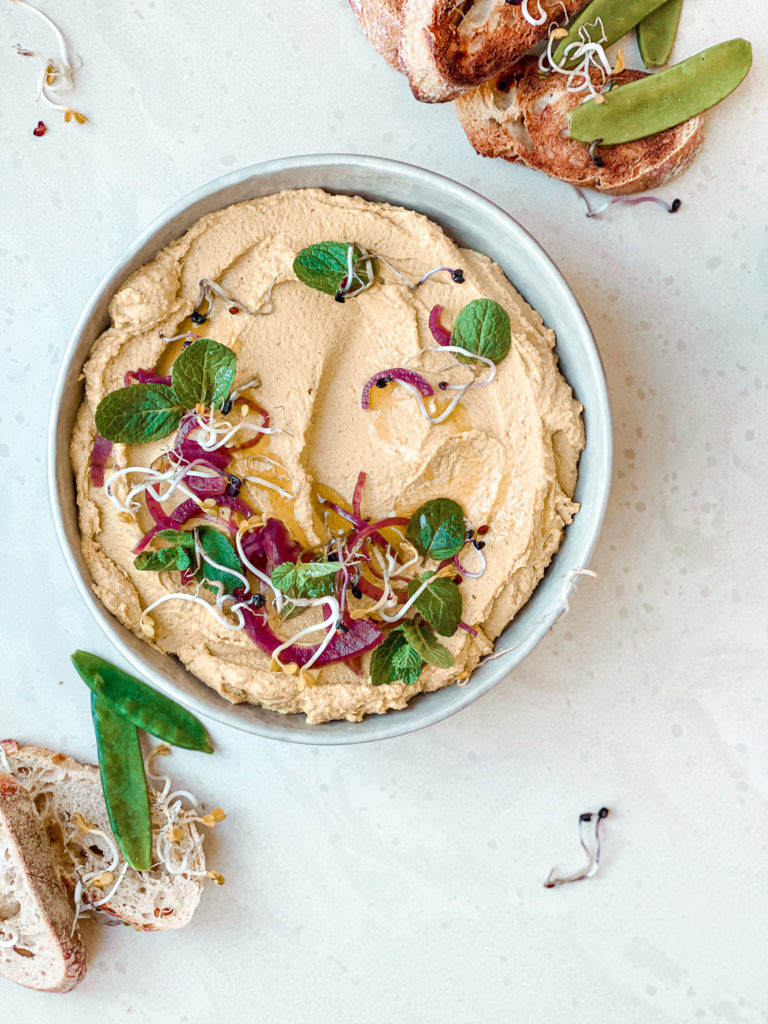
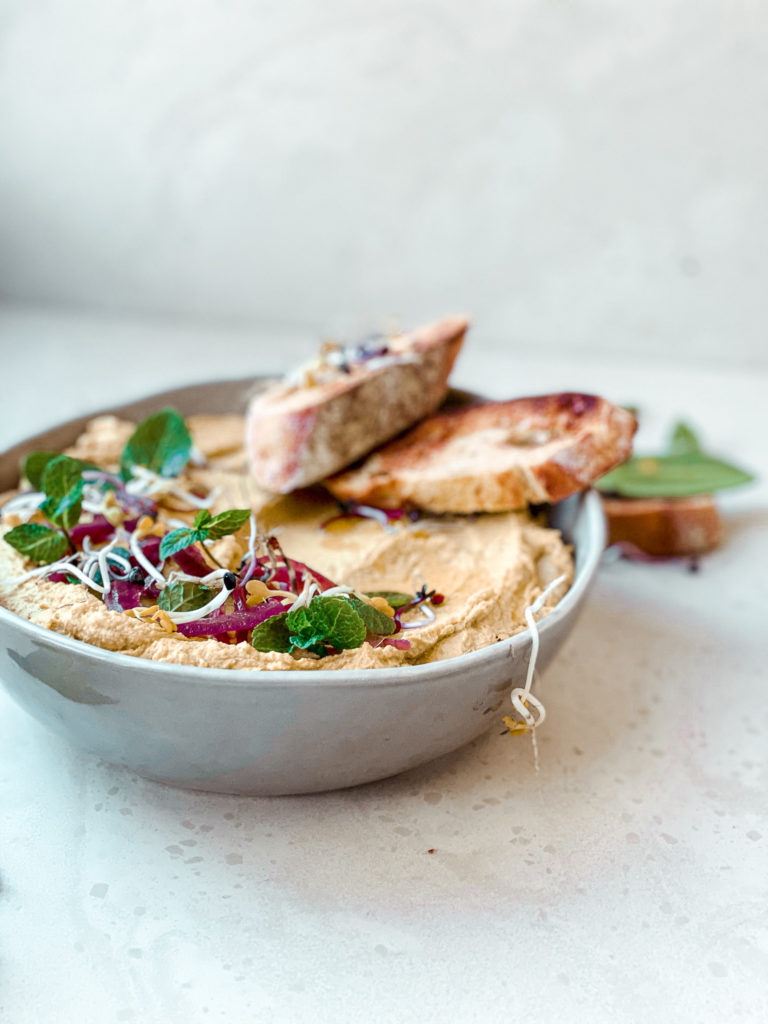
- some hummus
- fresh radishes & tomatoes
- 2 handful salad
How to
-
For the falafel combine all the ingredients, except the breadcrumbs, flour and olive oil in a food processor and pulse until combined (do not blend until smooth!!!). Then add the flour a tablespoon at a time and pulse it in (not blending fully, again!) until the dough is not sticky anymore. Chill in the frisge for half an hour.
-
In the meanwhile peel the cucumber. Then cut into very thin slices (preferably with a mandoline). Add it into a bowl and salt generously. Let sit for 20 minutes.
-
In the meantime slice up the raidshes and tomatoes and wash the salad.
-
For the beetroot sauce add all of the ingredients to a food processor and blend until smooth. If the sauce is too thick add some water or olive oil!
-
After chilling take about 1 tablespoon at a time of the falafel dough and roll out in your hands into a small ball. Toss in the breadcrumbs until they cover the ball fully. Repeat with the rest of the dough. Heat up the oil in a pan and add the falafel. Let fry on this side for about 2-3 minutes on medium high heat before tossing. Do not toss around in the pan immediately since the dough still is a little bit soft. After those 2-3 minutes, start tossing them around in a pan softly and fry for another 5-6 minutes until they are golden brown on each side and crispy.
-
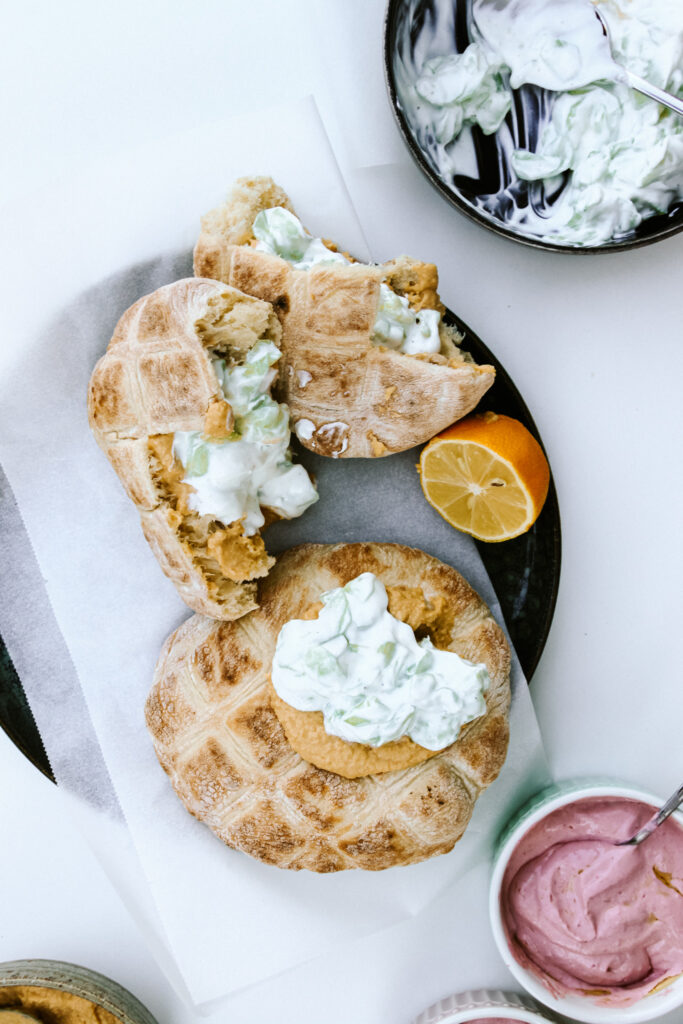
Prepare the Tzatziki. Take a clean kitchen towl and place the salted and sliced cucumber in it. Squeeze out all of the remaining water of the cucumber and put it back into the bowl. Press the garlic and add it along with the greek yoghurt. Combine everything well and season with more salt if desired.
-
To serve fill the pita with hummus, the veggies and the tzatziki. Add the falafel on top and drizzle with the sauce. Serve and enjoy !
Happy cooking,
Enjoy,
Katie // Une Petite Cusinière