Adding this Apple Sauce to your food will literally make them taste like Christmas! No joke! It is sooo good, sweet, christmasy, healthy, and PINK! Like, what do you want more? There is nothing better! I do not know if you can remember my rhubarb compote I uploaded in summer. I added it to everything but the season has been over for a long time so I decided to come up with something for this season.
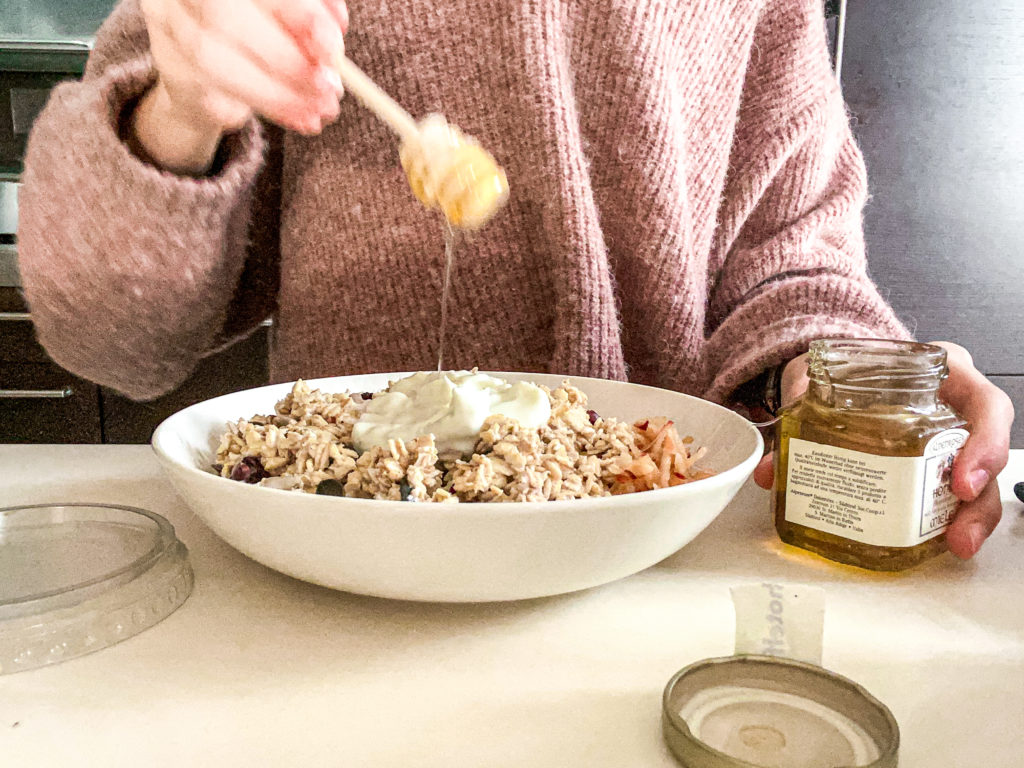
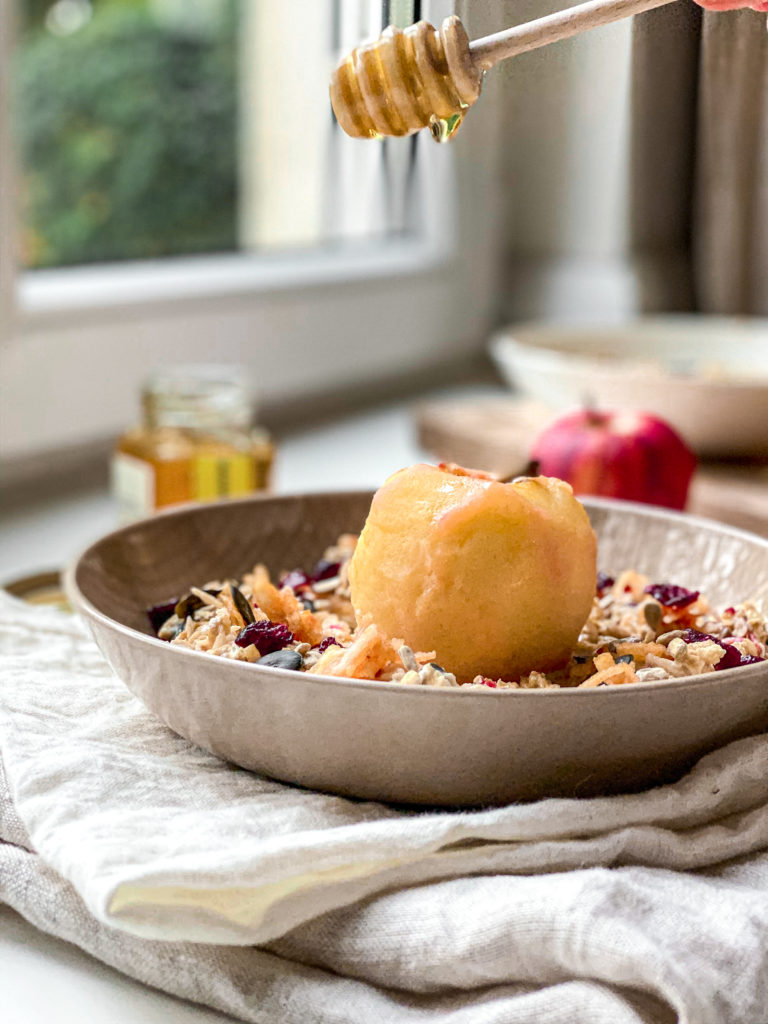
I actually made this a while ago but waited to share it with you because I thought that it was too early to upload a Christmas recipe before December. So now, here it is, on December first and you are going to be making this more than once this advent! Trust me! It is super easy and soo good! In my fridge, it never lasts longer than a week, no matter how much I make. I just top literally everything with it; yoghurt, oatmeal, ice cream, pancakes, toast, like honestly whatever I am eating.
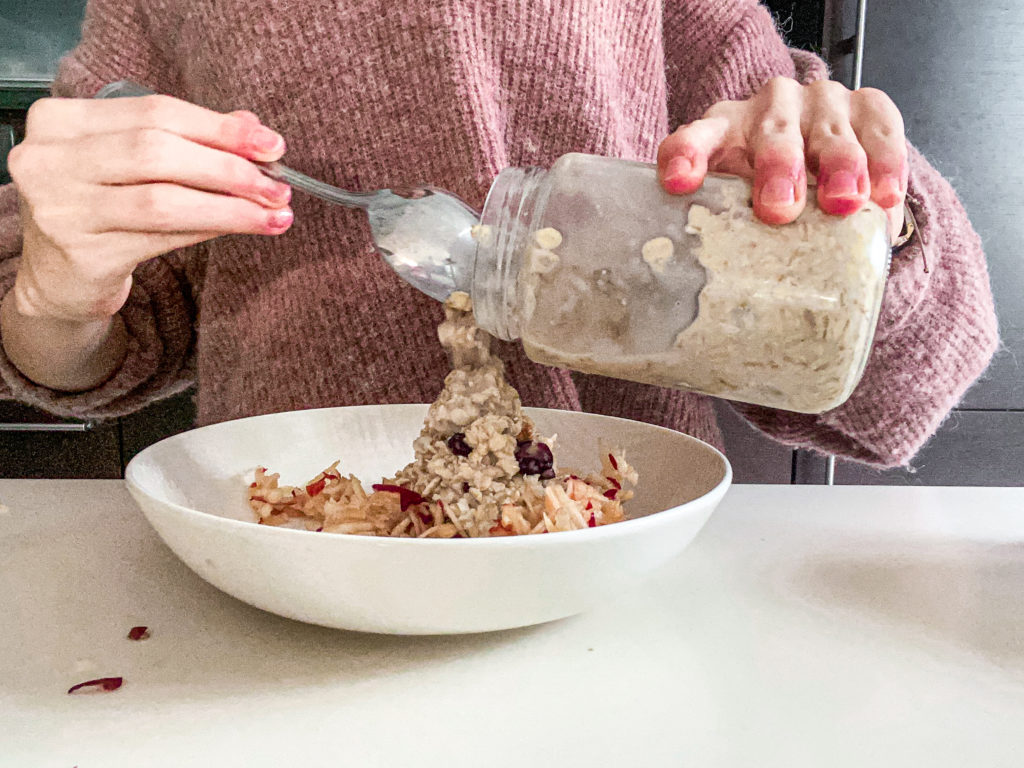
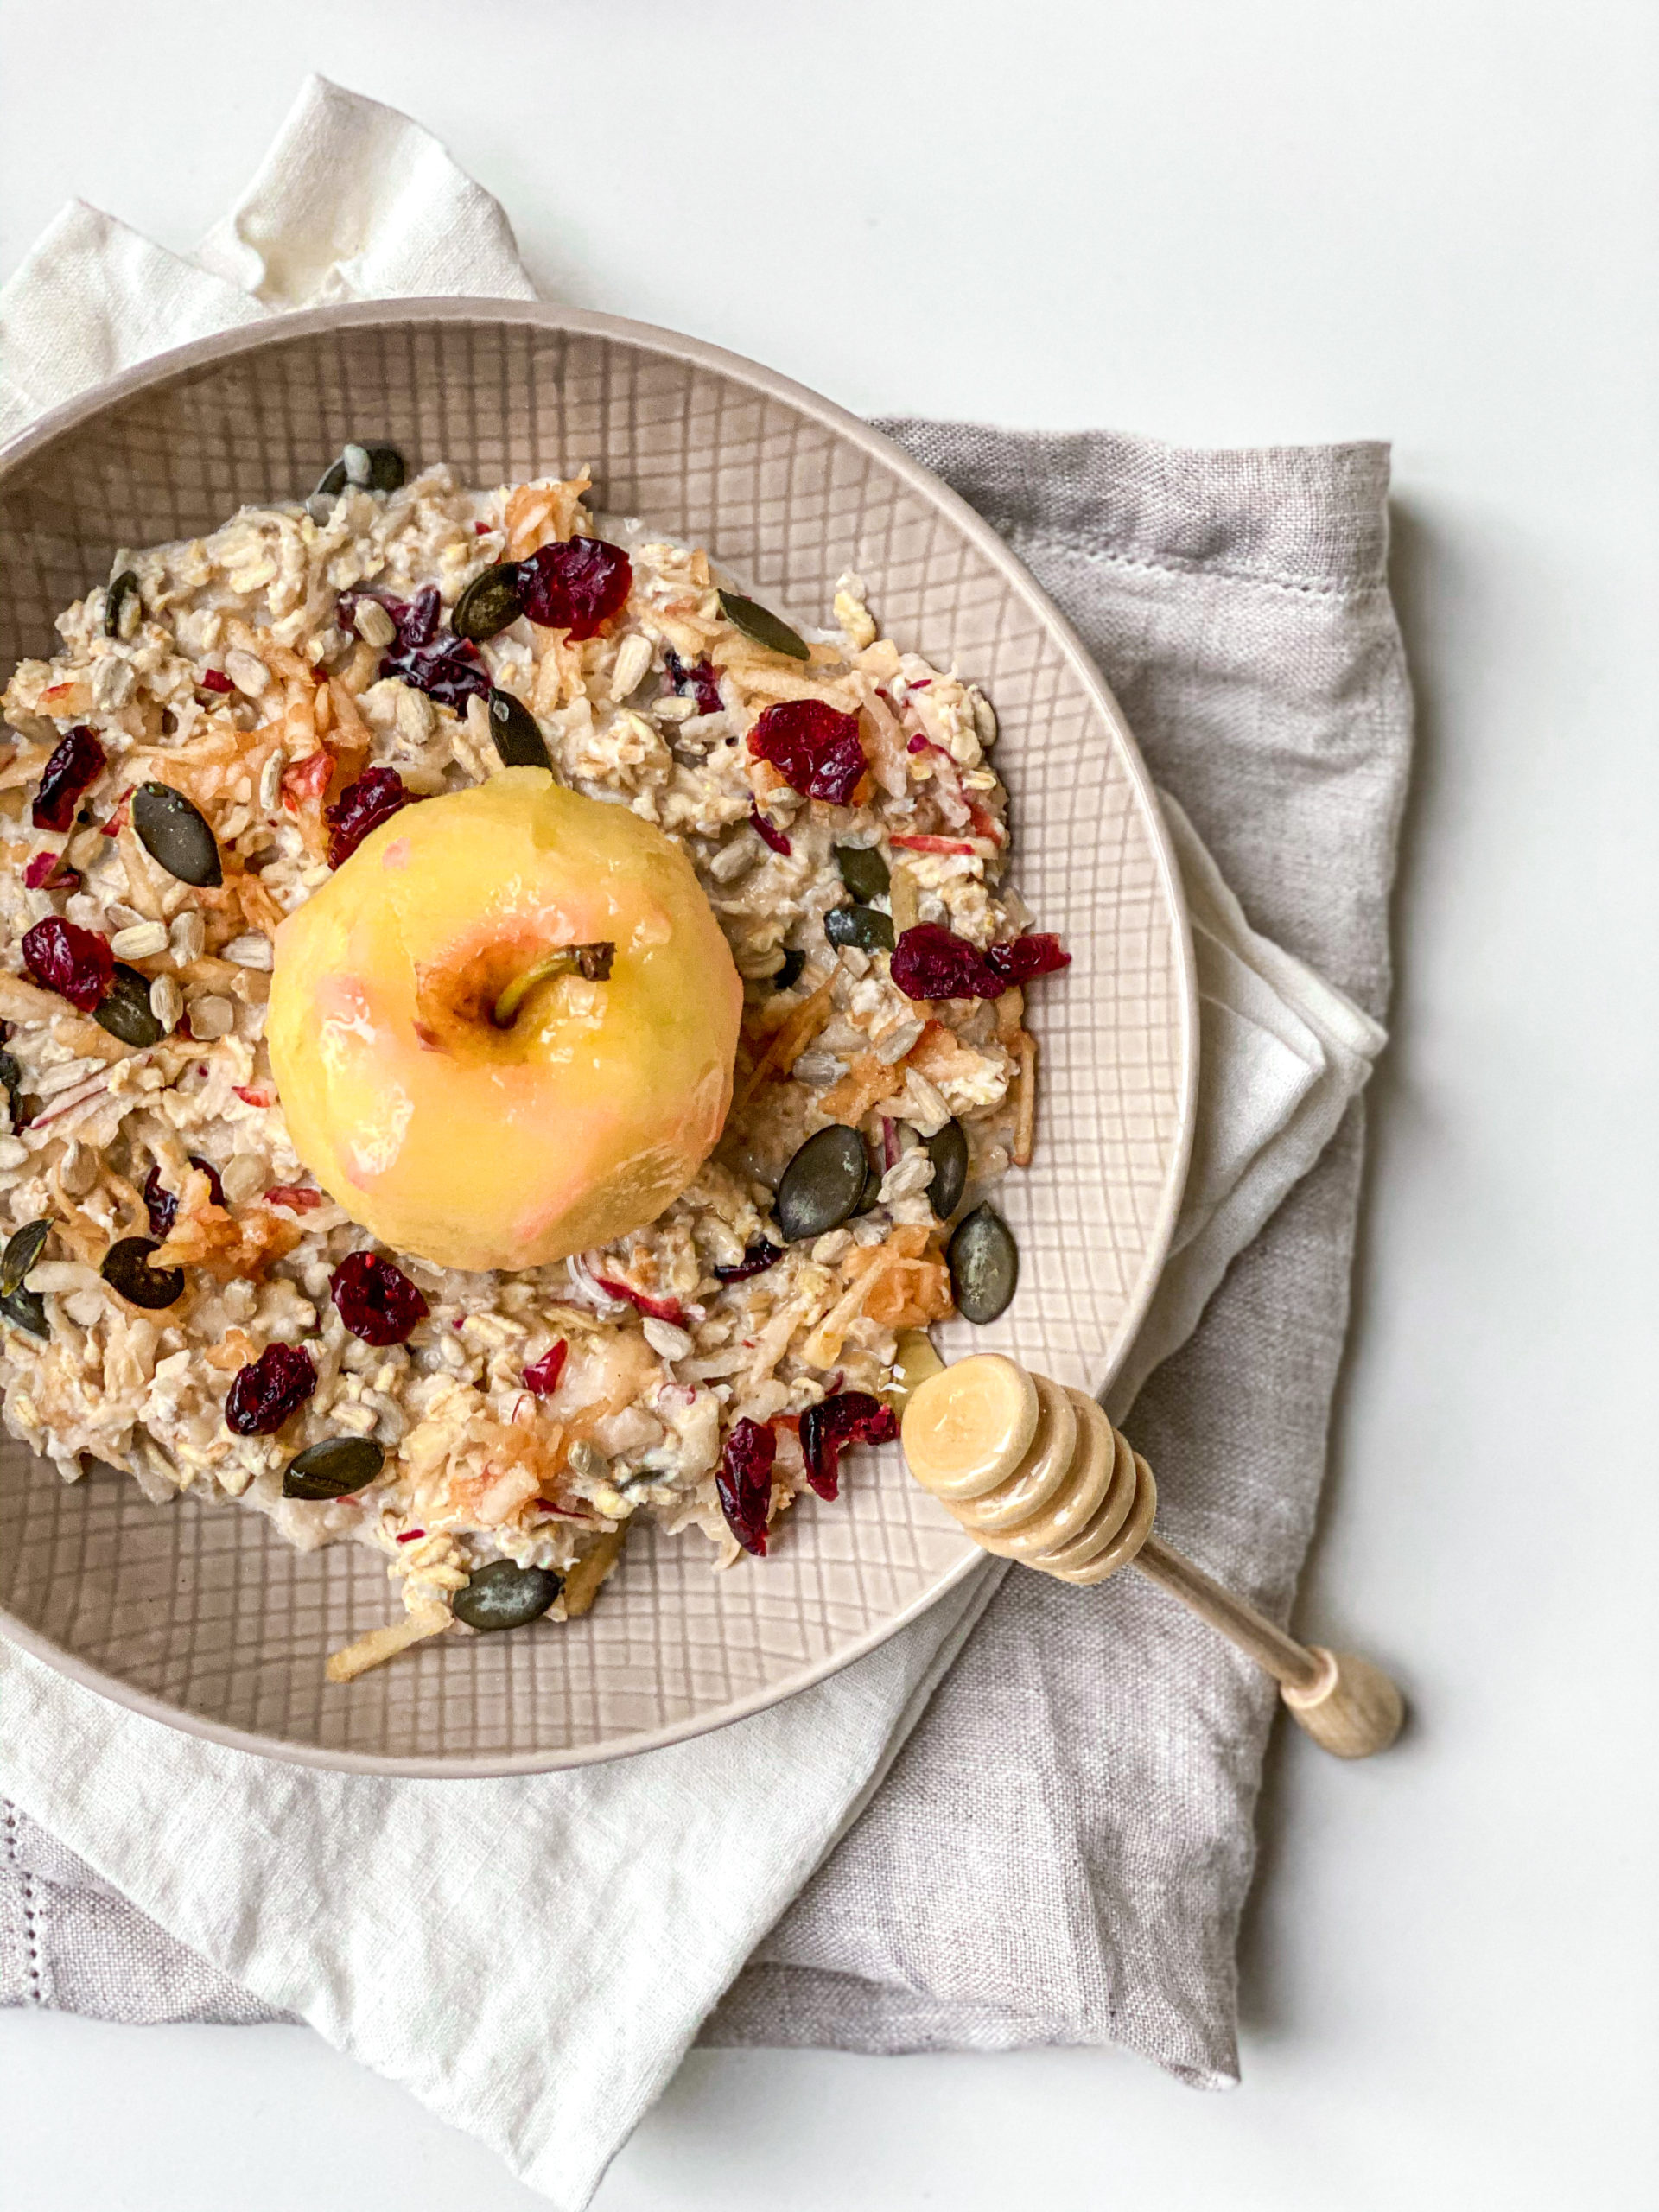
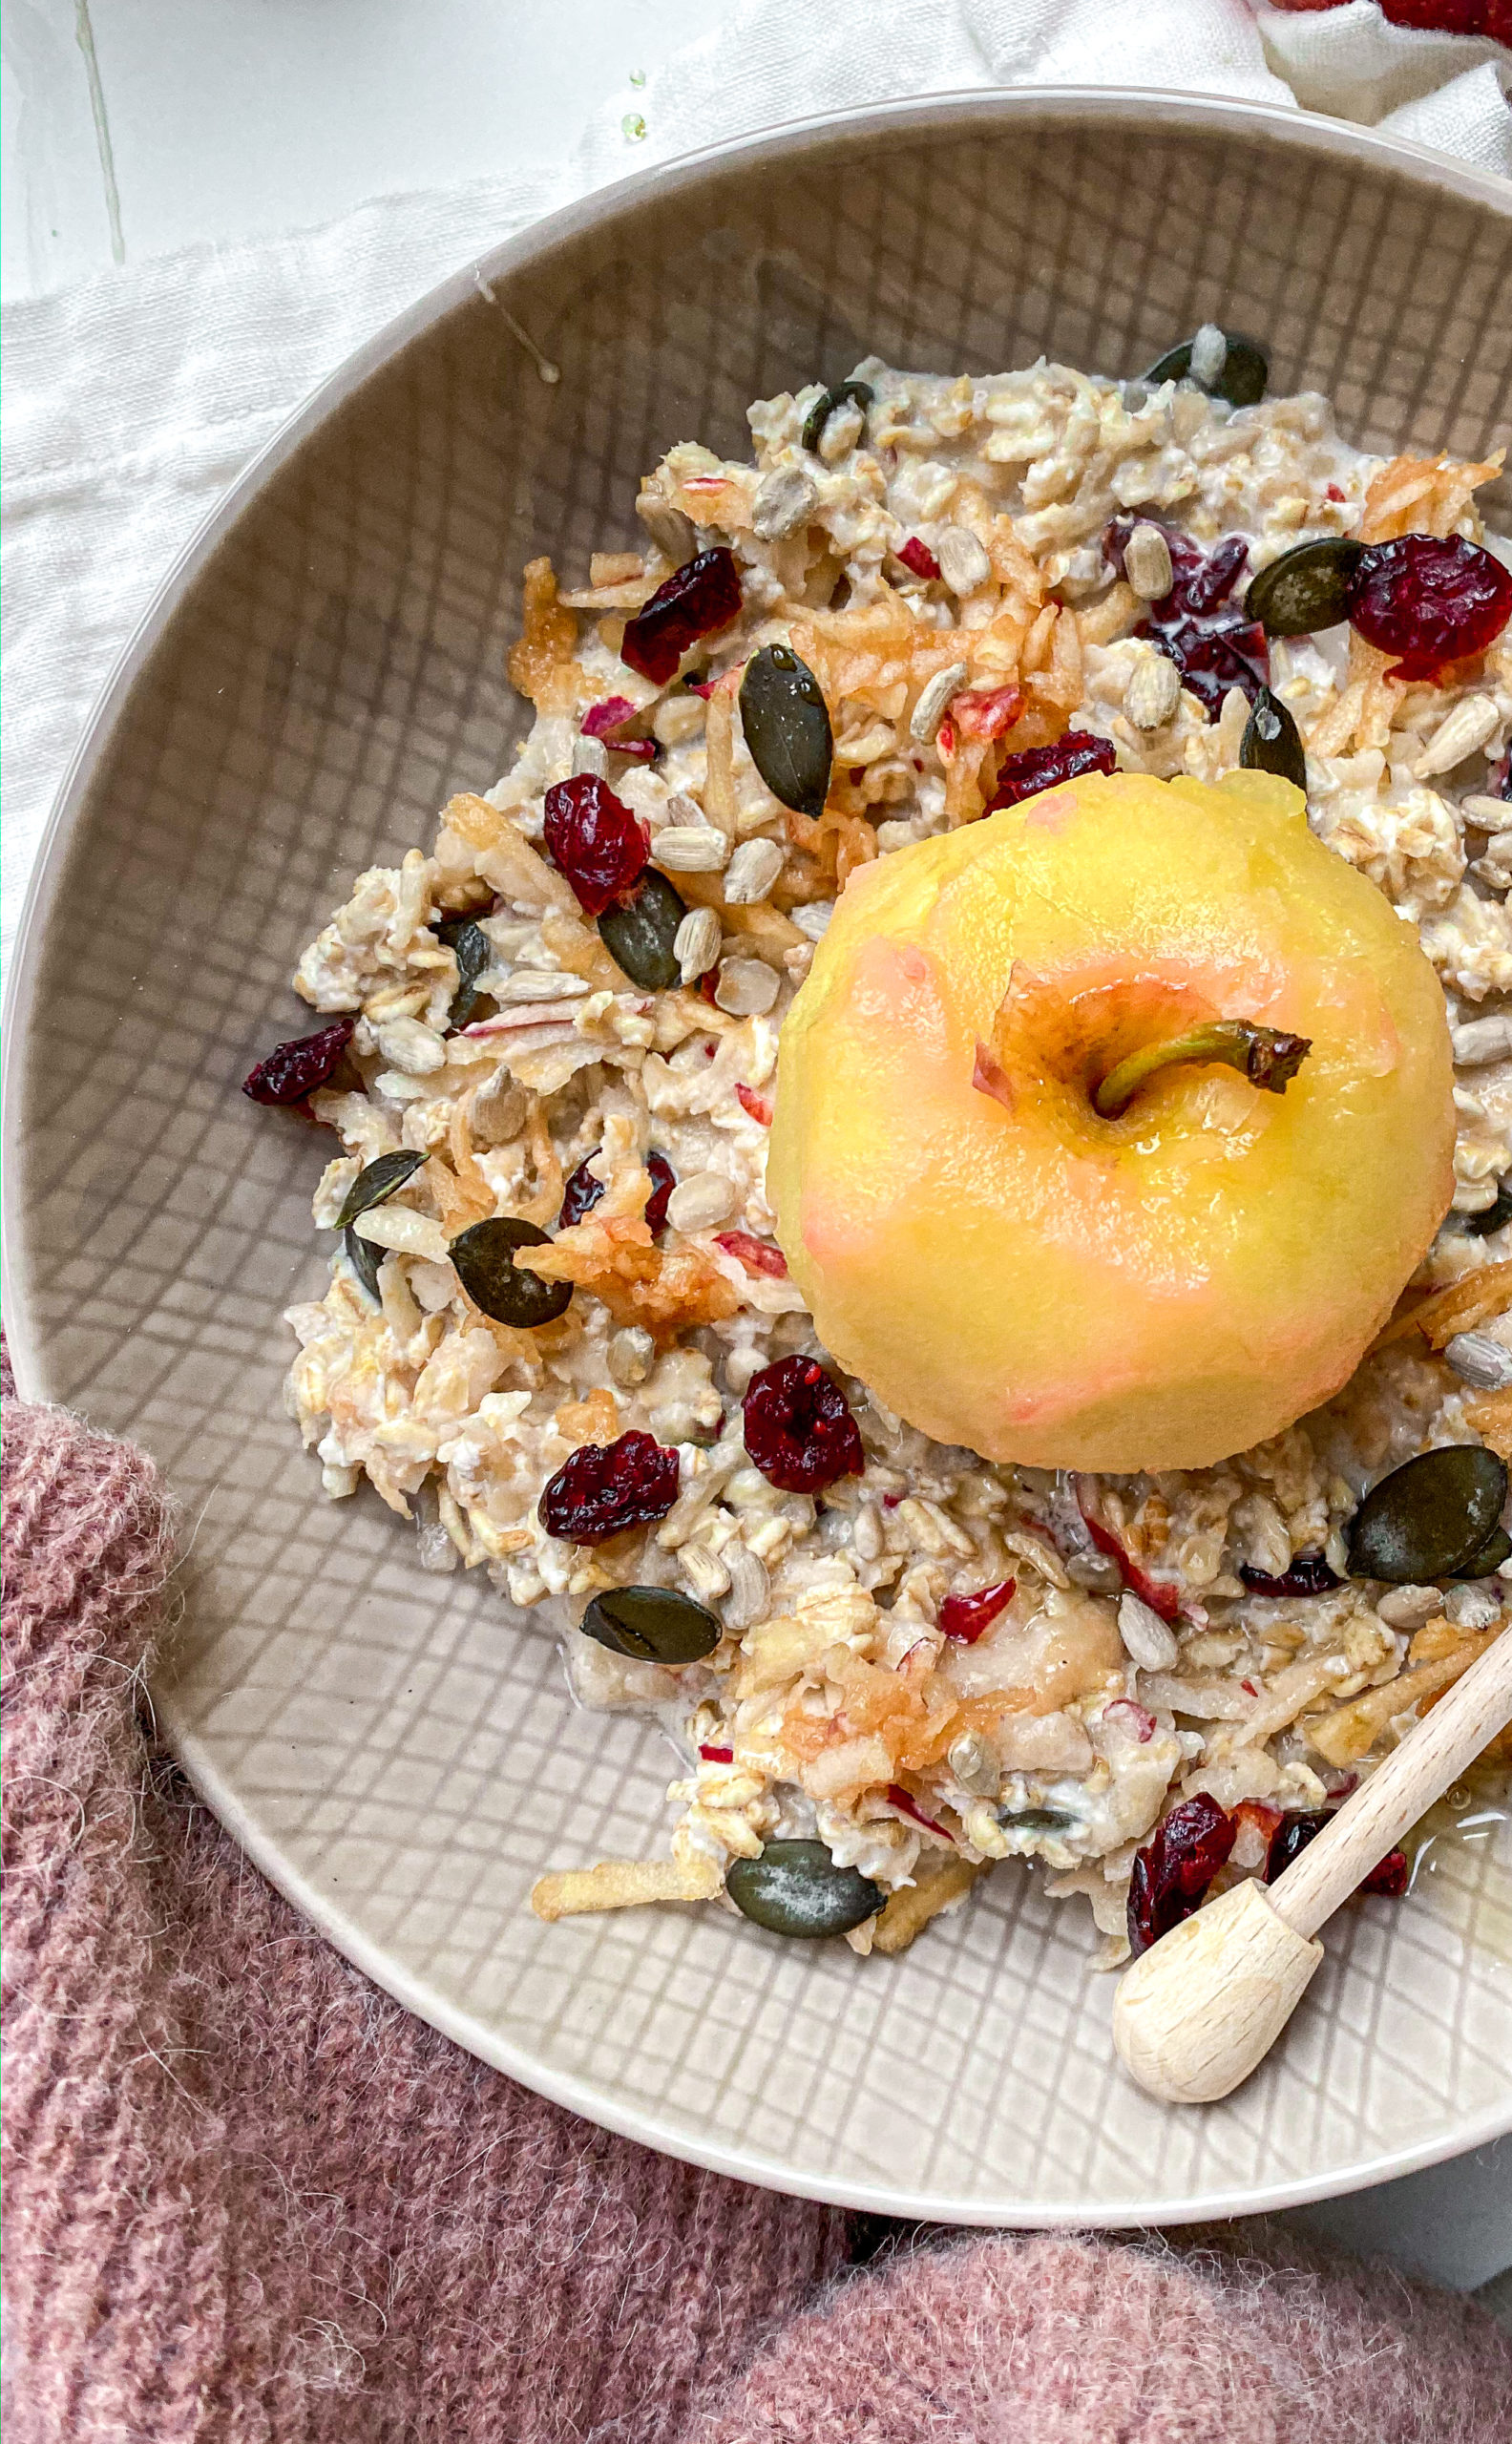
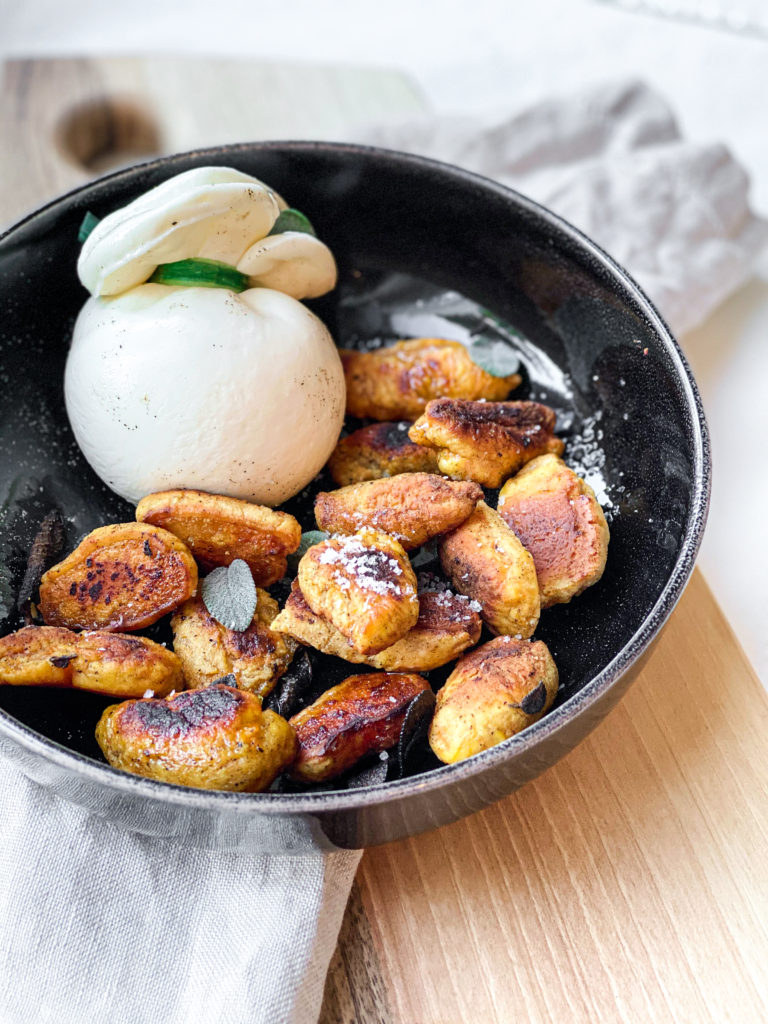
It also works great in baking Christmas treats because it just brings all the spices with it. But me ABSOLUTELY favourite combo right now is soy yoghurt + homemade apple sauce (mixed in) + homemade granola! I have this for breakfast like every day and it is just so incredibly good!
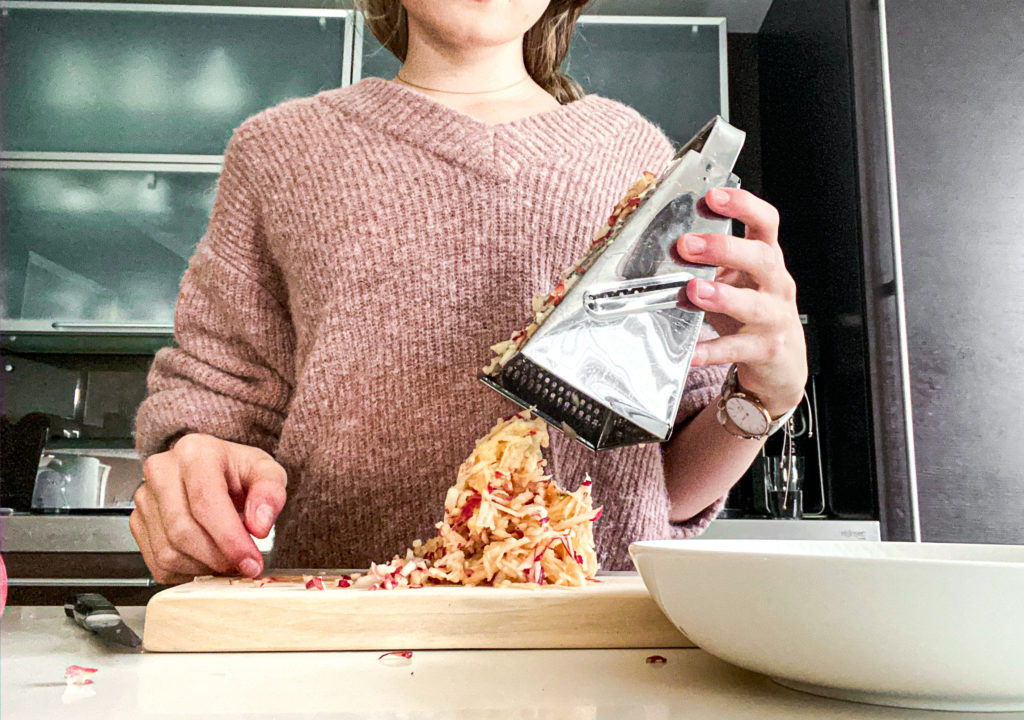
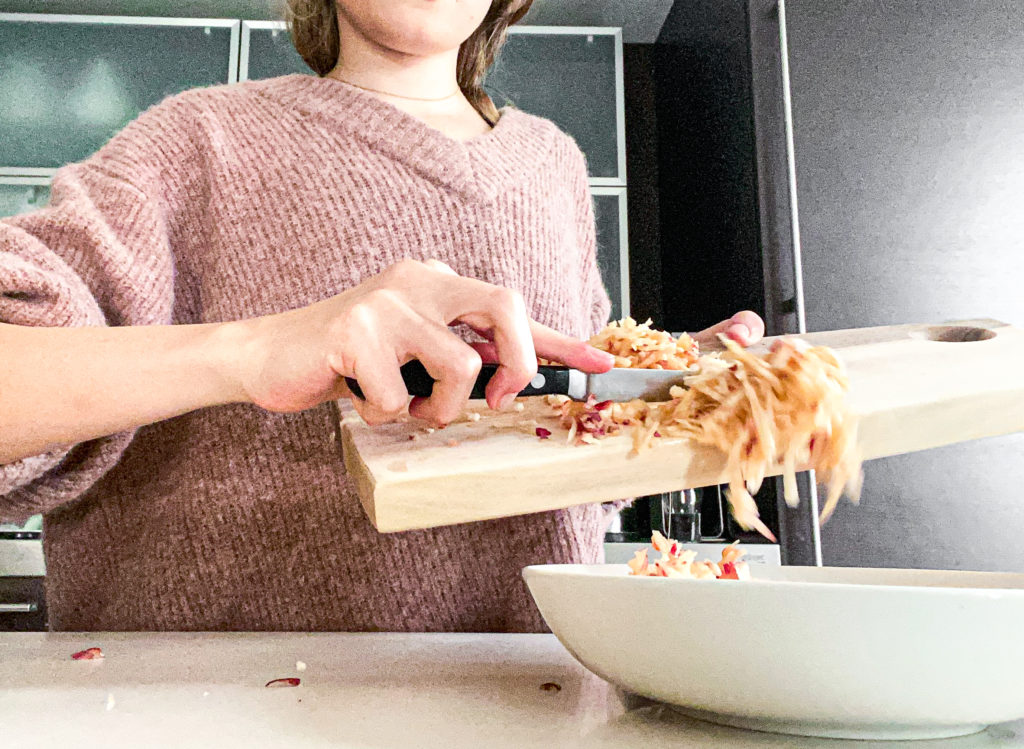
The process of making it is really simple. Just chopping up some apples, sautéing them in some coconut oil, adding a little bit of water, adding the spices into the pot, letting it simmer for 25 minutes. This is the best part I believe because the entire house smells so incredibly good! I mean who does not like the smell of Christmas?! I do not know such a person! After the 25 minutes, you take the spices out, transfer the apples into a blender and boom, Zack, it is done!!
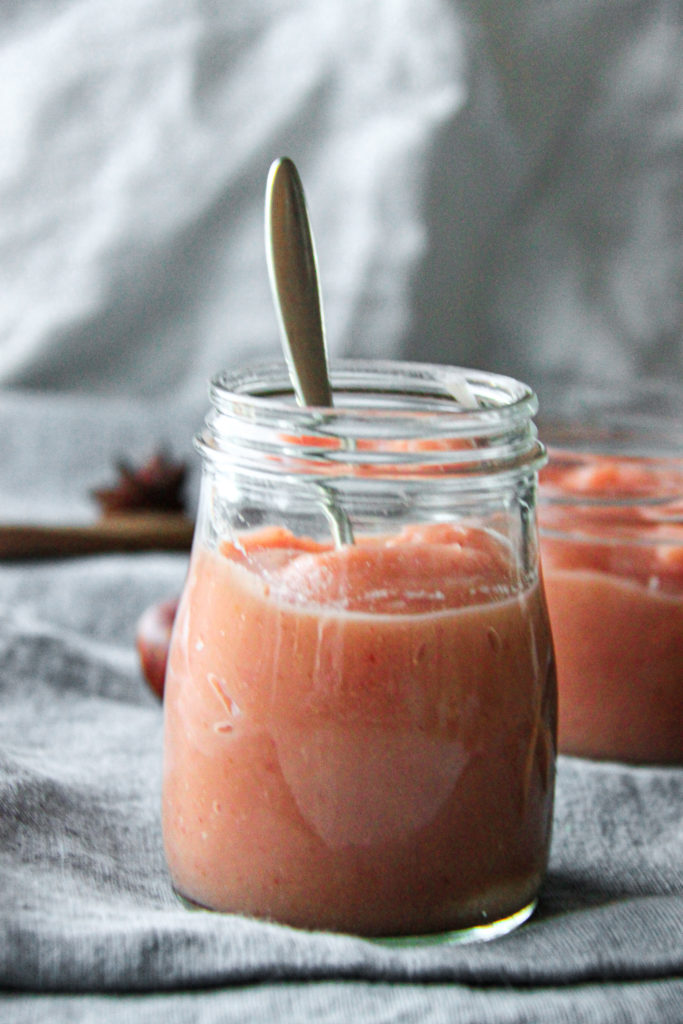
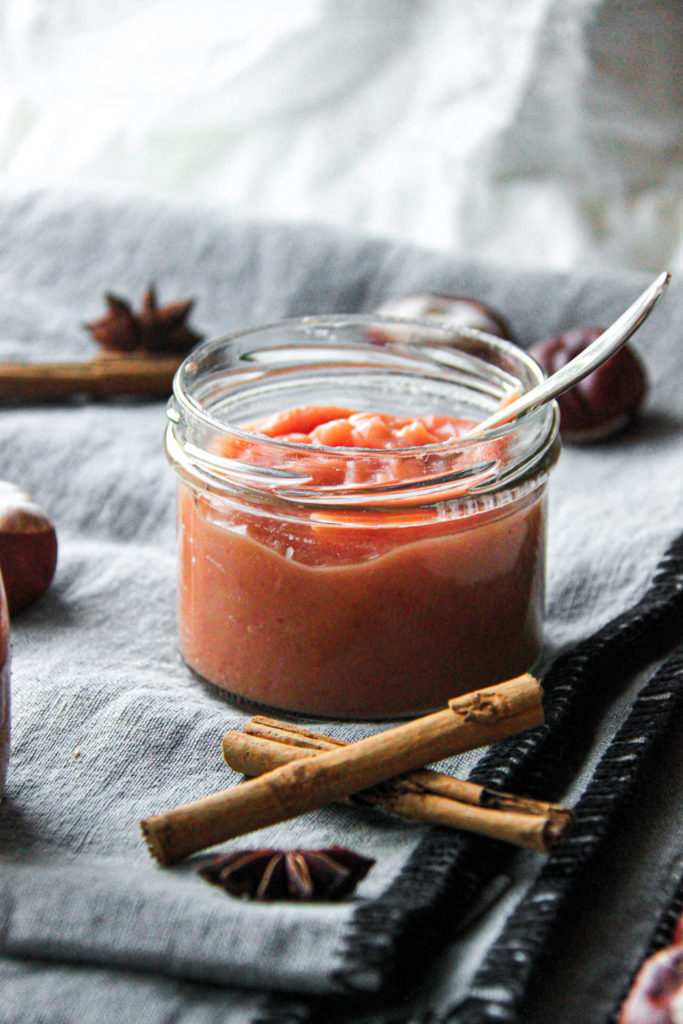
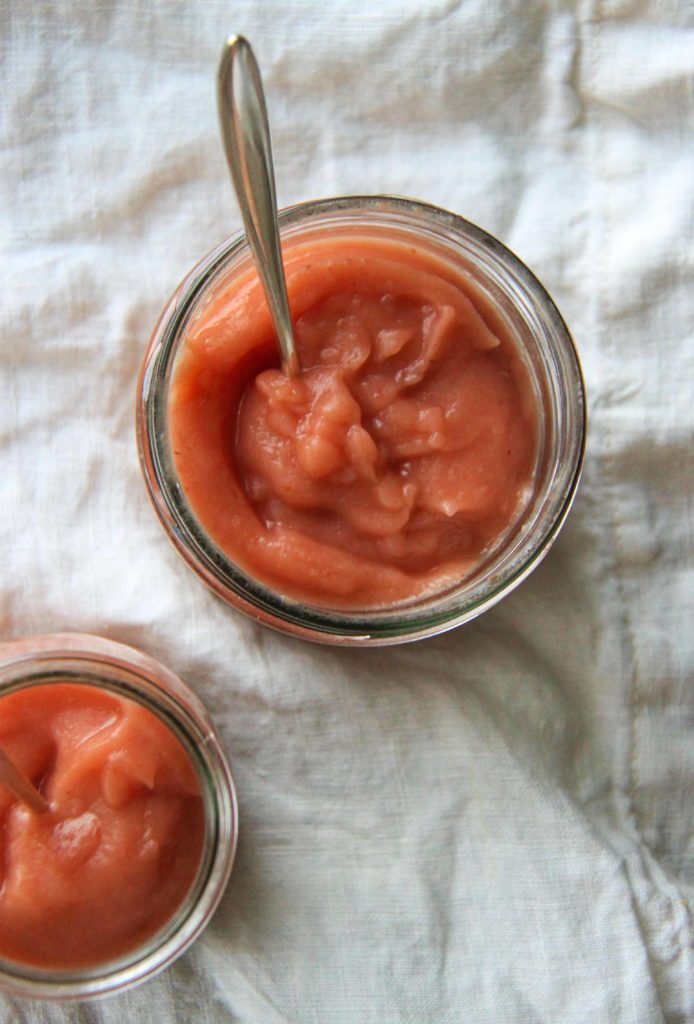
The consistency is so creamy, just goals. You could spoon it as it as and just have apple sauce as a dessert. When making this, it is really a great idea to make it in big batches, because it last pretty long in the fridge (about 3 – 4 weeks), and it makes a really great Christmas present too. Also, a host gift. You can just pour it into a pretty mason jar, wrap a tie around it and a really cute and homemade present is ready!
I honestly hope the you will like this recipe (I think you do because this is one of the best things ever!). If you recreate it, it would mean a lot to me if you would share it with @uneptcuisiniere or with #unepetitecuisiniere and leave a rating down at this post!
Wishing you all a beautiful advent!
Love, Katie

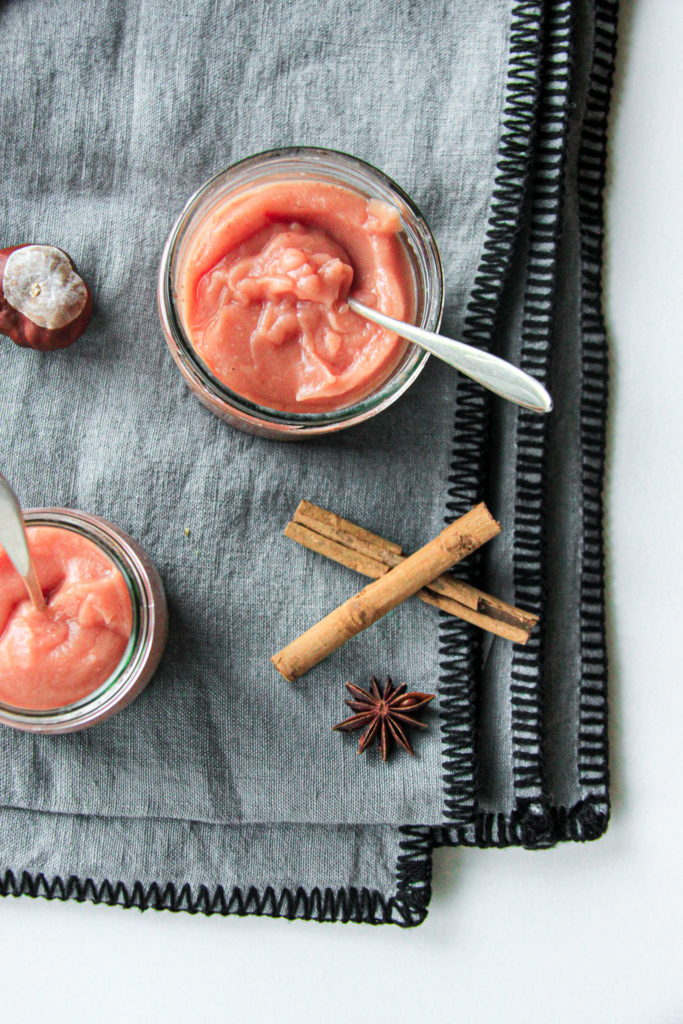
Pink Christmas Apple Sauce
Your FAVORITE apple sauce that litterally tastes like Christmas! Also, a really great christmas gift idea!
What you will need
- 6 red apples like Gala (should be sweet and SKIN ON!)
- 3 cinnamon sticks
- 5 star anis whole ones
- 1 tbsp cloves also as a whole
- 1 tbsp coconut oil
- 50-100 ml water
How to
That is how it works:
-
Cut the apples into 1cm sized cubes. In a large pot melt the coconut oil. Once hot, add the spices and sautee for about one minute. Add in the apples and sautee them too.
-
Add the water and turn the heat down to medium. Let everything simmer for abou 20-25 minutes.
-
Remove the spices from the pot and transfer the rest into a blender. Blend until smooth an pour into mason or glass jars. Store in the fridge for up to 1 month.
Enjoy!