Risotto but vegan? Yes!! A creamy, healthy and vegan deliciousness? Hell yes!! Pure comfort food but nutritious and fairly easy to make! Sounds too good? Try it out! You won’t be disappointed!
I know that risotto usually is not vegan. But that does not mean that you cannot make it vegan!! Actually opposite, why not challenge ourselves to create a vegan risotto instead? That’s what I thought! And this is why you now have got this (super delicious) recipe!

What is special about this dish?
Kind of pretty much everything. Risotto usually contains parmesan cheese and butter. And is not green. Well, of course you can make it green because you can basically add anything into risotto, from prawns to wild garlic, porcini mushrooms and beetroot. But I have to say, I have never seen a green risotto before!
How to make vegan risotto
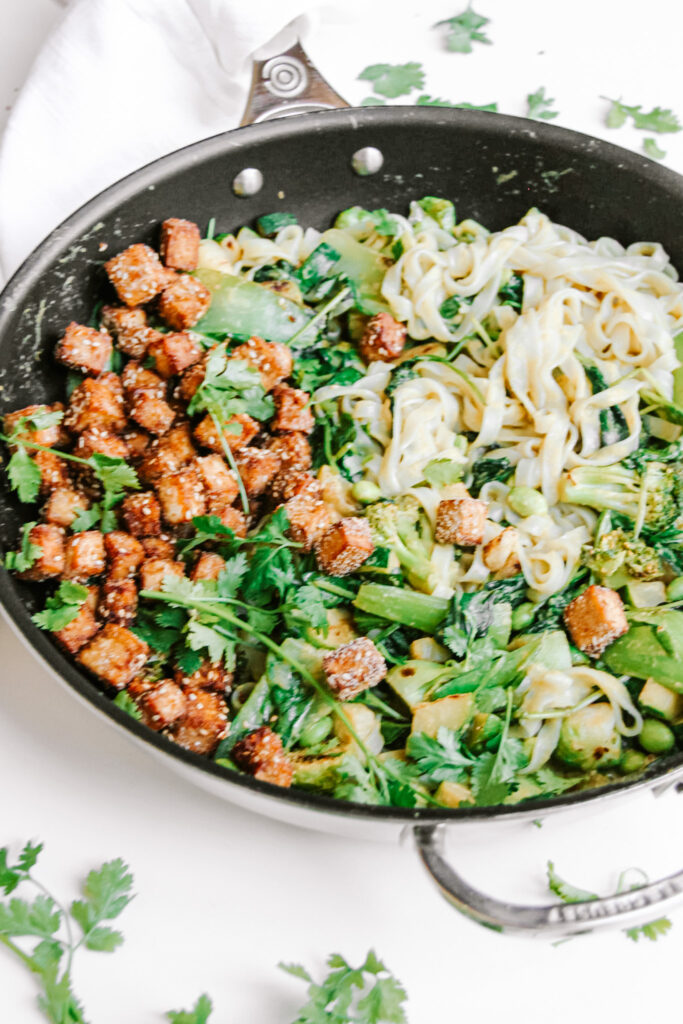
The rise base is the same as for regular risotto. So (vegetable) broth, onions, olive oil and arborio rice, also known as risotto rice. Instead of the cheese and butter to create the creamy texture we are using soaked cashews for the texture, nutritional yeast for the cheesy flavor (also known as Hefeflocken in German, you can find that at most organic stores), cornstarch to bind, plant based milk, and mustard. Not to forget about the greens. I prefer a mixture of steamed spinach and kale and basil. The first two add a bunch of nutrients and the basil adds a lot of flavor. The combination is a dream. And also, to not make the risotto be boring we add some extra caramelized onions.
Is it healthy?
Yes! It actually is. While regular risotto is not very healthy (but very delicious), this one actually is healthy too! Why? The greens add a lot of vitamins and fibre. But the aspect that really changes it is the substitution of the cheese and butter with the creamy sauce. The cashews add some protein and unsaturated fats, which are better for us than unsaturated ones. Also the nutritional yeast adds a lot of nutrients! So yes, it is healthy! And a comfort food at the same time!!
Meal prep and family friendly
A tick for both of them! It is very meal prep friendly because it still tastes at least as good when reheated! It will be creamy again and very good! What I also love is that it is very family friendly! If someone really cannot go without meat or seafood, it still is possible to add some form of meat of fish! And for those who just want some plant-based deliciousness it is perfect as is!
I really am in love with this recipe on colder days especially now in fall or in winter! It is super comforting while still being super nutritious and delicious! Plus, it is not very hard to make while it sounds, looks and tastes pretty fancy in my opinion!
I hope that you will enjoy this recipe as much as I do and that it will upgrade your cozy season a lot!
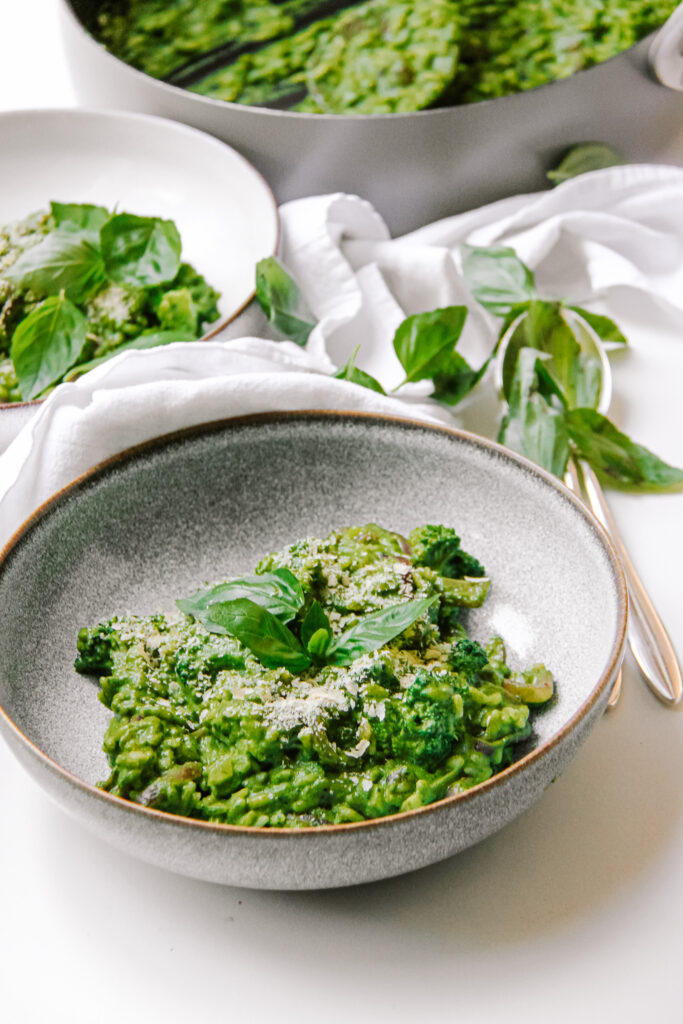
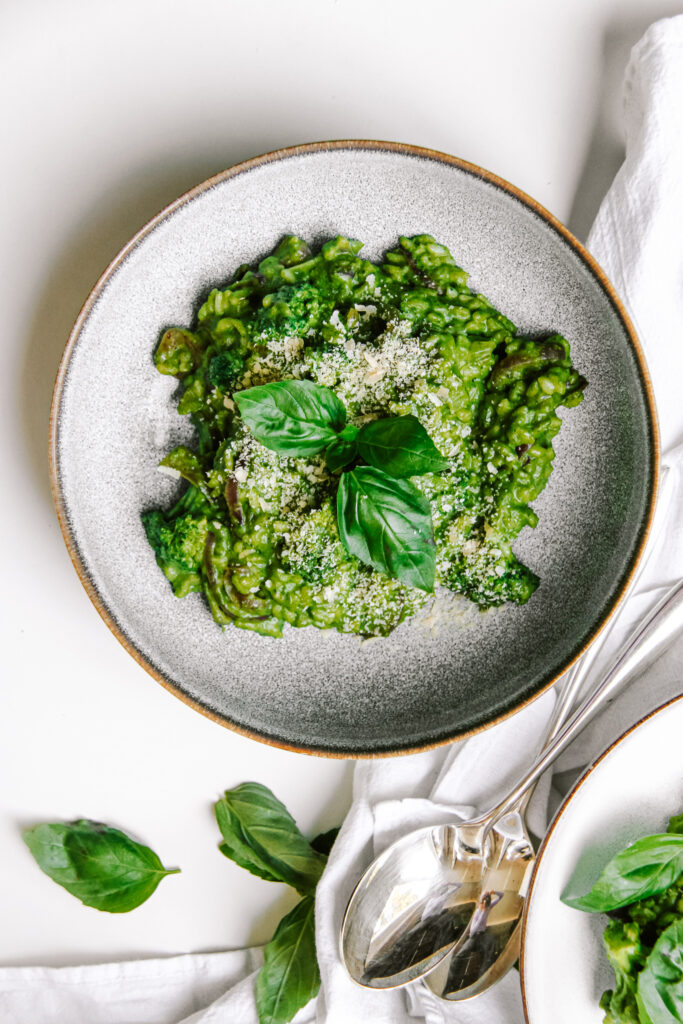
The Ultimate Creamy Vegan Green Risotto with Caramelised Onions
A healthy creamy deliciousness. At least as good as regular risotto just healthy and vegan.
What you will need
- 280 g risotto rice
- 2 l vegetable broth
- 1 tbsp olive oil
- 1 white onion
For the creamy sauce
- 50 g cashew nuts (soaked for 4 hours if your blender is not high speed)
- 160 ml plant based milk
- 2 tsp mustard
- 4 tbsp nutritional yeast
- 1 tbsp cornstarch
- 2 handful spinach
- 2 handful kale
- 1 handful basil
For the rest:
- 2 small red onions
- 1 tbsp olive oil
- 1 tbsp honey
How to
-
Heat up the vegetable broth. In a large pot heat up the olive oil. Finely dice the onion and add to the oil once hot. Sautée for about 1 minute until shiny. Add the rice and cook for another minute. Turn the heat down to medium and add a cup of the vegetable broth. Let the rice soak up all of the vegetable broth added while stiring continuesly. When it has cooked away, repeat the process for about 12 minutes.
-
In the meantime steam or cook the spinach and kale for 4 minutes. Add them to a blender along with the cashews. plant milk, nutritional yeast, mustard, basil and cornstarch. Blend until creamy.
-
In a pan heat up the remaining oil. Slice the red onions into thin slices. Add them to the oil with the honey. Let them cook down on medium high heat until they have shrunken down and gotten caramelized.
-
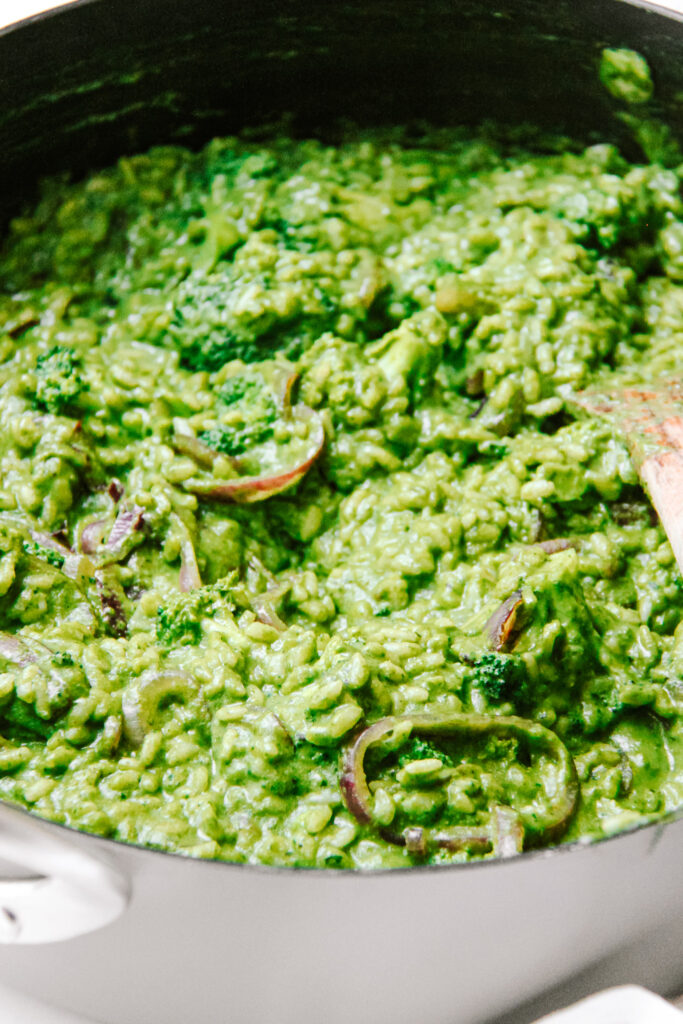
After about 12 minutes of the rice cooking add the green sauce and the onions. Mix through very well and cook for another 3-4 minutes until the rice is cooked through.
-
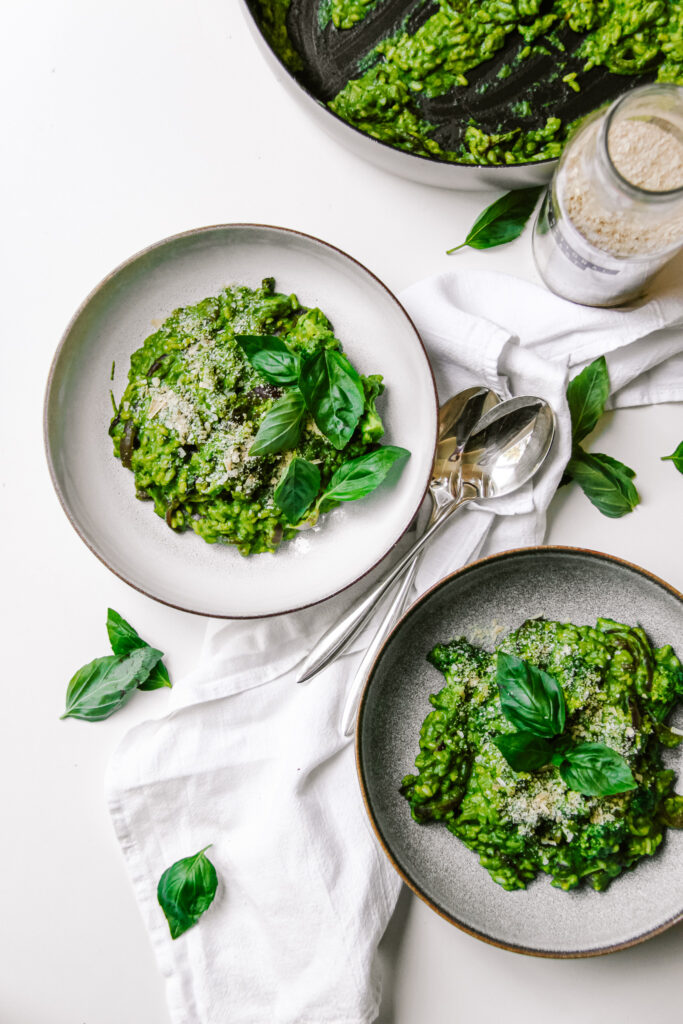
Seperate onto plates and serve with some extra nutritional yeast! Enjoy!
Happy cooking,
Enjoy,
Katie // Une Petite Cuisinière