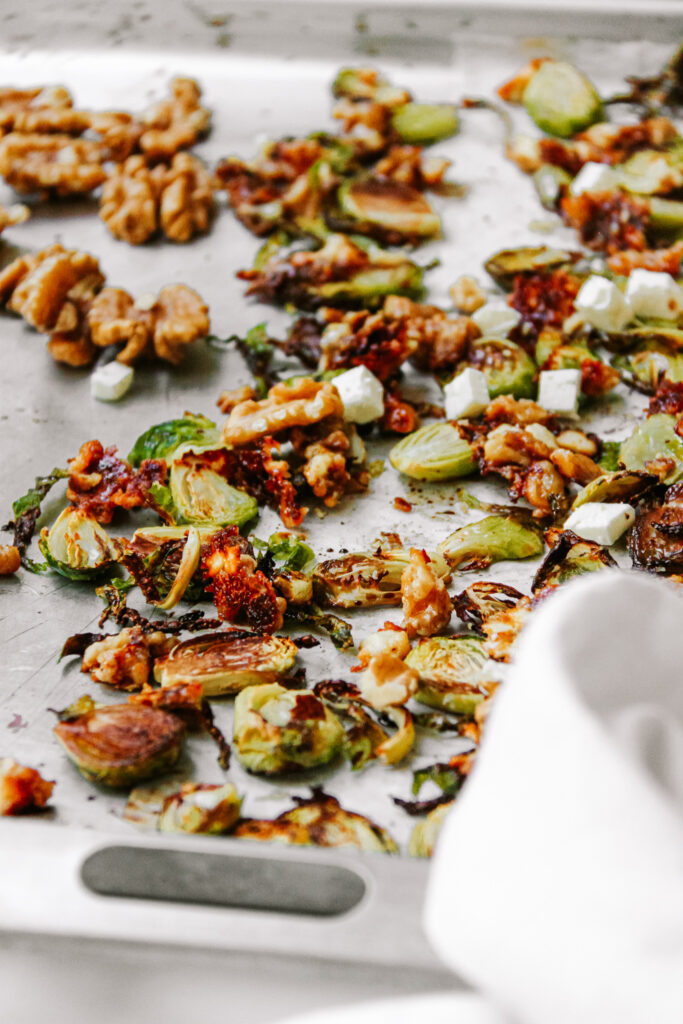
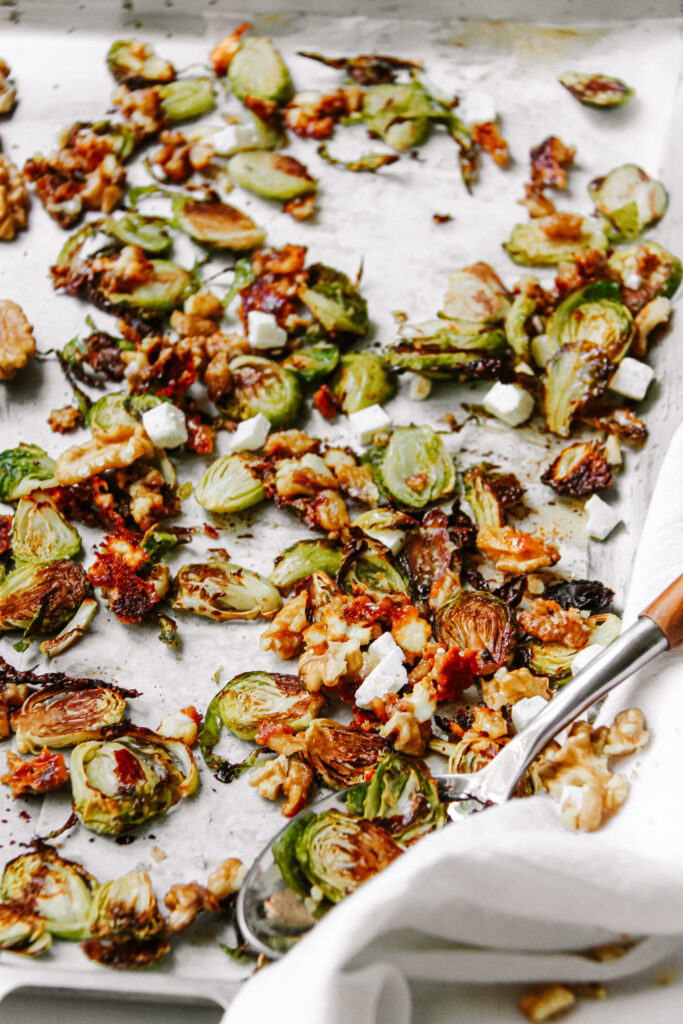
Let’s just agree on one thing; veggie side dishes are underrated. It is true, very true actually that all side dishes are underrated! To be honest, I do not need the main part of the meal, just the sides if I was asked. Imagine this: super crispy balsamic vinegar glazed Brussel sprouts baked in the oven and topped with warm walnuts that are coated with honey and molten Feta. Sounds good, right? If you tried this, you would agree that sides are underrated!
What is special about this dish?
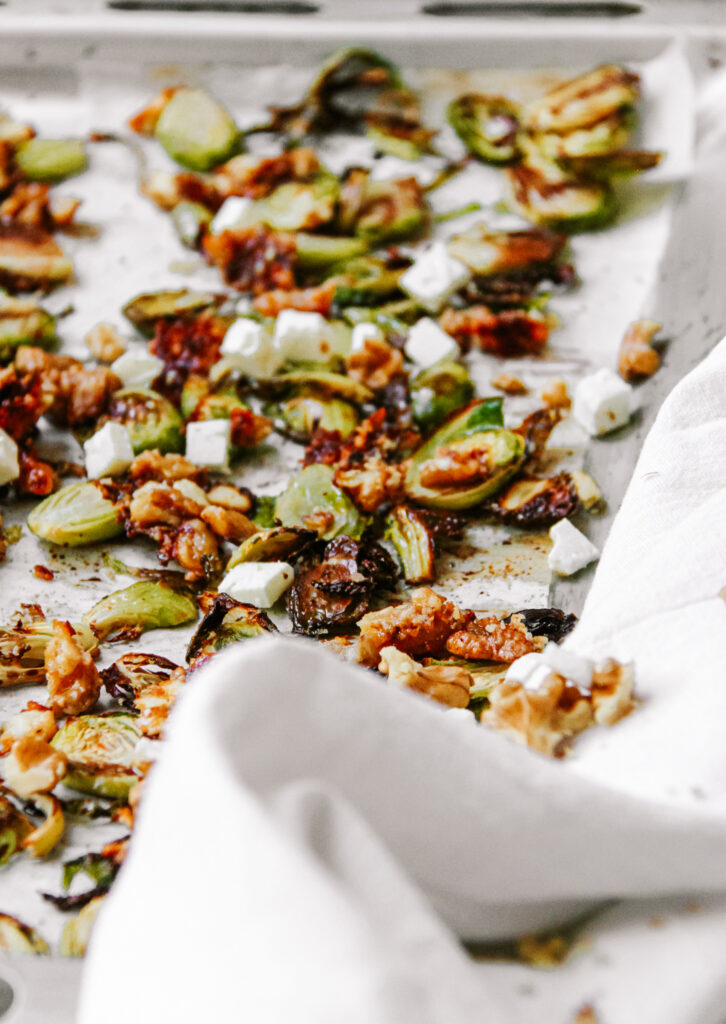
The walnuts are prepared in a very special way, which I have never seen before. They are coated with a slightly sweet molten feta. I promise you, this is good (really, you could only eat this)! The Brussel sprouts are more „traditionally“ prepared but still equally as good! The balsamic vinegar adds very much taste and the oil and sea salt make them really crispy.
Is this dish healthy?
Yes and yes! Brussel sprouts = super healthy. Loaded with Vitamins, fibre and nutrients. They actually have been the food of the month October, you can read more about them here. The walnuts are incredibly high in healthy fats and they have many other health benefits. My uncle always said, eat them while studying because they improve your brain (it actually is proven that they improve brain function) – so yep, also these are healthy. And feta? It is pretty high in protein and way healthier than most other cheeses. So all in all, very very good.
How to make them?
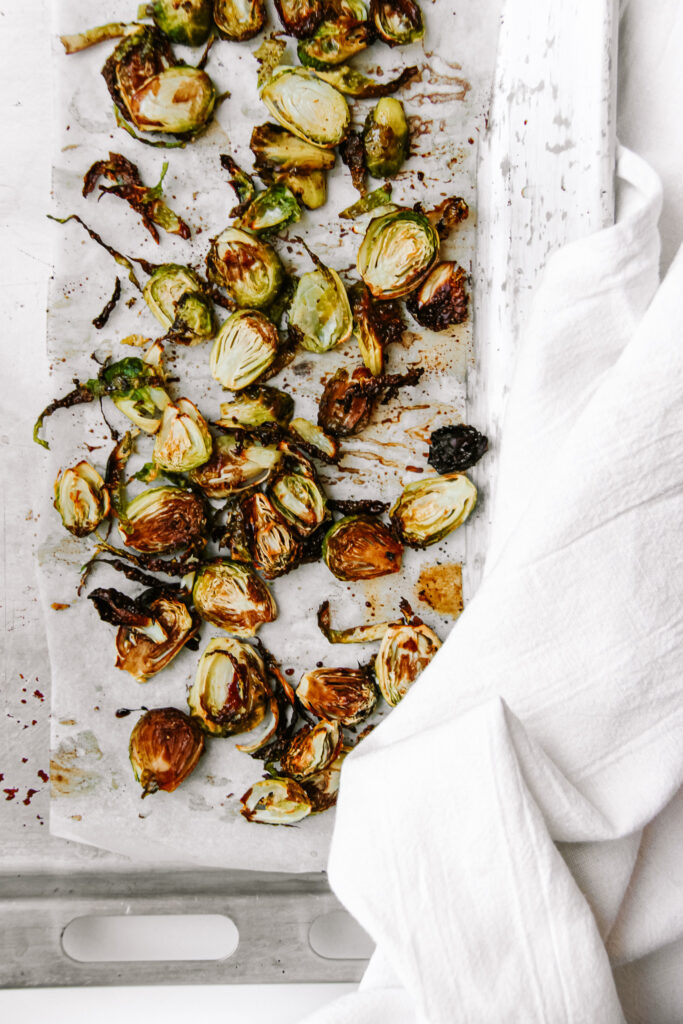
This is incredibly easy. First you need to finely slice the Brussel sprouts and roast them in them in the oven. No mess in the kitchen but lots of flavour. Then, you need to prepare the nuts. This means, roughly chop the nuts and add them to a pan. When roasting nuts, you do not need any oil (when using a non-stick pan). Then you add the crumbled (or finely chopped) feta along with the honey and a pinch of sea salt. The heat of the nuts will melt down the feta and make it goey and creamy. This then combines with the honey and it is incredible. When you let it cool just a little bit, it will all crispen up, and then its perfect. When the Brussel sprouts are golden and crispy, take them out and to with the nuts. That’s all.
When and how to best have them:
I love this as a side dish for anything. Not only as a side but also as a topping. For example with a roasted meat, especially now in fall, it is amazing. But also on top of buddha bowls, rice bowls or even on top of pasta it would be amazing. There are no limits, it truly upgrades any dish. Plus, it is pretty family friendly because you get your nutrients through the veggies and it still tastes amazing because of the slightly sweet nuts. It kind of is like comfort food but still healthy.
Substitutes
Brussel sprouts – other veggies like pumpkin, sweet potato or broccoli would also work very well, just notice these would take longer to roast
Walnuts – almonds, pecans, hazelnuts
Honey – maple syrup, agave, other liquid sweeteners
Feta – I would not recommend substituting that (if there really is no way around, maybe with another soft cheese)
I hope that you will love this recipe and that you will enjoy it all throughout fall. Goes well with everything anytime. A must try – especially because it is so easy!

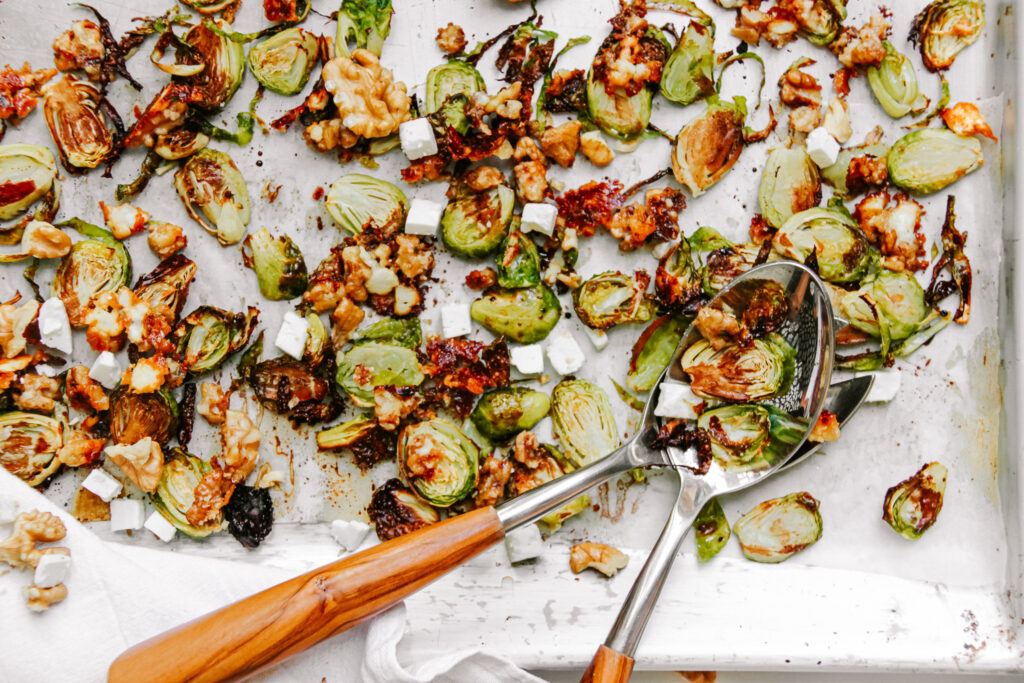
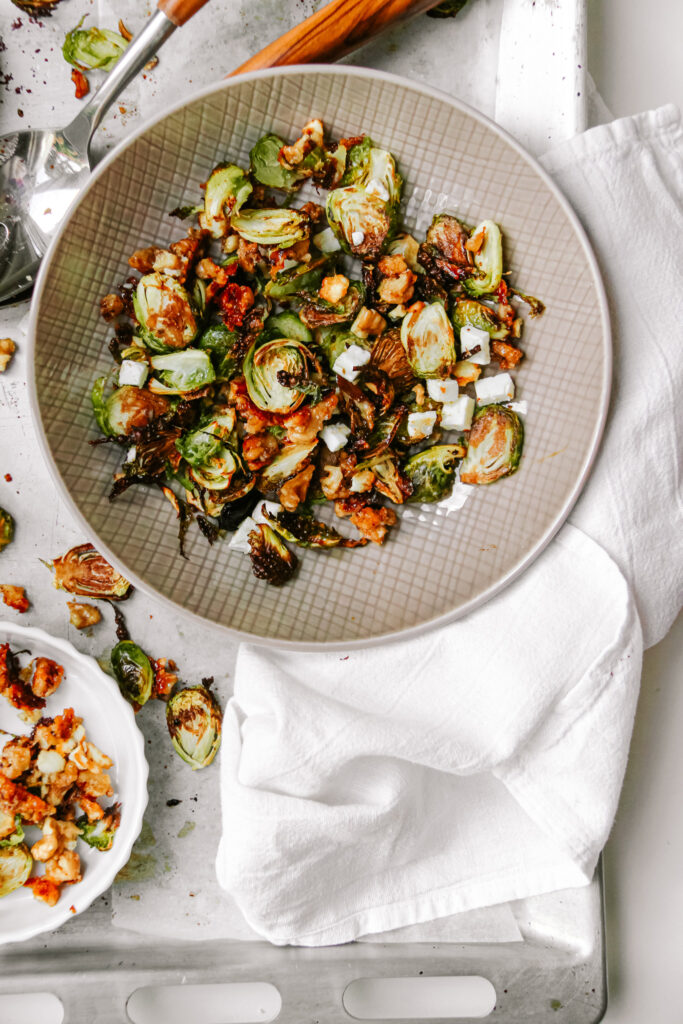
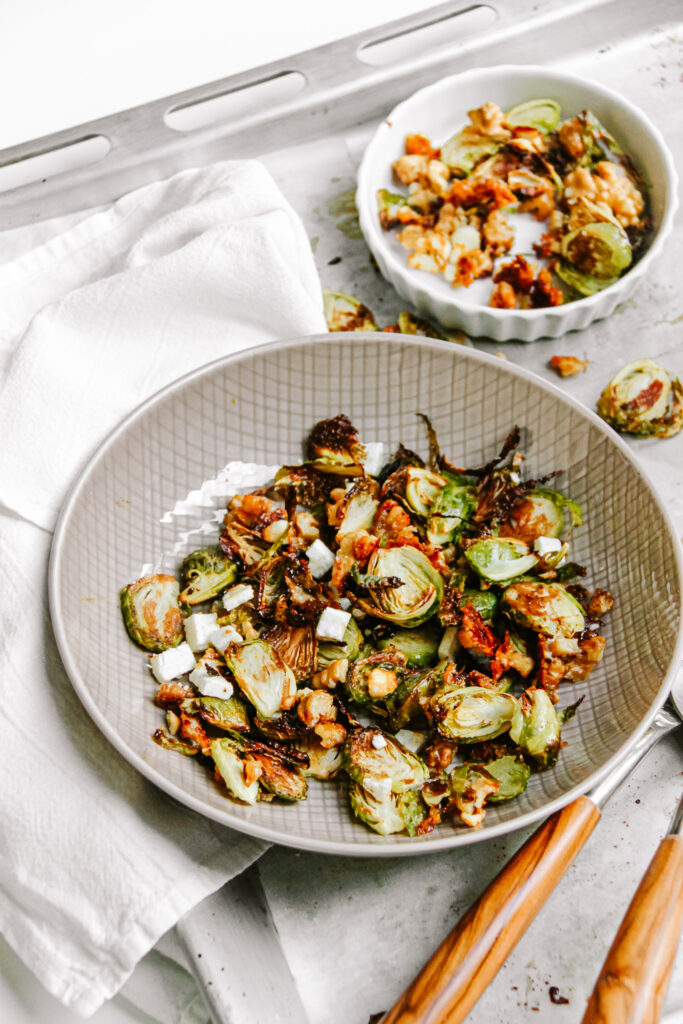
Crispy Balsamic Brussel Sprouts with Honey Feta Caramelised Walnuts
Crispy and golden brussel sprouts topped with sweet and goey walnuts coated in molten feta. A perfect, comfortiung and still healthy side dish!
What you will need
- 600 g brussel sprouts
- 1 tbsp olive oil
- 1 tbsp balsamic vinegar
- 1 tsp sea salt
- 60 g walnuts
- 60 g feta
- 2 tbsp honey
How to
-
Preheat the oven to 200°C. Wash the brussel sprouts and pat them dry. Slice them into about 3-4 mm thick slices. Toss the in the oil and salt and lay them out on a baking tray, leaving space inbetween them. Drizzle with the balsamic vinegar and roast for 15-20 minutes until golden brown and crispy.
-
Roughly chop the walnuts and crumble the feta into small pieces. Add the nuts to a non-stick pan and turn onto high heat. Roast them for about 2-3 minutes. Add the feta and honey. Let the feta melt down and the gently stir through until the walnits are coated with the feta cheese. Turn down to low heat.
-
When the brussel sprouts are done roasting, top them with the caramelized nuts and serve! Enjoy!
Happy cooking,
Enjoy,
Katie // Une Petite Cuisinière